Wednesday, November 8, 2023

Still more Coffee Cards

They are my favourite kind of card to make!  I loved using the Warm & Wonderful set from The Greetery, along with the Winter Farmhouse papers from Simple Stories, that I kept going, and made 6 more.  I had stamped multiples when I first used this set, so I had fun mixing and matching papers to get these put together.


Sunday, November 5, 2023

Snowglobe Shaker Card

My second card for the Art Impressions Watercolour Weekend is a Snowglobe Shaker card!  These are so little and fun to make - and there are so many possibilities to use with the shaker shape. 

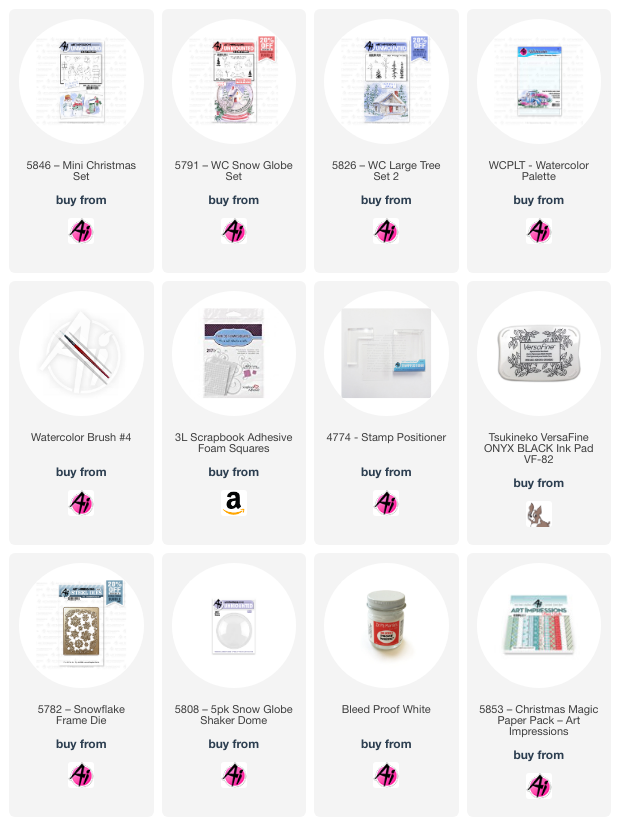
I chose the snowmen duo from 5846 - Mini Christmas Set, using Tombows #969/565, and stamping them on Bristol Smooth Cardstock.  I then traced around them using the dome as a guide.  I cut out a mask, and covered up the snowmen, then used the smallest pine tree from 5826 WC Large Tree Set 2, and stamped it three times in #249 to appear behind them.  I painted in #526/847 on their scarves and clothes, and used #N45 for his top hat, adding layers to darken it at the sides to appear rounded.  I used my #933 marker directly on the paper for their noses, and then painted a wash of #565 as the sky, and as shadows around my snowmen - shadows are the key to making the snowmen stand out against a snowy background!  After touching the trees with a damp paintbrush, I used Bleedproof White paint to add snow to the branches, around the base of the snowmen, and as a few falling snowflakes.  I used my Twintone Navy marker to add in a few of the lines that needed to be darker - especially their faces.


I decided on a 5" square card, and chose several papers from the 5853 - Christmas Magic Paper pack, using the circle die that comes with the 5791 - WC Snowglobe Set to cut the opening in the striped paper.  I glued the scene to my card base, added some glitter and snowflakes on top of it, then adhered the 5808 - Snowglobe Shaker Dome onto it, sealing in all the shaker bits.  I added the striped paper over top, then added the base of the snowglobe, which I had stamped, painted and fussy cut out to complete my globe!  *Don't forget to remove the plastic coating that covers the dome, before you put the paper over top (ask me how I know!!)  The sentiment is included in the Snowglobe set.  I used a few of the snowflakes from the 5782 - Snowflake Frame Set to glue around my globe.


Christmas Cars

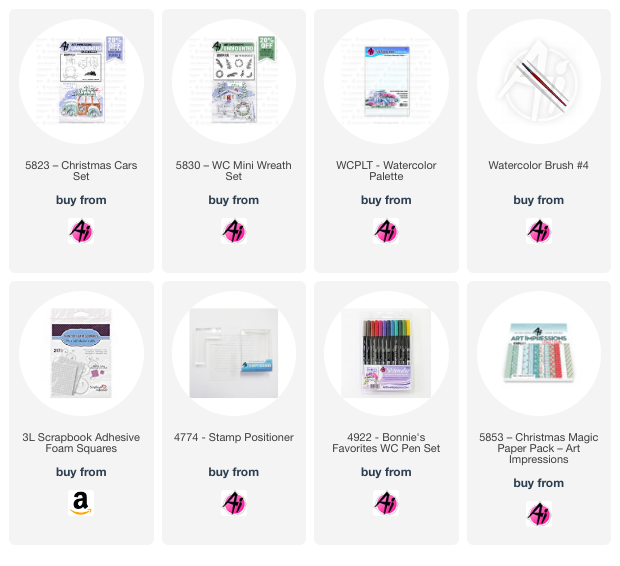
I have two cards to share today for the Watercolour Weekend post on the Art Impressions blog.  I've been having a great time painting with many of the new Ai Christmas stamp sets.  I may have squealed when I first saw 5823 - Christmas Cars Set... it's possibly my favourite set ever created by Bonnie - so I couldn't wait to ink it up.

I'm using Bristol Smooth Cardstock today, as it is a lovely bright white colour, and it works well for snowy scenes.  I first cut out the decorative oval die shape, so I'd have my painting area defined for me.  I inked up first the car, then the presents using Tombows #969/565 - purposely stamping the presents just a little askew, as though they were precariously stacked on the roof, with the help of my stamp positioner.  I picked the larger wreath from 5830 - WC Mini Wreath Set, coloured it with #249, and stamped it on the front of the car.

I picked my colour palette according to my background paper, so started painting the car with #526, using a watered down layer on the hood of the car, which would be lighter, and a more saturated shade for the front and undersides of the vehicle.  #N45 was used to paint in the tires, and all the chrome bits around the headlights and grill.  I used #126/703/847/249 to paint in the presents, adding some diagonal stripes on some of the wrapping paper.  I painted in a wash of #565 as the sky, trying to indicate some snowbanks at the side of the road, and used it to shade under the tires, and on the windshield.  I lightly touched the wreath with a damp paintbrush, and added dots of #847 as berries.  To create my snow, I used Bleedproof White Paint to add snow on the parcels, car and wreath, along with a few snowflakes in the sky.  My oval die is from Pinkfresh Studio, and the Poinsettia/holly are Spellbinders.

This was fairly quick and easy to paint - so I plan to make a bunch more to send this season.  To assemble my card, I cut out a slightly larger oval in the same warm pink shade as my present, and mounted it behind my scene.  I adhered it to my striped paper from the 5853 - Christmas Magic Paperpack


Friday, November 3, 2023

2023 Coffee Lover's Blog Hop

Today is the start of the 2023 Coffee Lover's Blog Hop - still happy to say that I've never missed one of the hops!  I have a card using products from The Greetery today:

This is the Warm & Wonderful stamp and die set.  I love that Betsy thinks of everything - all the little bits & pieces around my mug, including the straw are part of this stamp set, and it comes with a couple of great sentiments... although this one is from a classic Verve set.

My papers are Winter Farmhouse from Simple Stories (love these!)  They have a lovely, warm fall/winter vibe.

If you get a chance - check out the hop, Amy Tsurata does a great job putting together an amazing list of sponsors and some wonderful inspiration.  You can find it here.


Friday, October 27, 2023

Wishing you... Pumpkin Spice

I pulled out this new-to-me stamp set from The Greetery, to create a birthday card for my daughter.  She's a pumpkin spice kinda girl, so I knew this would be the perfect time to break open this set.  

A lot of Greetery sets lend themselves to creating multiples, so I die cut out quite a few of the mugs and ephemera pieces, then put the negative die cuts into my Misti.  This allows you to set up all of the layering stamps inside the negative space, then you simply move your die cut mug from one space to the next, inking up each of the layers.  You just position the stamps one time, and then you're set to create a bunch of images in quick succession.

I've done a few of the cider/pumpkin spice colourway, and you'll see a bunch of mocha/coffee style ones in the coming weeks.  I've used Distress Oxide Inks, which blend beautifully.  All of the little pieces, including the straw, berries and little orange slice are included, so again - I made up quite a few of those.  I love this style of crafting, because I either get a bunch of cards made up, or I have a bunch of pieces ready to go for another time.  Win!

I stitched my base layers on my sewing machine, after inking the edges lightly, then glued together all of the stamped pieces.  The orange slice and berries were adhered with 3D foam adhesive.  The sentiment is also from the set, which is called "Warm & Wonderful".  Happy Birthday, B!

Wednesday, October 25, 2023

A Taylor Swift themed Birthday card

 I was asked if I could make a custom birthday card with a Taylor Swift theme!!  The request came via my daughter, who was a huge help in design ideas, as we searched Google images to come up with a concept.  The birthday's girl's favourite album is "Folklore", so if you scroll to the bottom of my post, you'll see the actual album cover, and as we searched through images, we kept seeing guitars made with all of her album designs.  So we combined the two ideas, and here's what we came up with:

I started with some bright white Ranger Watercolour paper, and gave the background a pale grey wash.  I painted in the faint background trees, and stamped a few shrubs/evergreens in very pale grey.  I used several of the Art Impressions large tree stamp sets, which gave me some of the main trees, and used foliage stamps to add the leaf canopy.
To create 'Taylor' standing between the two main trees, I used one of the tiny Simple Scenes people, and gave her a trench coat.  I sketched out the guitar shape according to the photo, and cut it out of my scene.  All of the edges were lightly inked with grey to stand out just a bit.
I scored a rectangle of brown cardstock to add the frets, and pierced one edge with 6 holes.  After using a small circle die to cut out the opening, I glued down the neck, as well as a sparkly black shape to ground the strings - also pierced.  I used a single filament of gold metallic thread and stitched all of the strings, adhering them in the back.  The guitar was raised up with a thin 3D adhesive, for a little dimension, with a square of metallic gold glued under the circle opening.  This was a fun one!  Here was my inspiration:


Monday, October 16, 2023

Basic Birthday cards

 I have a whole whack of family birthdays in the fall, so when I make a birthday card, I try to make multiples!  This Happy Birthday die from Lawn Fawn comes to the rescue every time.  It's a great way to make use of some of the patterned paper in my stash, too.

Basic Grey has been gone for many years now... but this is their Marjolaine collection.  I love that it can work for both masculine and feminine cards.  I tried to pick patterns that weren't too busy.  Hmm.  Or let's say, I picked patterns that went together!  I used the 5722 Birthday Journal set from Art Impressions for the cake and presents, that were coloured with Copic markers and fussy cut.
I love putting a shadow die behind this sentiment, to help it stand out a bit more.  The images were adhered with some 3D foam adhesive to make them stand out a bit more.
Four more cards for my stash!  Although they won't last long...


LinkWithin

Related Posts with Thumbnails