So happy to be playing along with the Pinkfresh Studio challenge for August! Stripes was the theme, so I pulled out my Horizontal Stripe stencil, and did an ombre blend of 3 Distress Oxide Inks. I stamped the Floral Notes set onto my white cardstock and used the coordinating stencil to colour up some purpley-blue blooms. I fussy cut it out and adhered it to my base with 3D foam adhesive.
Saturday, August 28, 2021
Pinkfresh Studio August Challenge
Thursday, August 26, 2021
A Remake!
You'd have to have been hanging around my blog for quite a while to remember this one... I made this card at least a handful of years ago, and when a girlfriend asked for a birthday card for her father, she picked this one off of my Pinterest board showing masculine cards. I knew that I still had the stamp and the exact papers I'd used the first time around, so it was a quick evening's work to put the card together:
Sunday, August 22, 2021
Pigment Craft Co.
There is a new kid on the block! And her name is Pigment Craft Company. I'm a proud Canadian, and this is a great new stamp company out of Saskatchewan. You're going to want to check them out! They have an amazing style, and a great assortment of product, even though they've only been around for a few months. Their fall release came out this week, and my order came in TWO DAYS! Happy sigh.
My cards feature two of their sets from the latest release: Sweater Season Sentiments, and Pumpkin Patch. I set up the 2-3 step stamps in my Misti, and went to town stamping about 30 pumpkins and gourds, using several different combinations of Distress Oxide Inks. Then I fussy cut them all out one evening watching TV.
I put together a slimline card, using a Pinkfresh Studio stencil with Bundled Sage and Speckled Egg inks to create my background, and cut it out with a Studio Katia die. I glued on a bunch of the pumpkins/gourds adhering a couple with 3D adhesive dots, and stamped the sentiment in Versafine Onyx Black Ink. A few black Nuvo dots finished it off. I have a sister with an October birthday, so this should be the perfect card.
But I couldn't stop there... I decided to create an A2 version of the same card:
So happy with how these came together! And I still have a pile of cut images ready for a few more cards. Here are a couple of close ups:Thursday, August 19, 2021
Down on the Farm - Watercolour Weekend
I could paint a new scene every week with the Simple Scenes sets from Art Impressions! I started by pulling out 5378 - WC Fenced Scene, stamped it on scrap paper, then figured out which 'buildings' would be the right scale to work on either side of the road. The one on the left needed to be a little larger than the one on the right that is set farther back:
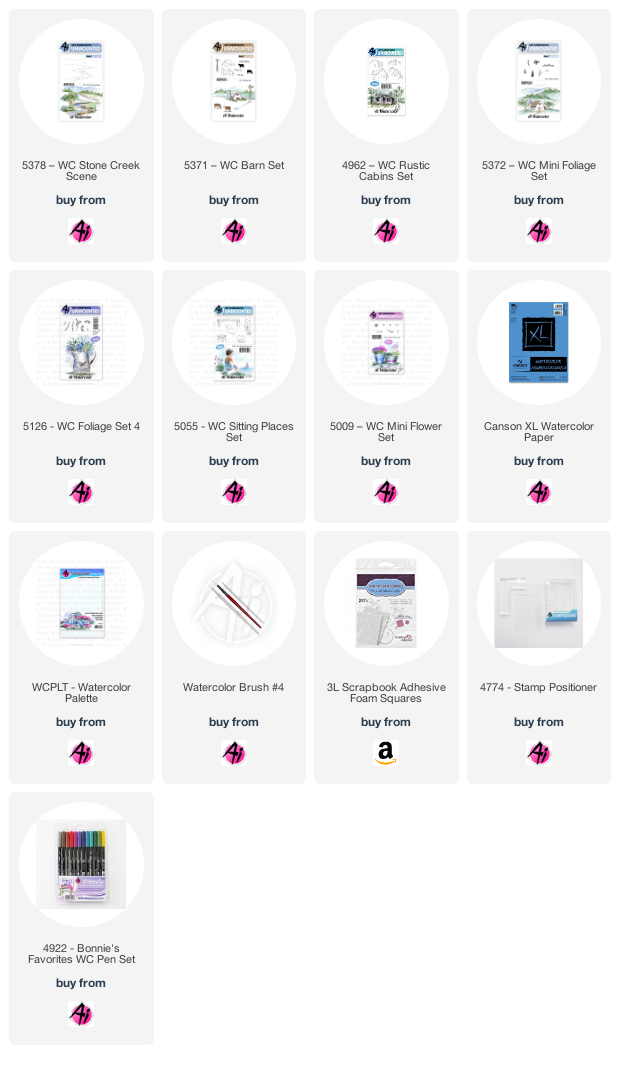
I coloured my clear scene stamp in Tombow #177 Dark Jade, and stamped it on my Canson XL Watercolor paper. *I chose green as most of the image consists of hillsides, with the exception of the fence, which I coloured in #969 Chocolate. Using my stamp positioner, I stamped the barn & small fence from 5371 - WC Barn Set in #969/565, and did the same with the house from 4962 - WC Rustic Cabins Set. Then I placed the rocks from 5055 - WC Sitting Places Set, coloured in #N55 Cool Grey 7 in the foreground - and my scene was set. With my damp brush, I pulled the colour out from the buildings, concentrating it where shadows would fall, and adding colour to the roofs. I picked up #856 Chinese Red from my palette to add colour to the barn. I wanted the house to be white, so just added some shadowy bits, and darkened the windows on both buildings with #565. A wash of green was added to all the hills & fields, and a few darker stripes were painted in to look like crops. Using 5372 - WC Mini Foliage, Trees were added around both buildings, and a line of foliage along the hillsides.
My damp brush pulled out the colour on the fence posts, and I kept them lighter near the top where they would be weathered and highlighted by the sun. I added some foliage in and around them with the tiny grass from the Mini Foliage Set, and around the rocks as well. I picked up colours from my palette to add a few different shades to the rocks, and stamped the grasses from 5126 - WC Foliage Set 4 in #177/565. The tiny dot image from 5009 - WC Mini Flower Set was stamped in #565 around the house, barn and fence, and I went in directly with my #993 Chrome Orange marker to add a pop of yellow. I painted in the road with #992 Sand, and added the suggestion of paths to both of the buildings. A little stitching with my sewing machine attached it to a blue mat, and I added 3D foam adhesive to attach it to my card base. *I tried not to over-edit my close up photo. I have a very light hand, so the sky is faint, but it is there, and the overall feel of the card is quite light and pastel - which doesn't translate well in a photo!

Thursday, August 5, 2021
How Lovely

Wednesday, August 4, 2021
Watercoloured Pinkfresh Studio
This is something new for me! Although I use watercolours all the time, I haven't really done anything on this large of a scale, and have been itching to use some of my new Pinkfresh Studio stamp sets. Here is Floral Cluster:
I began by white embossing the image onto Canson XL Watercolour paper using my Misti, and then pulled out my Gansai Tambei watercolour set and painted each bloom. This is a different colour combo for me! I'm using yellow this year more than ever before, and I loved it paired with the blues & teal shade.After many layers, I mixed up a yellowy/green shade which I added to the background, still keeping it fairly light, and added a few spatters of paint picked up off my palette. I used the Hemstitched Rectangle dies from Spellbinders to cut out my image, then mounted it to my base with 3D foam adhesive.
The stamp set can be found at the Papercrafter's Workshop, you can see all of their Pinkfresh Studio products here!


