Saturday, October 31, 2020

My Only Halloween card!

 Yes, they're not something that I make a lot of... but somehow, always really enjoy making?  I have a coworker who celebrates Halloween in a big way, and I try to make her a card every year.  Knowing that she is a cat owner, I thought this would be perfect for her:

This stamp set is from Art Impressions, called 4785 - Howl-oween Set,  I coloured her up with Copic markers and die cut the panel with a decorative rectangle die from The Greetery.
Enjoy the holiday, however you're celebrating it!


Friday, October 30, 2020

Harvey's card!

 I made a vertical slimline for a special little guy's 3rd birthday last week:

I mixed together a couple of Lawn Fawn plaid papers to make my background - and zigzagged them together with my sewing machine.  Then I pulled out an older stamp set from CTMH, coloured it with Copic markers, and die cut the panel with my Studio Katia die.  I matted it on some charcoal cardstock and added a few Nuvo dots to the corners.
Happy Birthday, Harvey!

Thursday, October 29, 2020

Merry Slimline card

 This slimline design using my 1 1/2" Alphabet Die set from Art Impressions, was totally inspired by one that Jennifer McGuire made a few weeks ago... and was fun to make:

The finished card measures 8 1/2" x 3 1/2", and I scored my 8 1/2" x 7" base cardstock 1 3/4" in from each side, so that they meet in the middle.  
I chose some Doodlebug Designs paper from a few years ago, cut it to 8 1/2" x 3 1/2", and then cut it in half lengthwise before adhering it to the two flaps of the base.  I used my Studio Katia Slimline Die set to cut the white mat that is behind the letters, then cut it in half lengthwise, before adhering it over the patterned paper.  The letters were die cut from cardstock that coordinated with the patterned paper, and glued down to the upper flap only... so that when you untie the ribbon, it opens up like:

This!  It's a pretty simple card, but a fun design to create.

Sunday, October 25, 2020

Photoplay Say it With Stamps

 For my recent Demo Days presentation at the Crafter's Workshop, I used several of the Say it With Stamps sets from Photoplay.  Here are a couple of cards using the Peace/Joy set:

Even though it's intended as a holiday set, I wanted to show that it could be used for "more".  I blended Wild Honey, Picked Raspberry and Blueprint Sketch Distress Oxide inks on white cardstock, then die cut the mat background piece from it.  I layered Peace cut in black on top, and adhered it to my card base with foam adhesive.
And here is a more typical Christmas card, with the words cut from some gold metallic cardstock, and layered on mats cut from the same kraft paper as the card base.  The phrases are stamped from the coordinating stampset that includes the ampersand.  Lawn Fawn's Sparkle paper is shining from behind.

All products can be found at the Crafter's Workshop!


Saturday, October 24, 2020

Demo Days at the Crafter's Workshop

 It's a busy day at the Crafter's Workshop... Demo Days are on today, with presentations at the top of every hour.  I was the 11am presenter!  Talking about using word dies on cards.  Here are a few using Simple Stories Jingle All the Way plaids:


The word die is from Creative Expressions, oval die is Spellbinders.

Merry die is from Photoplay's Say it With Stamps line.

Peace die is Photoplay's Say it With Stamps, tree is Dee's Distinctively.
My Facebook live presentation (and all the others!) can be seen on the Crafter's Workshop Facebook page.


Thursday, October 15, 2020

Ethereal Slimline Card

  I've painted another slimline card for Art Impressions Watercolour Weekend, this time done horizontally, with an ethereal feel:

I am all about bright colours, so to paint something light and pastel toned, was a real change for me!  I began with the tree image from 5056 - WC Fairy Doors Set, coloured in Tombow #969 Chocolate before stamping it twice onto my Bristol Smooth Cardstock.  I used two of the doors from the stamp set, to add a fairy door to each one.  I sketched in the rest of my scene with a pencil.  With a damp #1 paintbrush, I pulled out the colour from the lines of the trees, leaving a few light, highlight areas, and concentrating the colour in the shaded areas.  I used the greenery image from 4867 - WC Foliage Set 2 and #126 Light Olive to add in the leaves, and after going over them with a damp brush to soften them, I went in a second time to add more leaves with some definition.

I thought a rainbow/sunset sky would work well, so using a lot of water as a wash - the sky was faded from # 565 Deep Blue, down to #725 Rhodamine Red, and finally #991 Light Ochre.  The mountains were painted in shades of #565, keeping the closer hills a bit darker, and the farther hills a little paler.  The hillside was done in a wash of #126, and the stream and lake are in #493 Reflex Blue - where I kept the colour a little stronger at the edges.  I used #126 on the tiny grass image from 4051 - WC Foliage Set 1, which I stamped around the tree roots, and I added flowers with the tiny dot image from 5009 - WC Mini Flower Set using #725 and #623 Purple Sage.  The doors were painted in #493 Reflex Blue and #761 Carnation with #623 on the overhang.  The doors each have a couple of stones in front of them, so I used my paintbrush to add in several more, to create more of a pathway.  To finish my scene off, I picked up #565 from my palette, and added shadows to the tree limbs, around the doors and to the stones.  

I die cut my panel with a pierced edge slimline die, and mounted it with 3D foam tape to my green cardstock base.  I also added Wink of Stella to highlight the greenery and water, so it's got a lovely shimmer across it!


Friday, October 2, 2020

Fall Scene for Watercolor Weekend

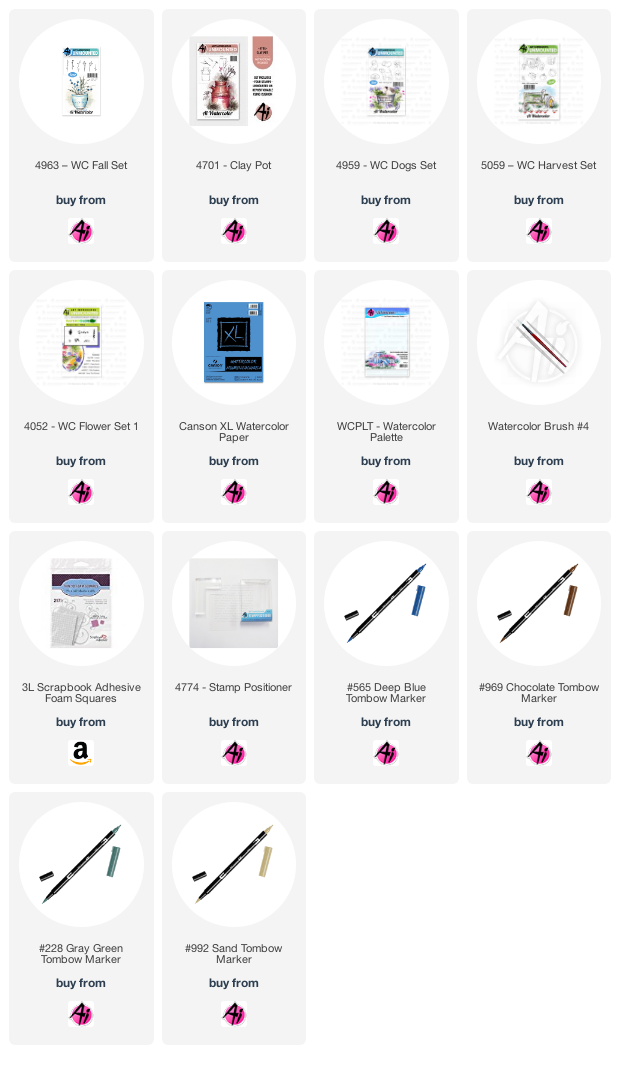
 I loved putting another fall scene together this week's Watercolor Weekend post on the Art Impressions blog, using a few sets that have been around a while:

I coloured up my puppy from 4959 - WC Dogs Set with my Tombow Dual Brush Marker in #969 Chocolate, and stamped him onto a large piece of Canson XL Watercolor Paper.  After masking him, I coloured up the 2 pumpkins from 5059 - WC Harvest Set with #565 Deep Blue, stamped it off on scrap paper, then coloured overtop with #969 before stamping them onto my scene.  With masks still in place, I inked up the milk can from 4701 - Clay Pot in 565/969 and stamped it with the help of my stamp positioner.  Using a damp #4 paintbrush, I pulled the colour out of the images, and softened the lines.  I used many layers of #969 to add colour to the pup, concentrating it where the darker shadows would be, and used the same technique on my pumpkins with #228 Gray Green, and #991 Light Ochre.

To create my bouquet, I used the Leaves image from Flower Set - 4052 in #991 stamping it repeatedly to give me the yellow flower base, then with the Salvia image in #992 Sand, I added in the tallest blooms, and tucked a few behind my orange pumpkin.  With the Mini Foxglove, coloured in #533 Peacock Blue, I stamped it in lines to create the trailing blue flowers.  I used my #228 marker to draw in the grass, and coloured it onto one of the flowers from 4963 - WC Fall Set as the green flowers.  My last addition was the large twig image from 4701 - Clay Pot, coloured and stamped in #969.

I painted in #565 as the sky colour, and added touches of 228/565/969 to the can, and added some 991 directly to the pumpkin as I wanted it to have some darker orange tones on the underside of it - then added a little to the puppy's coat as well.  I used all of my colours to paint a multi-coloured edge to my scene, and then die cut it with two different rectangle dies which served to create a frame.  I adhered the center piece with 3D adhesive to have it stand out a little from my slate blue cardstock base.


Thursday, October 1, 2020

New Fall/Winter Art Impressions Watercolors

 Hello Ai Watercolor fans!

We are celebrating the new Watercolor release over on the Art Impressions blog!  I have a wintry scene for you today, using a few different stamp sets, and a very limited colour palette.  

I coloured the church image from 5058 -WC Churches Set in my Tombow Dual Brush Marker #565 Deep Blue, stamped it off on scrap paper, then reinked it in #969 Chocolate before stamping it onto my Canson XL Watercolor Paper.  I did the same with the bridge from 5122 - WC Bridge Set, positioning it in the foreground with my stamp positioner.  I masked the church, coloured my mountain from 5198 - WC Mountain Set in #565, stamped it off, and stamped it on either side of the church to form the background.  I used the two wintry trees from 5060 - WC Snowman Set, masking them, and stamping them in #565 to add my four trees to the scene.  With a pencil, I sketched in the hillside, the pathway and the stream - and my scene was complete.


With my damp #4 paintbrush, I softened all of the stamped lines, pulling the colour out of the mountains and trees, and concentrated it where the shadows appear, and adding extra of the Deep Blue from my palette where needed to deepen the colour.  I added extra blue to the sky and behind the church so that it contrasted with the snowy mountains, which made the hillside stand out also.  I picked up #969 from my palette to paint in the bridge, the church door, and the path.  With my Twintone marker in #41 Navy, I coloured it directly on the windows to darken them, and used it to help define the path, the stream, and to define the trees where needed.  I used a decorative rectangle die to cut out my scene, and added touches of glitter to add some sparkle to the snow.


LinkWithin

Related Posts with Thumbnails