If you're attending today's Craft Around event with the Papercrafter's Workshop in Stouffville, Ontario... you'll be making a very similar project to what I'm sharing today. Our main focus is creating wax seals, so for those folks who've never tried it, they'll have a chance to create one with the Acorn Trio stamp from Spellbinders.

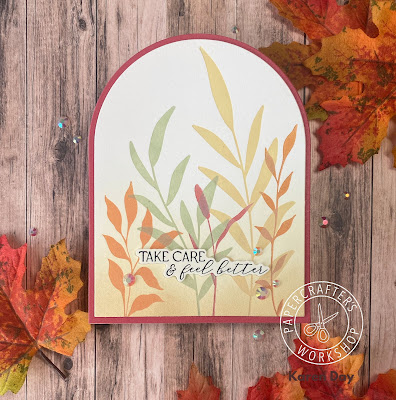
We're also using this Tim Holtz "from the vault" Fall Wreath die set, so I've created a couple of samples using many of the bits & pieces from the set. I double cut the wreath in two different browns, and stacked them on top of each other, then created a little spray of all the bits, in fall colours. Everything was glued onto an arch cut with Spellbinders Essential Arches dies.

Each of these has been spattered with gold paint, and then a wax seal that had a little gold paint added to to it - was adhered onto the wreath. One of them got a fall sentiment, and I've left the other plain, but will likely add one depending on the occassion I use the card for.

There are five different stations at today's events, all creating a different project, with different tools and techniques. Sign up for the Papercrafter's Workshop emails, and you won't miss the next one!