Thursday, April 29, 2021

Quick & Easy

Our Watercolour Weekend theme on the Art Impressions blog this weekend is "Quick & Easy".  For me, that means a simple scene.  I often reach for more than a dozen stamps to put my scenes together, but this one took just 4:

I stamped the larger toadstool from the 5125 - WC Elves Set onto my Canson XL Watercolor Paper, colouring it first in my Tombow Dual Brush Marker #565 Deep Blue, and then #969 Chocolate.  Using my stamp positioner, I added the rounded door from 5056 - WC Fairy Doors Set in the same colours. With my damp #1 paintbrush, I pulled the colour out of the lines, in towards the middle of the image.  Using a pencil, I drew in the spots, then painted them with a mixture of #076 Green Ochre and a bit of #126 Light Olive on the lower edges.  I used #346 Sea Green, carefully painting the top of the toadstool, starting with a diluted wash, and layering colour several times to achieve the darker teal shades at the edges and bottom.  For the undersides and stem, I mixed varying shades of #565 & #969 together on my palette to add streaks of greys and browns, and darkening the lines of the image, painting in the door frame the darkest.  #026 Yellow Gold was painted on the door.  The door stamp only has 3 stones, so I painted in the suggestion of several more, having them trail away at the bottom of my scene, and added a bit of shading to each of them.  With the two tiny grasses from 5126 - WC Foliage Set 4, I stamped them both several times on either side of the stem in #076, and painted in a bit of the same colour as a grassy base.  #493 Reflex Blue was painted in as the sky.
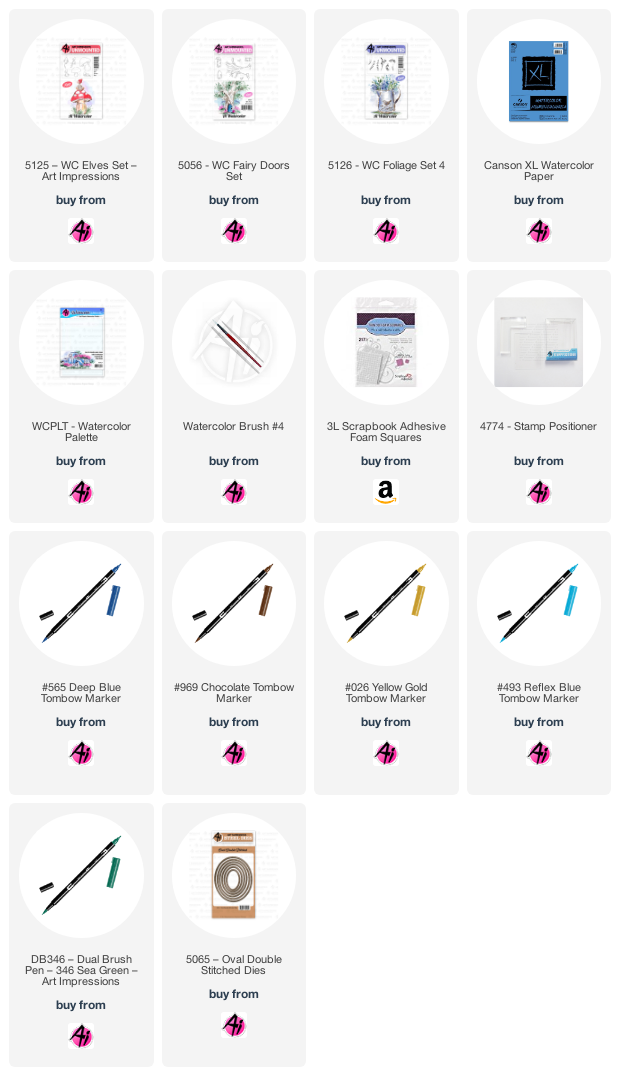
I used 5065 - Oval Double Stitched Dies to cut out my image, matted it with grey, and adhered it to my patterned base with 3D adhesive dots.

Monday, April 19, 2021

A Collaboration

 Sharing a few quick cards that I put together this weekend.  My daughter painted these Tim Holtz Blueprint images earlier in the pandemic, so I pulled them out and decided to make them up into some fun cards using some papers that I've had kicking around for awhile:

Patterned papers are Chloe's Closet from Making Memories... and I decided to use eyelets on them!  Haven't used them in years, but I have all kinds on my craft stash.  All of the paints have a lovely metallic shimmer to them, which contrasts nicely with the muted background papers.


Thursday, April 15, 2021

Creative Containers

 Spring is just starting in my neck of the woods, so I was inspired to paint something springy for this week's Watercolour Weekend on the Art Impressions blog!  Our theme this week is Creative Containers, and Bonnie has designed so many great ones:

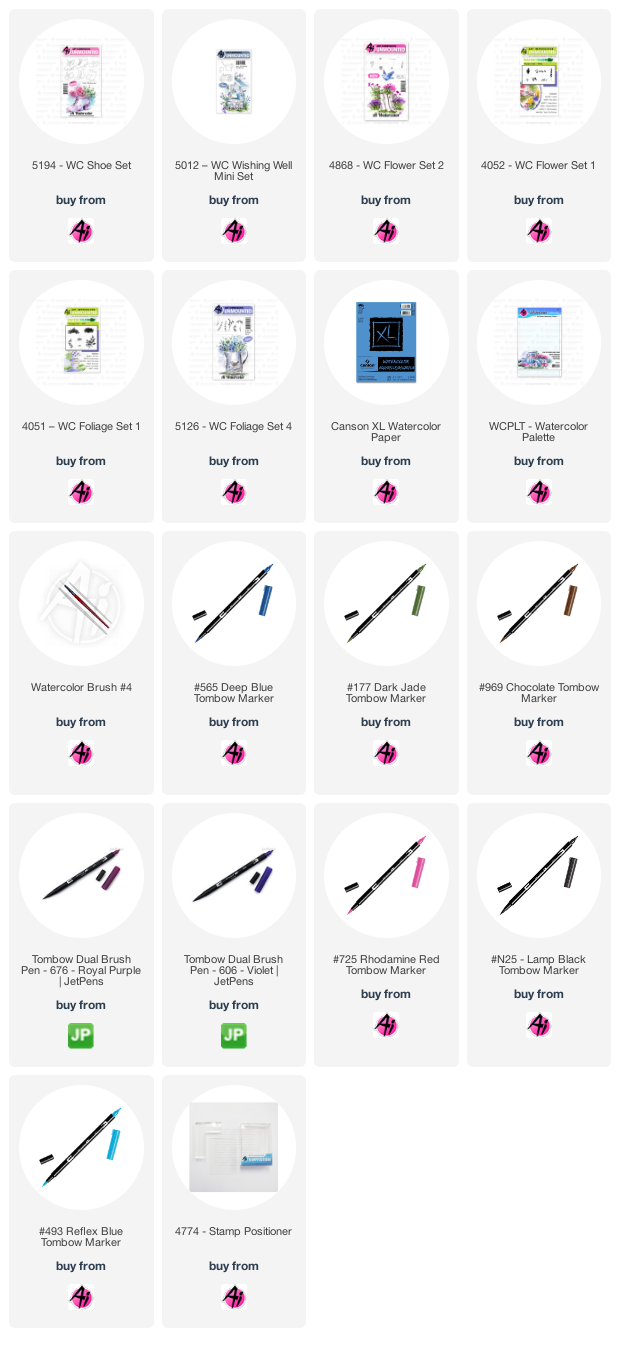
I stamped the wellies from 5194 - WC Shoe Set, masked them, and then stamped the larger watering can from 5012 - WC Wishing Well Mini Set, colouring both in Tombow #969 Chocolate, with #565 Deep Blue overtop.  I left my mask in place, and coloured up the bouquet of tiny flowers from 4868 - WC Flower Set 2 in #177 Dark Jade/606 Violet, then used the Daisy Bunch from Flower Set - 4052 in #676 Royal Purple to fill in the other side of the rainboots.  Changing colours to #565, I stamped the Daisy Bunch several times in the watering can, then with #177, I used one of the ivy stamps from 5126 - WC Foliage Set 4 to add some greenery around it.  Using the Leaves and Salvia images from Flower Set - 4052 in #725 Rhodamine Red and #606 I stamped them both around the top of the watering can bouquet to finish it off.  Everything was touched with a damp brush just enough to enliven the colours.

I picked up #476 Cyan from my palette and painted several layers onto the boots, concentrating the colour in the darker areas, and leaving the shiny highlite as white.  I used #N25 Lamp Black watered down to add a grey shade to the watering can, then used touches of the colours from my bouquet and boots as some colourful reflections on it.  I added #565 in shadowy areas for a bit of depth.  With the larger grass from Foliage Set - 4051, I added grass to either side of my scene using #177, and painted #493 Relfex Blue onto the sky.  To finish it off, I spattered the black paint lightly over everything.  I cut my piece to a 4 1/2" square, then used the 5061- Square Double Stitched Dies to cut out a blue frame - 4 times, and layered them on top of each other to make it more substantial.  Be sure to check out the Ai blog on Saturday to see what Dot & Tricia have to share!


Friday, April 9, 2021

Ai Matchbooks

 I made a tiny creation yesterday, using one of the Matchbook sets from Art Impressions!  It's a tiny 3D card that folds up neatly into a little matching envelope.  And I do mean tiny - the finished project is 2" square:

I started with the 5317 - MB Template Die, which cuts out the base (the 'room') from double sided patterned paper from Doodlebug Designs.  
I stamped all of the images from the 5319 - Birthday Set onto white cardstock, cut them out with the matching dies (all of which include tabs that fold back to attach each piece to the base - including the score lines).  Each piece was coloured with Copic markers, and adhered with Scor-tape.  There's even a little rug on the floor that you can't quite see!
The base template includes 2 different styles of windows, with a die to cut out the panes, and another to cut out the tiny window frame that you see here.  Serious cuteness!  The windows are about 3/8"x1/2" in size.
With the genius way that the sets are designed, they fold neatly to fit into a 2" square
You could give this to someone just like this, or you can use the 5318 - MB Envelope Die.  
The final package is about 1/8" thick.  You can find all the different themed sets available on the Ai website here!


Wednesday, April 7, 2021

Just Because

 My run of slimline cards continues!  I'm using another Pinkfresh Studio stencil today, with some Distress Oxide ink blending, and Pinkfresh dies:

This little 'Just Because' die is from Creative Expressions, and can be found at the Papercrafter's Workshop - such a great little sentiment!  I die cut it twice and layered it together to be a little more substantial.  A few white Nuvo drops finished things off.


Friday, April 2, 2021

You Are My Favourite Human

 So many great sentiments in the 'You' Say it with Stamps set from Photoplay.  And I love that you can get the matching word die.  My background is from a recent ink blending day that I had, playing with my Pinkfresh Studio slimline stencils (this one is Diamond Plaid done in Spun Sugar Distress Oxide ink).

I did some ink blending on white cardstock, then stamped my flower overtop in Versafine Onyx Black Ink.  Then LOTS of fussy cutting...  Colours are Spun Sugar/Kitsch Flamingo; Shaded Lilac/Wilted Violet; Scattered Straw/Wild Honey.

The slimline dies are also from Pinkfresh Studio.


Thursday, April 1, 2021

Be Blessed

 I have an Easter slimline card to share today!  Many of the Art Impressions Bible Journaling sets work beautifully on long slim cards, so I began by pulling out 5374 - Lily Border Set, and placed it in my Misti.

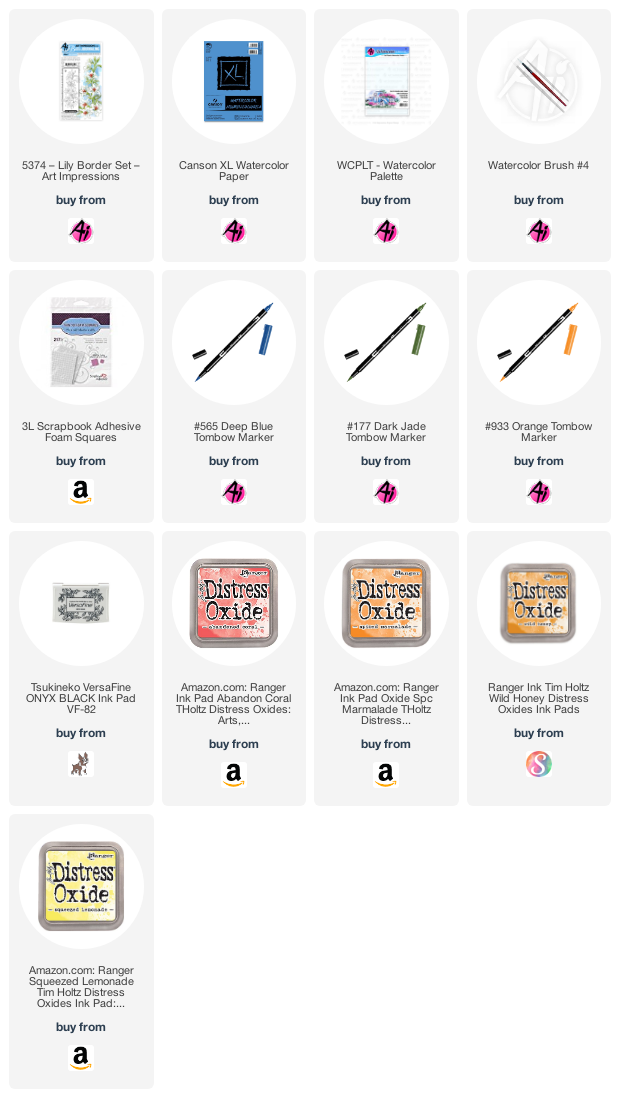
I coloured the entire image in Tombow Dual Brush Marker #N65 Cool Grey 5, as I wanted a fairly soft outline of the lilies - and stamped it onto a piece of Canson XL Watercolor Paper.  With a damp brush, I pulled out the colour, mainly from the middle of each bloom, to add a bit of shading.  I avoided the outer edges, as I didn't want to blurr the shape of each flower.  I picked up #076 Green Ochre and #177 Dark Jade from my palette, and painted in the stems and leaves, concentrating the darker colour where the shadows are.  I added a watered down bit of #991 Light Ochre to parts of the petals to add a bit of warmth, and then stamped the stamens in #933 Orange inside each flower.  I went in directly with my #947 Burnt Sienna marker to darken the centers.  #533 Peacock Blue was painted as the background, with a little #565 Deep Blue in some spots, as well as on the leaves and flowers for a bit of extra shading.

For my card base, I blended 5 colours of Distress Oxide inks, from a deep red/orange fading down to white, and then I splattered it with some gold metallic paint and water.  I wrapped a piece of green cardstock with some fine gold thread, then the image was diecut with a slimline die, and adhered with 3D foam adhesive to the green mat.  The sentiment is from the Exclusive Daisy Set available at Scrapbook.com.


LinkWithin

Related Posts with Thumbnails