Monday, November 30, 2020
A Wreath & some ink blending
Sunday, November 29, 2020
More tags...
I'm on a bit of a roll making up Christmas tags - I love tucking a few into cards that I send out to friends and family. I think this makes 26 as the total for the week's efforts!
This is one of Studio Katia's dotted tag dies, using up some patterned Echo Park paper that I've had for a few years. Sentiment is from The Greetery. I cut out a second tag from some patterned red paper to finish off the flip side where you can add your To & From:
Saturday, November 28, 2020
Snowglobe tags
I've put together some cute little snowglobe tags, using the wonderful Snowglobe Die set from Lawn Fawn:
I was inspired by Lindsay Larsen's sweet unicorn snowglobe tag on Day 14 of the 25 Days of Christmas Tags events on Tracey McNeely's blog. You can see her tag here! This was a blast doing a little assembly line of die cutting, stamping and Copic colouring to put together 8 of these little guys:
Christmas Wonder
Hello Ai fans!
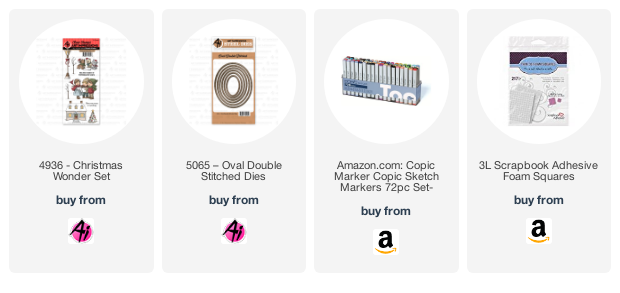
I have a sweet caroling trio that is up on the Art Impressions blog to share with you today, from the Christmas Wonder Set - 4936:
I coloured my image using Copic markers, and die cut it with the 5065 - Oval Double Stitched Dies, then mounted it on a slightly larger oval of dark red cardstock.I ran an uneven line of stitching around my patterned paper with my sewing machine, adhered the oval, and added bits of pine boughs and berry sprigs. A tiny tag was added with 3D pop dots, and a tiny bow of Baker's twine finished it off. It doesn't show very well in the photos, but I added Wink of Stella to the Santa hats, and on the boughs and berries.
Happy stamping!

Sunday, November 22, 2020
25 Days of Christmas Tags
I love the 25 Days of Christmas Tags event that Tracey McNeely puts on every November. I am finally getting a chance to play along today! It's snowing like crazy outside, Michael Buble is playing in the background, and I got 10 Christmas tags made. It's a good day.
I was inspired by the really sweet tags made by Becky Roberts for Honey Bee Stamps on Day 15. You can see her version here!

Thursday, November 19, 2020
Santa's Rocking Chair
I am using a few of the newly released Art Impressions Watercolour and Bible Journaling sets today to create my little Santa's rocking chair scene.
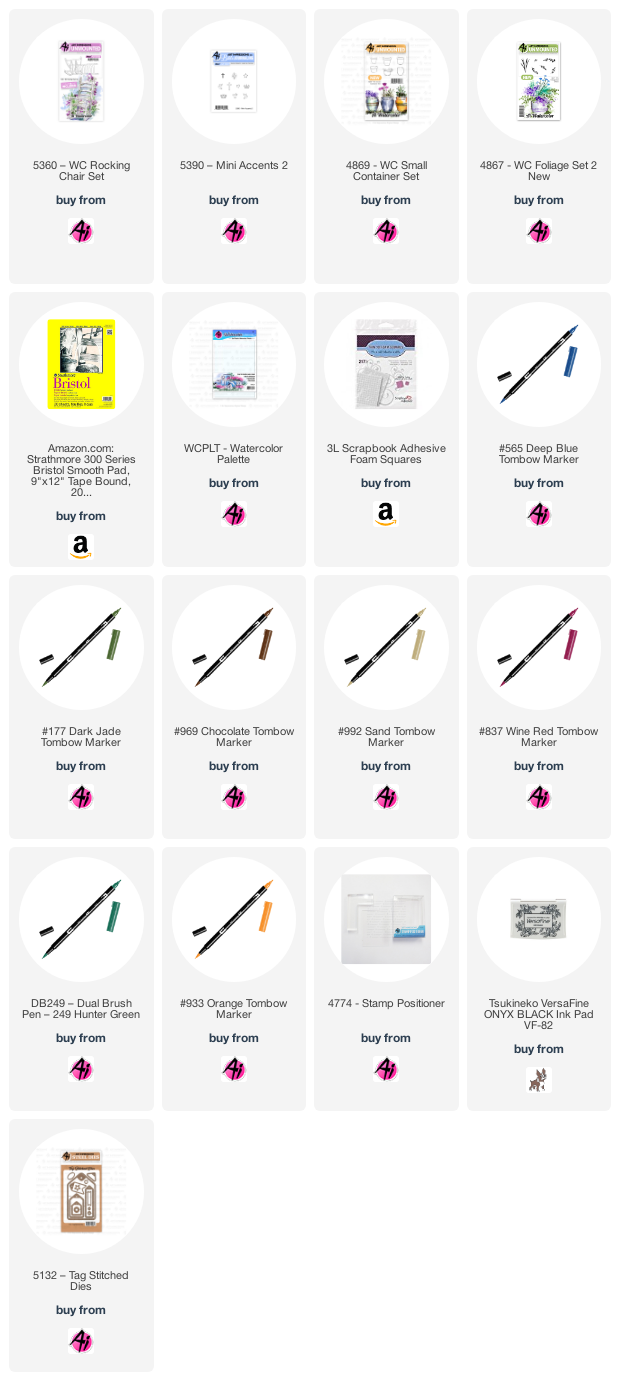
I am painting on Bristol Smooth cardstock, as I have some fine details, and felt this would work best with my #1 paintbrush. I started by diecutting the rocking chair from my masking paper, and then without sticking it down, I used it as a guide for where to draw the hat. I sketched the hat in lightly with a pencil, then masked it. I coloured up the 5360 - WC Rocking Chair Set stamp with my Tombow Dual Brush Marker #N65 Cool Grey 5 and stamped it onto my paper, then covered it with the die cut mask. I inked up one of the pots from 4869 - WC Small Container Set in #N65, and stamped it over the mask, so that it appears slightly behind the chair. To add the greenery, I picked the small pine-like green from 4867 - WC Foliage Set 2 New, and stamped it repeatedly with #249 Hunter Green to create my little tree (sometimes only colouring small portions of it). Drawing directly onto the paper, I used my #969 Chocolate marker to add in the suggestion of the tree trunk. The star is in one of the newly released Bible Journaling sets: 5390 - Mini Accents 2 - it was the perfect size! I coloured it in #993 Chrome Orange.
To the chair I added #476 Cyan, painting it quite loosely, leaving lots of white areas to suggest weathered wood. The Santa hat and pot were painted with a mixture of colours, starting with #837 Wine Red, with a few layers of a blue/red mixture to create shadows and texture. I sketched in the floorboards with my #992 Sand marker, and painted a few streaks with it, and #969 to look like woodgrain. I also drew in the #992 on the edges of the star to create some shadows. After touching the greenery with a damp brush, I added in some #565 Deep Blue to create some shadows on the tree, the chair and shadows on the floor. A watery version of #177 Dark Jade was painted in as the wall colour.
My scene was cut out with the 5132 - Tag Stitched Dies, and I cut out coordinating rings using the tiny die that comes in the set. I added the sentiment from 4514 - Snowman Shaker (retired!) and mounted it with 3D foam adhesive over a patterned tag. I added a few enamel dots and tied on some organdy ribbon with Baker's Twine. I love that none of my stamps were holiday themed, but together they made up a sweet Christmas scene!

Thursday, November 12, 2020
New Art Impressions
The latest Bible Journaling stamp sets are debuting today on the Art Impressions blog. I am using 5375 Grape Border to make a gift tag:
I love finding alternate uses for the Bible Journaling sets, and being tall and slim, they work beautifully on the Art Impressions 5223 - Bookmark Die.I mounted the clear acetate stamp onto my block, and coloured directly onto the image with my Tombow Dual Brush Markers. I used a Sandy Allnock approach, and somewhat randomly coloured the leaves in 2 colours - #346 and #126, and also used 2 colours on the grapes - #569 and #757. For the few spots where the woody vine shows through, I coloured it in #947 Burnt Sienna. I huffed on the stamp to revive the colours before stamping it onto my Canson XL Watercolor Paper. I used my damp #1 paintbrush to pull out the colour, being careful to keep it inside the image. I scribbled both greens, plus #993, and #177 Dark Jade onto my palette, and dropped them into the image to create multi-coloured leaves. After pulling out the colour from the grapes, I went back in with #803 to add some brighter tones, and used the #757 marker directly on the paper to redefine any lines that got blurred. Finally I added some #565 Deep Blue in a few spots to add a few shadows - and that was it. I wanted a fun, bright image
The sentiment is from the Roses Exclusive Set available at Scrapbook.com, stamped in Versafine Onyx Black Ink. I die cut the grommet hole and a couple of the small feathers that come with the bookmark die, and threaded them onto some plum coloured Baker's Twine. *After giving the tag as a gift, the recipient can use it as a bookmark. Be sure to check out the Ai blog today to see what Dot & Tricia have to share.
Sunday, November 8, 2020
2020 Fall/Winter Coffee Lover's Blog Hop!
Finally! It took me several days to get this one assembled, but I am happy to be participating in the 2020 Fall/Winter Coffee Lover's Blog Hop.
Look closely! I've die cut the word COZY out of the patterned paper, and have layered it with 5 other die cuts to create a raised word. Scroll down to see it a little closer up. These are the lovely Winter Market papers from Carta Bella. I cut out a rectangle, 1/2" in from each side, and slid a piece of very sparkly silver glitter paper underneath (it is SO much sparklier in person!)I added some glitter snowflakes and a couple of mugs of cocoa, along with the sentiment that I white embossed on the dark grey cardstock.
Southwest Christmas
I am helping Art Impressions celebrate their 2020 Virtual Warehouse sale today! There are lots of deals available, and today is the last day.
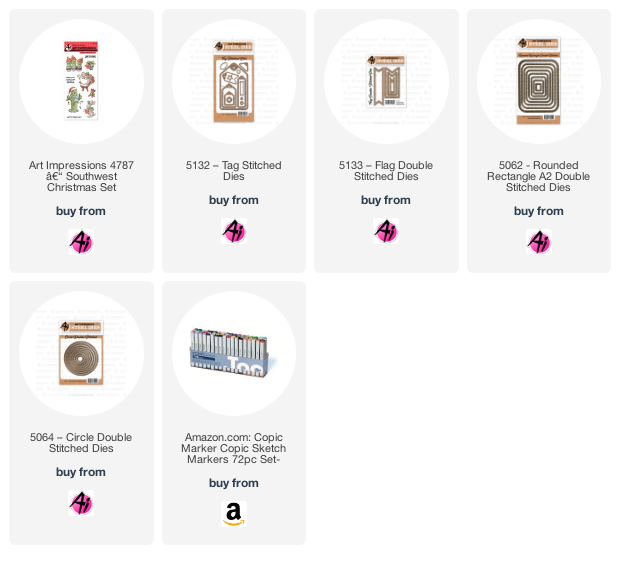
I have a card and tag to share with you, featuring the wonderful 4787 - Southwest Christmas set!
This is such a cute set, with 6 fun images, and 3 lovely sentiments to go with them. I coloured up my images with my Copic markers, and used four different Art Impressions Stitched dies to create my projects!
Thursday, November 5, 2020
Ornate Window
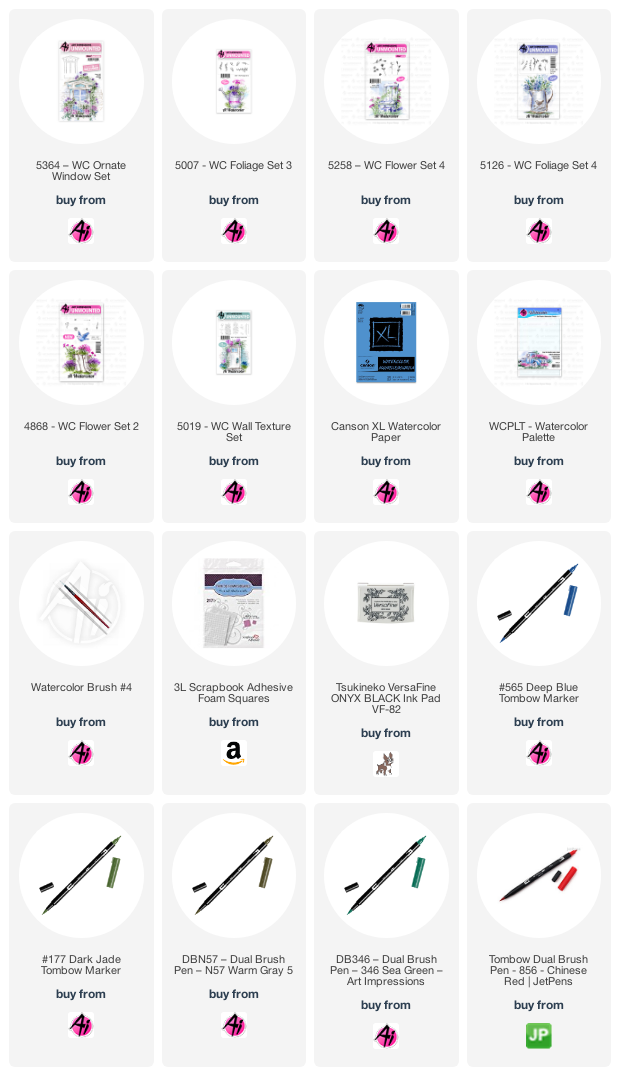
I've painted a Parisian window today for Art Impressions Watercolour Weekend, using the newly released 5364 - WC Ornate Window Set:
I inked up the large window image in my Tombow Dual Brush Marker #N57 Warm Grey 5, and stamped it onto my Canson XL Watercolour Paper. Next I created my flower box from the bottom up, starting with the long ivy image from 5007 - WC Foliage Set 3, inked up in #346 Sea Green, stamped three times in varying lengths. I used the two angled vines in 5126 - WC Foliage Set 4 coloured in #177 Dark Jade to create a spray of foliage, leaving room for my roses. With #856 Chinese Red, I coloured up the trio of roses from 5258 - WC Flower Set 4, sometimes only colouring one or two, and tucked them amongst the top of my greenery. Then to add some height and a pop of yellow, I used the tall floral stem in 4868 - WC Flower Set 2 coloured in #991 Light Ochre, again in various heights. To fill in any white areas, I used the tip of the vine images in #126 Light Olive to brighten things up, and add a nice contrast to the darker greens I used. I dabbed at my floral display sparingly with a damp brush, to liven up the colours a little, but I mostly wanted to retain the shape of my stamped images, so I left them largely alone.
After masking my window frame, I used the brick image from 5019 - WC Wall Texture Set, coloured in #N57, only loosely colouring the image so that the edges of the brick faded away, and had an irregular shape. I picked up the colour from my palette, and painted in between the bricks to suggest a darker grout to my brick wall. I softened all of the lines of the window frame, and painted in the decorative top with my #346 to echo the blue/green colour of the vines. I painted more grey into the frame where the shadows are, adding some #565 Deep Blue around the edges of the window, and painted it onto the panes of glass, being careful to leave some white areas for highlights. I went back in with the fine point of my N57 marker to redraw any lines that were fading.
To assemble my card, I cut my scene with the 5063 - Rectangle A2 Stitched Dies, matted it with black, and adhered it to my patterned card base with 3D foam adhesive. The sentiment is from the Scrapbook.com Exclusive Daisy Set, stamped in Versafine Onyx Black. And as a final touch, I added some white Nuvo Drops.

Wednesday, November 4, 2020
Holly Collage card
Here is my last card made with the Photoplay holly/berries stencils!
I wanted to try using just a portion of the stencil on my card, so I concentrated on one corner, allowing the inks to fade out around the edges. (Inks are Mowed Lawn and Worn Lipstick Distress Oxides). I die cut my panel with this wonderful die from The Greetery, and then created my collage with a cluster of pine and berry diecuts. I used a little Crushed olive ink to shade a portion of my tag, and added the "merry" die from Photoplay's Say it With Stamps line, cut in the wonderful No Shed Glitter Paper in a lovely rich red.I used the same melon-y pink shade of cardstock for my base, and now have another Christmas card in my stash! You can find the Photoplay products at the Crafter's Workshop.
Sunday, November 1, 2020
Holly card
I recently got to play with Photoplay's two-step stencils for Demo Days at the Papercrafter's Workshop... and I loved them so much, that I got a set for myself (I have the snowflakes, too - but haven't busted them out yet). Here's what I put together:
The stencils were so easy to line up - I started with the holly, blending Distress Oxide ink in Speckled Egg, then a little Peacock Feathers into the edges, and finally a little Faded Jeans overtop to tone it down a little. For the berries I used Tattered Rose, Worn Lipstick and a little Aged Mahogany.


