I am up on the Art Impressions blog today for the Watercolour Weekend post.

I have one fall and one Christmas card to share with you today, let's start with my favourite season:

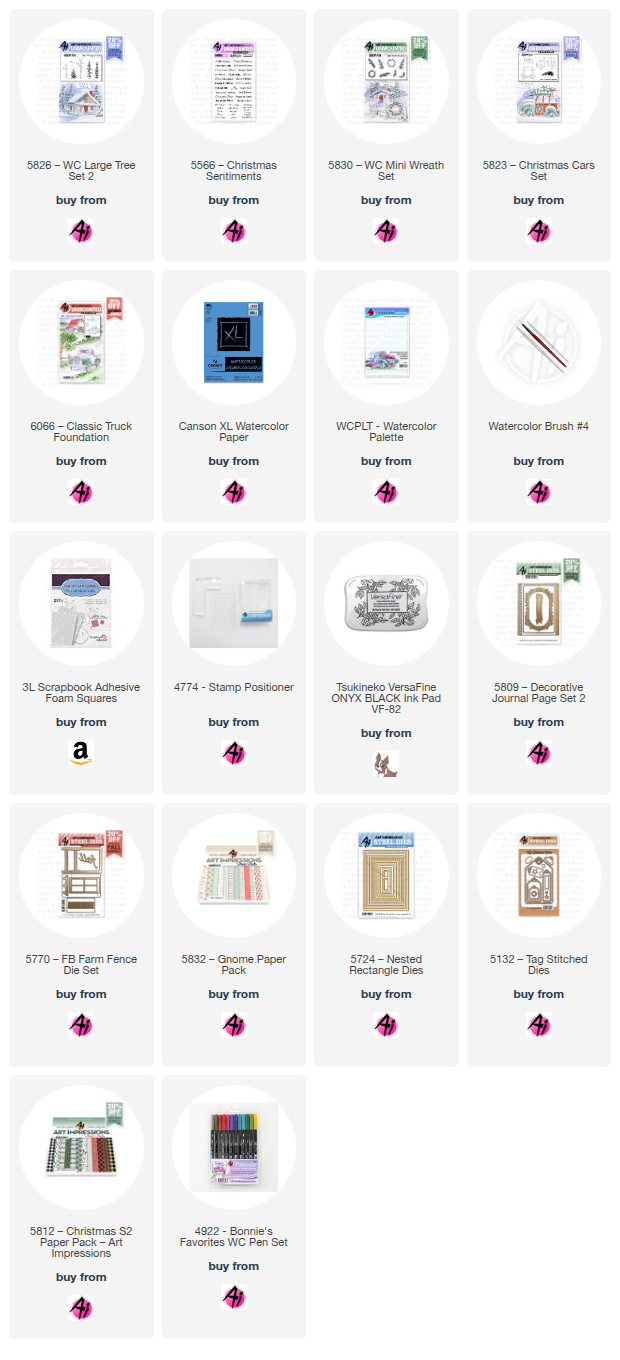
This is the 6066 - Classic Truck Foundation set. I went for the softer side of fall with this one. I stamped my image with #N45 onto some Canson XL Watercolour paper, and pulled out the colour with a damp brush. I used a wash of #177 with touches of #993 to paint in the hillsides, and shades of #992/969 for the dirt road, tree and fence. The truck was painted with a mixture of #565/249 to create the washed out aqua shade, and all the trim was done in layers of #N45. The interior of the truck was painted with #565 to give a shadowed look.

I wanted a white barn, so only painted light shades of #N45 on the shadowy sides of the barn, and a darker layer of grey on the roof. I used a pencil to add in the vertical barn boards. The doors were painted in #837, and #565 was used to shade in the windows and under the eaves. A wash of #493 was painted in the sky, leaving negative white space to suggest clouds, and I added in some areas of #N45 to add some shading to them. I drew in the trees along the hillside directly with my #177 and 933 markers, and even though I used a tiny foliage stamp for the tree in the foreground, I wasn't happy with the look so used the markers directly on my paper to add in the leaves.

The image was die cut with the stitched/rounded corner die from the 5809 - Decorative Journal Page 2 set which fits the Foundations perfectly! I added a blue mat underneath it, and mounted it onto this pretty plaid from the 5832 Gnome Paper Pack. I wanted to accent the barn door colour, so used the Fall word die from 5770 - Farm FB Fence Set, cut out three times from some warm pink cardstock, and layered on top of each other to create a nice thick word. I offset my panel slightly to the right of my card.
My second card is the start of my painted holiday cards!

I used the sweet little truck from 5823 - Christmas Cars set, and stamped it in #N45 onto some Canson XL Watercolour paper. After pulling out the colour, I painted the truck with several layers of #837 to build up the darker areas, leaving the rounded parts of the truck much lighter. I masked off the back of the truck, and used my stamp positioner to stamp the tree from 5826 - WC Large Tree Set 2 in #249. After touching it with a damp brush, I stamped it a second time to add some of the detail back in. I wanted a wreath on the front of the truck, and the little half wreath from 5830 - WC Mini Wreath Set worked perfectly! I used #249 and my stamp positioner to get it in the right spot.

I used #565 to paint in a wintry sky wash, and also added the 'suggestion' of a person in the truck, and added a shadow under it. I used white paint and a #1 brush to dab on some snow on my scene. I used my red Twintone marker to draw a bow on the wreath.

My image is small! So I made a busier background using the 5812 - Christmas S2 Paper Pack. I used the 5724 - Nested Rectangle Dies to cut it out, and matted it with black cardstock. I cut the 5132 - Tag Stitched Die from the woodgrain paper, and adhered it down to my background. The sentiment is from 5566 - Christmas Sentiments Set stamped in Versafine Onyx Black ink.


.jpg)