We have an interesting colour combo of Creme Brulee, Gypsy & Black as this week's Heart2Heart challenge!
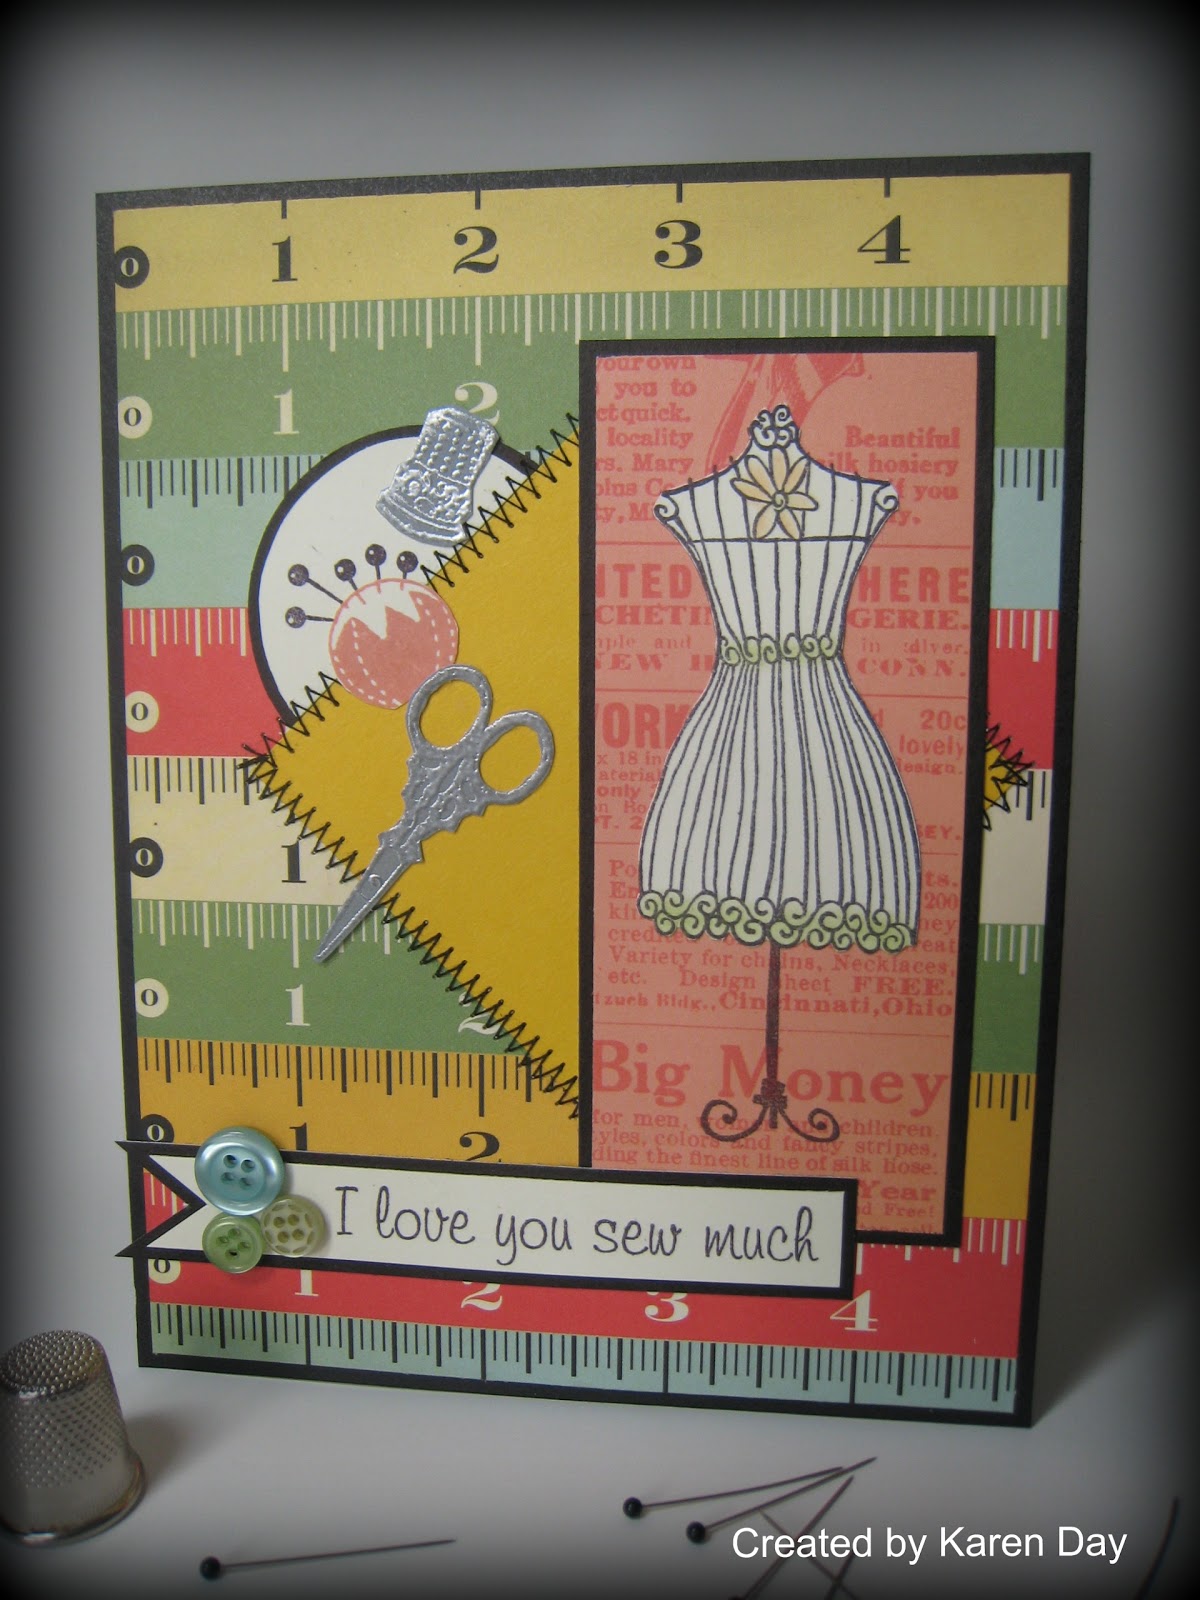
 A few of us on the design team found this a bit difficult - but the end results by everyone are incredible! So be sure to check out all the inspiration ideas over at the blog, along with the creation by this week's guest designer, Angie Parchey. Angie is also one of our prize sponsors for the month of March, along with Lori Brown. I knew right away that I was going to do something floral for this week's card, so I made a few paper roses, and then realized that our Just Blooms paper flowers came in Creme Brulee, too! After playing with my little grouping of flowers, I added a few punched ones, and then needed to somehow add some leaves and vines to round it out... but green isn't part of the challenge, and black leaves seemed a little gruesome! So I came up with the idea to stitch a few wispy tendrils in black thread. I sketched them out first, and then traced them with the sewing machine. Voila!


Remember that your project (doesn't have to be a card!) should be mostly CTMH, and if you don't have the exact colours - use something close. All supplies are CTMH: Stamp set is Gracious Greetings; Inks are Black, Creme Brulee & Gypsy; Cardstock is Black, White Daisy, Creme Brulee & Gypsy; Licorice & White Opaque Pearls. Punches are Marvy & Martha Stewart.