Showing posts with label Halloween card. Show all posts

Thursday, December 11, 2025

Halloween Martini card

This was my first project with the October Betterpress Society plate, 'Twinkle Tidings'.  It's pretty clearly a Christmas plate, but I got it in my head that I should see if I could make it a Halloween card.  I was going for 'Pretty Halloween' with my colour combo:


I used four Distress Oxide inks along with the coordinating stencils to colour the plate, then used Hickory Smoke and Black Soot to add a grungy look to the edges.


I'm using the Olive Martinis die set from Spellbinders to make a sparkly Halloween martini - cutting the glass out of black glitter cardstock, and the other bits from cardstock that coordinated with my ink colours.


And yes, I made the little olive dies into eyeballs, drawing on some pink veins with a Twintone marker.  The sentiment is from the Cheers Sentiments press plate that coordinates with the Martini dies, and was popped up on 3D foam adhesive.  A few black gems finished it off.


You can get a Betterpress Society subscription from The Papercrafter's Workshop.


Friday, August 16, 2024

Spooky Crew

I don't give out Halloween cards, but I do love to make them!  This is the new 5934 - Spooky Crew Set from Art Impressions.


I had a lot of fun colouring this set up with my Copic markers, and decided to try making a Halloween card without using any orange... there have been so many funky Halloween colour combinations being used on cards lately, that I wanted to see what I could come up with.  I'm really happy with the results!


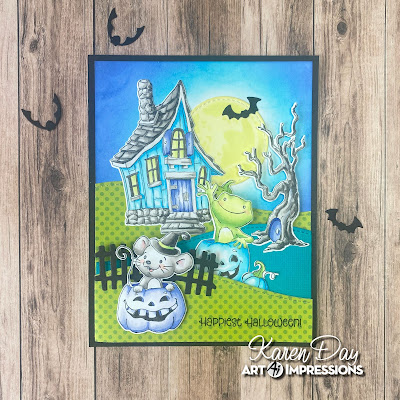
This set includes matching dies, so after colouring, I cut out all my pieces, and planned out my background.  The base is just a 4 1/4 x 5 1/2" piece of black cardstock.  On some white cardstock, I ink blended Mermaid Lagoon and Blueprint Sketch Distress Oxide inks, to create my night sky, leaving a white area where I attached a circle that I had coloured with my Copics to look like the moon, and sponged on a little Squeezed Lemonade ink.  I made each of the hillsides into a flap, so that they open up from each side.  If you remember the Ai Try-fold cards, you'll see what I was going for.


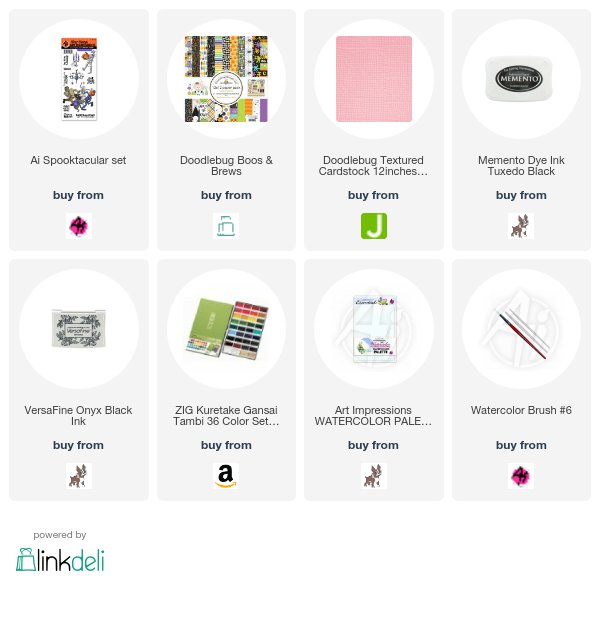
On the middle panel, I attached the tree and frog, and on the front panel I used 3D foam adhesive to attach the mouse over a black fence piece cut using 4967 - WC Fence Dies.  The sentiment is included with the Spooky Crew stamp set.  I also cut out a black bat from 5769 - Halloween FB Fence Set.


There's enough room on the inner panel to write a note to the recipient that would be hidden by the two flaps. 


Sunday, October 15, 2023

Mini Halloween Twister

 I'm sharing one of the cute Halloween stamp and die sets that was released by Art Impressions a few weeks ago.  This is 5816 - Mini Halloween Twister Set.  This was so fun to make!  And I think the person I'm sending it to will love it.

I stamped all my images on white cardstock and coloured them with Copic markers.  I die cut them with the matching dies that add the little notches at the top and bottom.  These are front and back sets, so when you scroll down, you'll see the mirror image on the back side.
There is also a die included that cuts out the opening, and a little outline frame for it, so I cut those in black.  I'm using the new Halloween Paper Pack from Ai, and adhered the patterned paper to an A4 sized card base.  Once the frames were glued on, I inserted the little twisters into each of the openings.  I added a few die cuts from 5769 - Halloween FB Fence Set, and a sentiment from 5603 - Halloween Sentiments Set.

Happy Halloween!


Sunday, October 1, 2023

Boo Y'all!

 I have a fun Halloween card on the Art Impressions blog today, using a mix of old & new products:

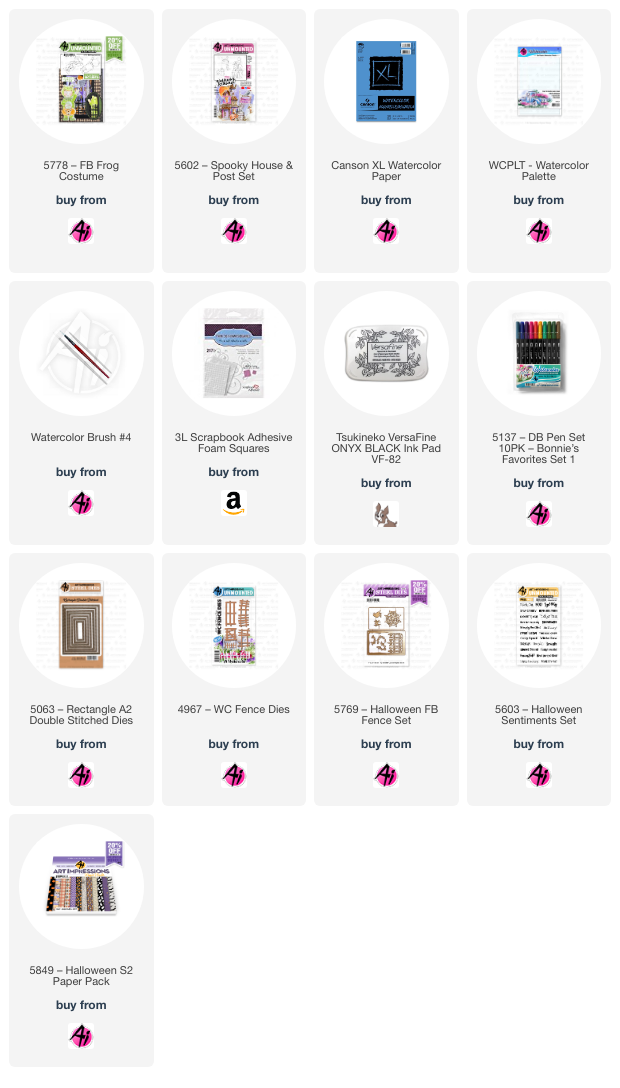
I stamped the house from 5602 - Spooky House & Post Set and 5778 - FB Frog Costume onto Canson XL Watercolour Paper using Tombow #969/565.  I used one of the Ai Nested Circle dies to draw in the moon behind the house, and then started painting!  For the house, I've used #676 & 606, with 346 for the shutters, and N55 for the grey bits, adding several layers where it needed to be darker.  Using the marker directly on the paper, I added the glowing window panes with #991.  I also used /3991 for the moon, washing it out towards the center, and adding an extra layer of colour around the rim to make it darker.

The grass and frog costume were painted in #126, with #158 added to make some areas darker, and #346 was used for his shoes.  #850 became his skintone, with rosy cheeks added with Copic marker.  The frog comes with coordinating dies, so I was able to quickly cut him out.  *Since he is a Front & Back stamp, I had painted up the back image as well, and intended to have the grassy bank on a hinge that would open up to reveal the sentiment, but I ended up just using the front.  The pumpkin was started with #933, and layers of 905 and 969 were added to the underside to create deeper tones.  I used a Black Twintone marker to darken the pumpkin face, and all the details on the frog costume as well.  A wash of #526 was painted in as the sky, with darker layers of colour farther away from the moon.

To assemble my card, I used the purple starry sky paper from the new 5849 - Halloween S2 Paper Pack as the base.  I die cut my scene with a 5063 Rectangle A2 Double Stitched Die, then I created another grassy bank that I die cut and adhered to the base with 3D Foam Adhesive to have it stand out.  I cut out the 3 bats from the new 5769 - Halloween FB Fence Set and two pieces from the 4967 - WC Fence Dies in black cardstock.  The fence was glued onto the grassy bank, and the bats were adhered to the sky, some with 3D foam.  My Trick-or-Treater was glued onto the foreground, with some foam adhesive under his head.  The sentiment is from 5603 - Halloween Sentiments Set, stamped in Versafine Onyx Black ink.


Saturday, October 31, 2020

My Only Halloween card!

 Yes, they're not something that I make a lot of... but somehow, always really enjoy making?  I have a coworker who celebrates Halloween in a big way, and I try to make her a card every year.  Knowing that she is a cat owner, I thought this would be perfect for her:

This stamp set is from Art Impressions, called 4785 - Howl-oween Set,  I coloured her up with Copic markers and die cut the panel with a decorative rectangle die from The Greetery.
Enjoy the holiday, however you're celebrating it!


Tuesday, October 29, 2019

Witch Wanda

I don't normally give out Halloween cards, but I have a coworker who celebrates the day (she's a witch!) and wanted to make her a card.  I've always loved colouring the Art Impressions Halloween images, so here is Witch Wanda:
I coloured her with Copic markers, and die cut her out with a stitched oval die.  The sentiment was cut with a stitched circle die, mounted on black and adhered to the base with pop dots.  The two little bats are added with pop dots, too.
Happy Haunting!

Thursday, October 19, 2017

New Mini Try-folds!

The Art Impressions Design Team are helping to launch three new MTF sets today on the Ai blog.  I am using Halloween Treats (Sku #4928):
These stamp sets are so wonderfully designed, with three images that layer over top of each other, and each layer has a cutout that allows you to see down to the next layer.  It starts with the creaky old door - you can see how the door has been die cut, and there is a perforated fold line where the door hinges are.
 The next layer shows this table of spooky treats, and the area under the table has been die cut so that you can see the kitty underneath.

 I held everything together with some strands of colourful baker's twine.  The MTF sets come complete with instructions, stamps and dies to put your project together.  Check out with the rest of the DT has to share today over on the Ai blog, and you can link up your creation to our current challenge while you're there!


Tuesday, October 17, 2017

Spooktacular

 I am using another one of the Art Impressions 2017 Halloween sets today - Spooktacular Set (Sku #4941).  This is about as scary as I get for Halloween!  Not very!
 I stamped and coloured three of the mummies with my Copic markers, then pulled out my Kuretake Gansai Tambi watercolours to make some festive backgrounds.  I mounted my image with pop dots, added one of the sentiments that comes in the set, and stitched 1/4" in from the edge with some black thread (always a little nerve wracking, one slip and it's toast!).  Here's a slightly different version:
I can't escape the fact that I'm a patterned paper fan... so with my last image I did the busier version:
 I hope you're enjoying some Halloween crafting time!  Be sure to join our current challenge on the blog "Create a Scene".  Happy stamping!
Copics used: C3, C1, YR18, YR16, YR15, YR12, Y35, Y11, G43, G40
  

Thursday, August 31, 2017

Halloween Shadow Box

Today I am literally stepping outside the box!  Halloween is definitely the occasion that is the most fun for me when it comes to cardmaking, and I knew that the Happy Haunting Set (Sku #4940) from Art Impressions required something special.  This set is just screaming for you to make a scene!  I decided that I would learn how to make a shadow box card:

I started by cutting a circle mask from a post-it note, and used my Distress Inks to sponge a spooky night sky:
 I cut two pieces of black cardstock 5" x 7", scoring at 1/2" and 2".  On one of them I used a 4" square die to cut out a window:
 Using some lime green cardstock, I cut three hillsides in graduated heights, and scored each of them 1/2" from each side to attach them to the walls of the shadow box:
 I coloured up the haunted house and owls on a branch using my Copic markers (I'm all about bright and fun for Halloween, so that dictated my colour choices):
 I trimmed the background panel to 5" square, stamped the tree and bat, and trimmed the highest hillside piece to fit on it and glued it all down.  I joined the two black pieces together, folding on the score lines.  The house is attached to the middle piece, which sits 3/4" in front of the back:
 I glued it all together, added the owls and the lowest hillside to the front of the box, and here is the finished product:

I stamped one of the seven sentiments that is included with the set, and I (ahem) *may* be sneaking a peek of a not-yet-released product that will be available soon on the Ai website!  (shhh...)  I had a blast making my shadow box, it took a little longer than your typical card, but the end result was worth it - oh, and it folds perfectly flat for mailing! 
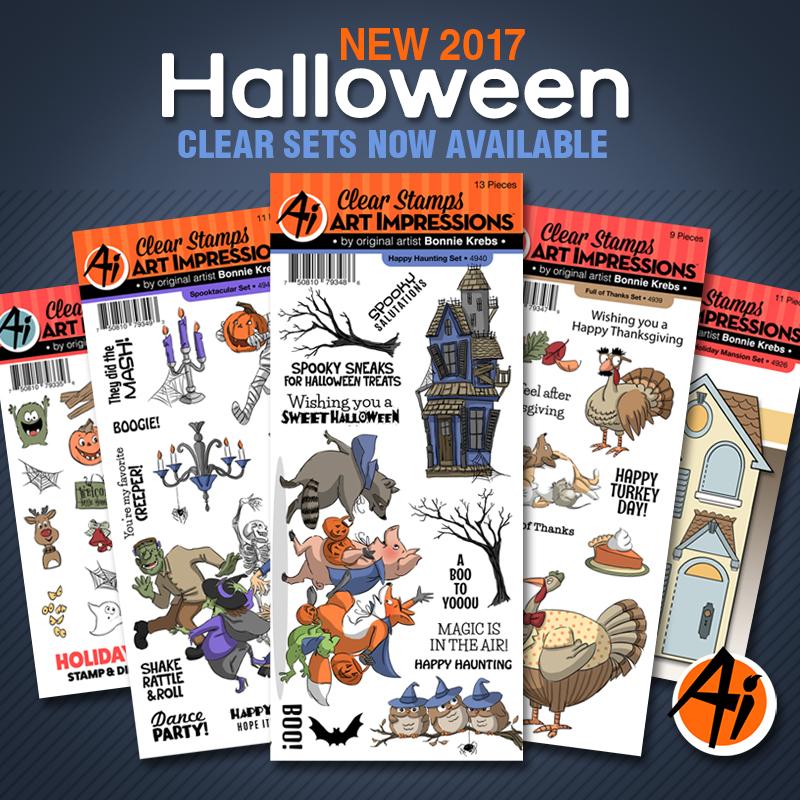
 The new challenge on the Ai blog is "Off Kilter" - we want to see your tilted panels on your creations.  *I'm going to go with tilted fences on mine!  Here are all of the Halloween/Thanksgiving sets that are now available on the Art Impressions website:

  Happy stamping!

Thursday, August 24, 2017

Orange & Purple Challenge

The Art Impressions Design Team are showcasing the three newest Ai woodmount stamps available in Hobby Lobby stores right now!  I have the sweet little Halloween sentiment that needs just a touch of colour, and I made it up into a quick card and a matching tag and bag to hold some treats:

I used my Memory Keeper's Gift Bag Punch Board to make a small sized gift bag in matching papers to hold a few Halloween goodies.  The Halloween stamp is perfect for a tag!
Here are the new stamps! 
Our current challenge on the Ai blog is Orange & Purple!  So head on over to the blog to see what the rest of the DT has to share, and you can link up your Halloween creation while you're there.
*Editing my post to add in this great promo put on by Ai for the rest of August - details are on the blog!


LinkWithin

Related Posts with Thumbnails