I started by cutting a circle mask from a post-it note, and used my Distress Inks to sponge a spooky night sky:
I cut two pieces of black cardstock 5" x 7", scoring at 1/2" and 2". On one of them I used a 4" square die to cut out a window:Using some lime green cardstock, I cut three hillsides in graduated heights, and scored each of them 1/2" from each side to attach them to the walls of the shadow box:
I coloured up the haunted house and owls on a branch using my Copic markers (I'm all about bright and fun for Halloween, so that dictated my colour choices):
I trimmed the background panel to 5" square, stamped the tree and bat, and trimmed the highest hillside piece to fit on it and glued it all down. I joined the two black pieces together, folding on the score lines. The house is attached to the middle piece, which sits 3/4" in front of the back:
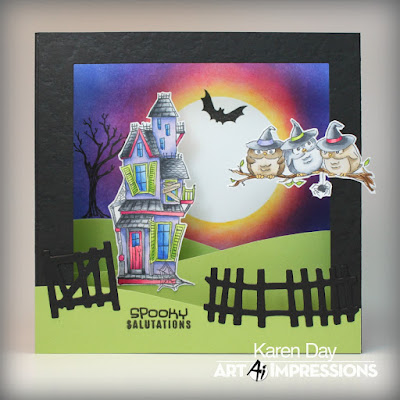
I glued it all together, added the owls and the lowest hillside to the front of the box, and here is the finished product:
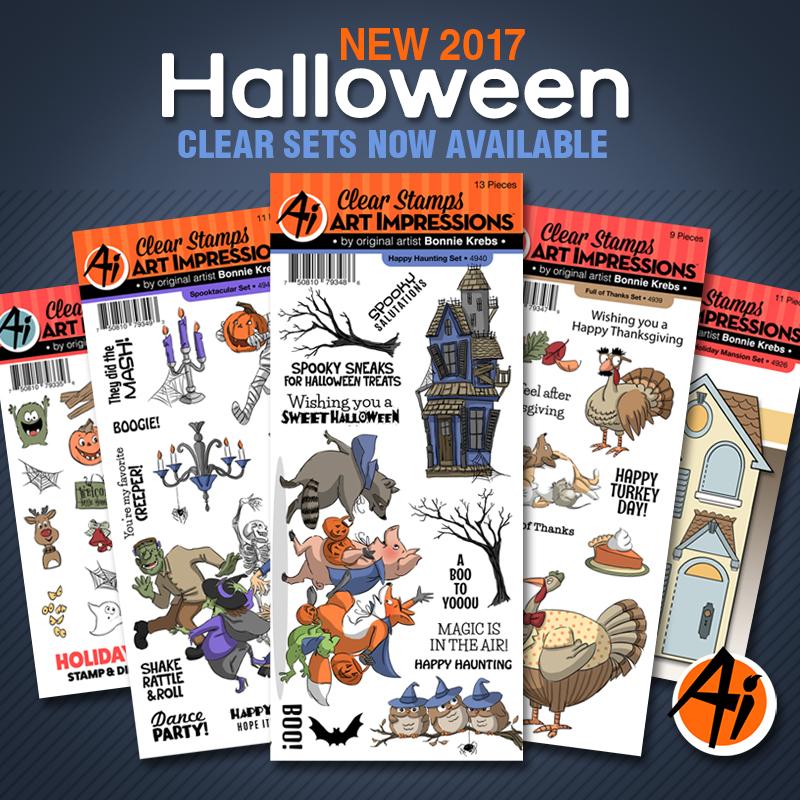
The new challenge on the Ai blog is "Off Kilter" - we want to see your tilted panels on your creations. *I'm going to go with tilted fences on mine! Here are all of the Halloween/Thanksgiving sets that are now available on the Art Impressions website:
Happy stamping!


1 comment:
This is a VERY cool project! Wow! I LOVE the colours and the idea of making a shadow box that can also go flat to mail is brilliant!
Post a Comment