Showing posts with label Easter card. Show all posts

Sunday, April 6, 2025

Ai Easter Cards

 I'm on the Art Impressions blog today for their Watercolour Weekend post!


I have a couple of bunny-themed projects today, incorporating several of the newest releases.  First up is the 6008 - Bunny Hugs Set.


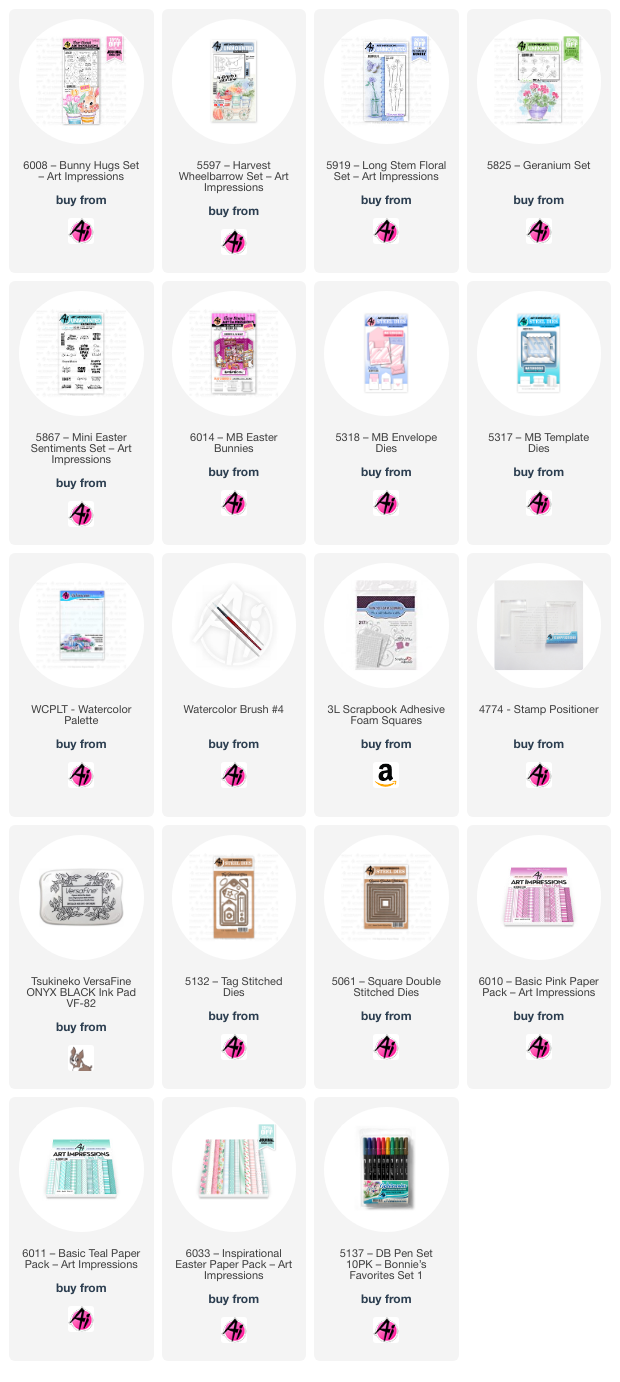
I started by stamping the bunny, basket and carrot on some smooth watercolour paper, using Versamark Onyx Black ink.  *This was different for me, as I usually stamp with Tombows, but I thought I'd give the black outline a try.  I also wanted to create a background scene, so stamped the wagon from 5597 - Harvest Wheelbarrow Set, then added flowers and foliage from 5825 - Geranium Set and 5919 - Long Stem Floral Set with a little masking.


I painted everything using Tombow markers picked up off of my palette, using layers of colour to achieve the darker shades.  I created a wash of #126 to create the grass, and a wash of #526 for the sky.  After painting the flowers, there was still a lot of white space between the leaves, so I painted in some yellow flowers and darker foliage, then used a black fineline marker to outline my daisy-like shapes.  I also used the marker on the grass to add a few lines of definition. I die cut the Bunny Hugs pieces using the coordinating dies, and adhered them to my scene with varying thicknesses of 3D foam adhesives.  The sentiment is from 5867 - Mini Easter Sentiment Set stamped with Versamark Onyx Black.  I used the 5061 - Square Double Stitched Dies, and the 5132 - Tag Stitched Dies to cut out the scene and sentiment, narrowly matting both with periwinkle cardstock.


My card is 5 1/2" square, and I used the new 6033 - Inspirational Easter PP for the background papers, with the scalloped edge die from the 5543 - Journal Template Die Set on one of them.  I popped up the image after tying a white organdy ribbon into a bow underneath it.  A few irridescent jewels finished things off.


My second project is the sweet new 6014 - MB Easter Bunnies Matchbook set!  I adore making the Matchbooks as they're so wonderfully tiny!


I stamped the five images and sentiment onto some smooth watercolour paper, and painted everything in an Easter colour theme using Tombow markers picked up off of my palette, then cut them out with the coordinating dies.  To create the base, I cut the 5317 - MB Template die from the new 6011 - Basic Teal PP, and cut out the tiny windows on either side.  The Ai papers are so perfect for Matchbooks, as they are two sided, coordinating prints.  I cut the small rug die from the 6010 - Basic Pink PP and glued it onto the floor, then glued all of the pieces in position as shown.  


The 5318 - MB Envelope Die was also cut from the 6010 papers to make a cute little matching envelope.

**Bonus Third Project!**  I'm adding this one at the last minute... I had several extra pieces from the 6008 - Bunny Hugs Set that I had already cut out and painted up...


I had the idea to use the new 5910 - Large Letter Die Set, so I cut it out of some pretty paper from the 5939 - Fairy Garden PP.  After cutting out the letters, I cut them out again from plain white cardstock, which I glued underneath, before gluing the patterned paper letters back in place.  It provides just a subtle texture to the letters, and keeps the focus on the bunny.


The colours that I'd painted on the egg clashed a little with my project, so I just went over the stripes with Copic markers to slightly change from pink & yellow, to be purple and green.  You could easily make this a personalized card by spelling out a family member's name, or just use the word Easter - so many possibilities!


Thursday, March 14, 2024

Quick Easter cards

 I have always been a patterned paper fan, and Art Impressions has some of the prettiest paper packs around - today I am using 5742 - Easter PP along with the sweet bunny outline die from 5869 - Easter Bunny Puppet Set.

Since I wanted the papers to shine, I just used the die from the puppet set, starting out with a shaker card. 

 I cut the bunny out of the oval die cut (5065 Oval Double Stitched Dies), as well as the background paper, where I inlaid the gingham bunny - this isn't a necessary step, but I wanted the base to be as flat as possible, giving my shaker elements lots of room to move.  I glued on a piece of acetate, and rimmed the bunny with some thicker 3D foam adhesive, I placed the shaker bits on top of the bunny and attached the oval overtop.

I didn't have any white pompoms on hand, so I dug out some soft white yarn, and created my own by wrapping the yarn around a pencil, then trimming it down a bit.  They are the softest, scruffiest little bunny tails!  I really love how they turned out.


I was loving the bunny shapes so much, that I made a coordinating card with all three of my patterned papers, using my sewing machine to add some zigzag stitching, and of course... more bunny tails.


I also whipped up a quick placecard, as I thought he'd make some pretty cute Easter table decor!


The sentiments are both from the newly released 5867 - Mini Easter Sentiment Set.  


Friday, March 3, 2023

Easter Basket

Easter will be here before we know it, so I have pulled out several of the newly released sets to create a little scene for this Saturday's Watercolour Weekend post on the Art Impressions blog.

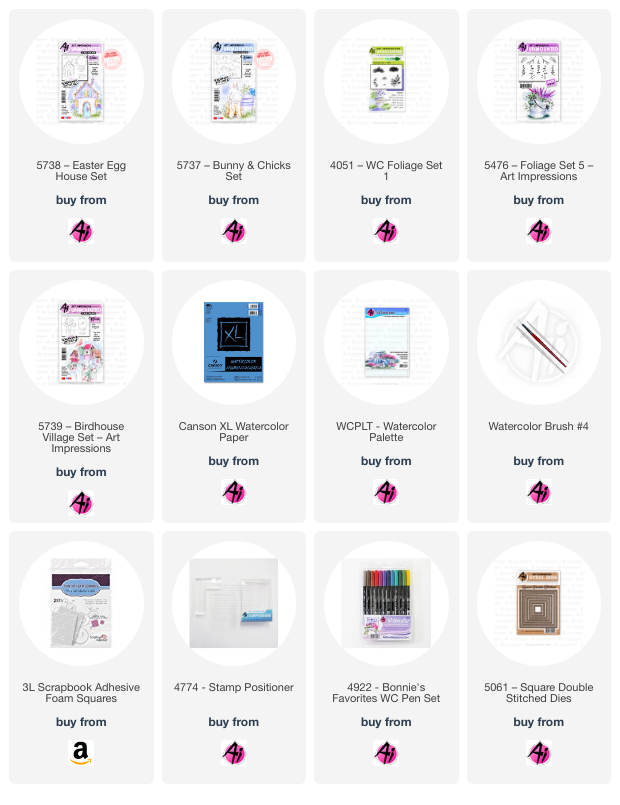
All of my main elements are coloured in Tombow #969/565, and stamped onto Canson XL Watercolour Paper.  I began with the single chick from 5737 - Bunnies and Chicks, masked her up, and stamped the basket from 5738 Easter Basket just behind.  Again masking the basket, I added the egg images inside and around the basket, and finally I used just the bird from 5739 - Birdhouse Village Set, to sit on top.  My stamp positioner was invaluable to get everything placed just right!  

After pulling out the colour with a damp brush, I picked a fun, bright palette of colours and painted the eggs in: #173/725/990/933/493/565, starting with a light wash, and layering colour to create darker tones towards the lower part of each egg.  For the chick, I began with #990, then added #933 and #947 to create warmer, darker tones as shadows.  #493/565 were painted on the bird, and #725 was used for the bow.  With #173 and the small grass from Foliage Set - 4051, I added grass around the eggs, and then chose two sprigs of greenery from 5476 - WC Foliage Set 5 which filled in behind my scene, coloured in both #312/346.  A wash of #533 was painted in as the sky.  My scene was cut out with 5061 - Square Double Stitched Dies, and adhered to my square card base with 3D foam adhesive.

Be sure to check out the Ai blog on Saturday to see what Tricia and Diane will be sharing!


Wednesday, April 8, 2020

A little Easter card

Just a quick Easter card that I made to give to a coworker this week.  I had this sweet bunny from the Art Impressions 4886K - Easter Blessings set by Kendra Krebs:
 I had this image stamped and ready to colour, so did some "TV colouring" with my Copics and fussy cut him out.  I created an oval frame with a cutout in the center of it, and raised both the image, and the pink panel with 3D adhesive for a little dimension:

Wednesday, April 17, 2019

80 Easter cards

We recently moved my Mother-in-law to a nursing home, and I got the bright idea that I'd like to make each of the residents an Easter card!  So while I haven't been posting much this month, I have been crafting.  I made them simple, bright and happy - using up all kinds of supplies that I've had in my room for a while (especially all those paper flowers!).  So here's what a small assortment of them look like:
 Anybody recognize some of those older Close To My Heart papers?  I made up to 10 of some of these - it all depended on what supplies were available.
 It felt great to use up some supplies, while hopefully putting a smile on someone's face.  I'm ashamed to say that I haven't done much of this in the past - so hopefully I can do another round of cards for Christmas.


Wishing everyone a Happy Easter - enjoy the time with friends & family :o)

Tuesday, March 28, 2017

Dancing Easter Tots

I am up on the Art Impressions blog today!
I adore everything about Easter colours - they're so fresh & pretty, and after a long winter like this one, they're a welcome change.  I am using the sweet Dancing Easter Tots (Sku #T4019) for my card:
 I blended six different distress inks onto my card base, then sprayed it with some Tattered Angels shimmer mist that gives a wonderful shimmer to the background, as well as some lovely texture from the moisture of the mist.  I ran a line of stitching 1/4" in from the edge with my sewing machine to frame the image.  After colouring with Copic markers, I fussy cut around the image, and used pop dots to adhere it to the base for a little dimension.  I had these wonderful pastel sequins that perfectly matched my inks so I sprinkled a few of those on as well.

 The sentiment is from Celebrate Spring MTF (Sku #4849).  Here is a shot to show how much the background glimmers:
 There are all kinds of sweet Easter stamps in the Ai store, you can find them all here.  Happy stamping!
Copics used: C3, C1, BV02, BV00, E11, E00, E000, E51, E51, E34, E31, R20, R81, BG11, B35, E57, E55, E53, YG01.


Thursday, January 19, 2017

Spring Colours Challenge & new Art Impressions!

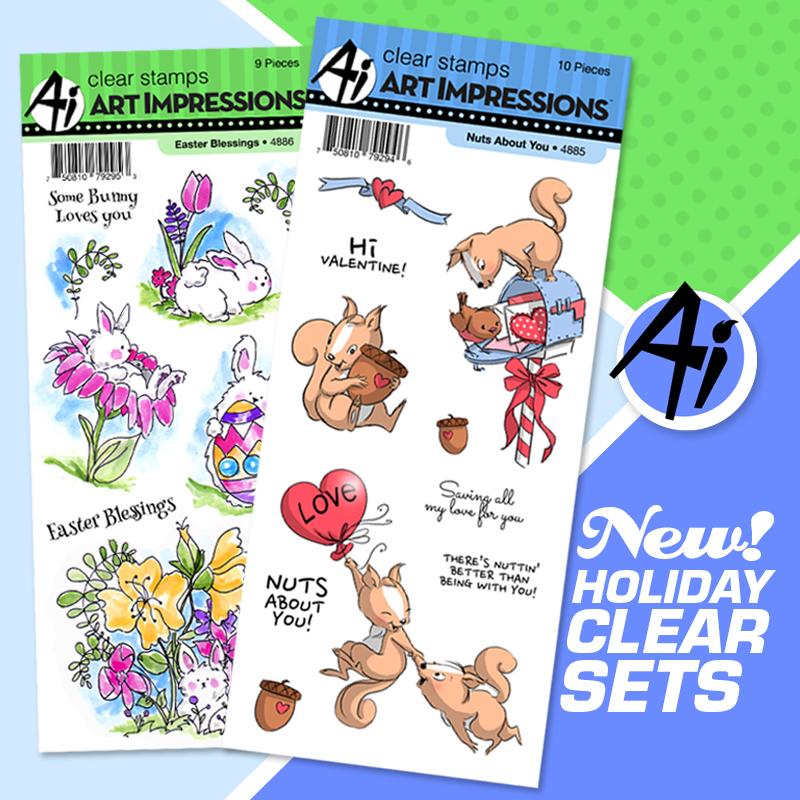
It's my day to do a feature on the Art Impressions blog, and Ai is launching their new 2017 Easter & Valentines sets:
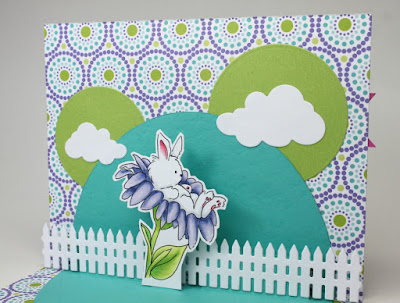
I am so excited to share the brand new Easter Blessings set (Sku #4886) with you today!  I've been itching to do a pop-up card for a while now, and this seemed to be the perfect stamp set!  

 I used this double sided patterned paper from Doodlebug Designs as my card base - the colours inspired me, and it helped to keep my layers to a minimum, and not make the card too bulky.  Here's the inside:

 I started by cutting an oval shape from some teal cardstock.  I scored it in half, then cut the tall skinny flap to glue the bunny to, and the two narrow flaps which will hold up the fence:
The clouds were really fading into the background, so I added some lime circles behind them which ended up really pulling the colour combo together!

 Here you can see the depth of the pop-ups a bit better:
 Celebrate Spring comes with four main images, and the two sentiments I've used on my card - perfect to use for Easter or just a spring greeting card.  There are two new stamp sets releasing today on the Art Impressions website, check them out!
The new challenge on the Ai blog is Spring Fling!  We want to see your creations with Spring colours:

Happy stamping!!


LinkWithin

Related Posts with Thumbnails