
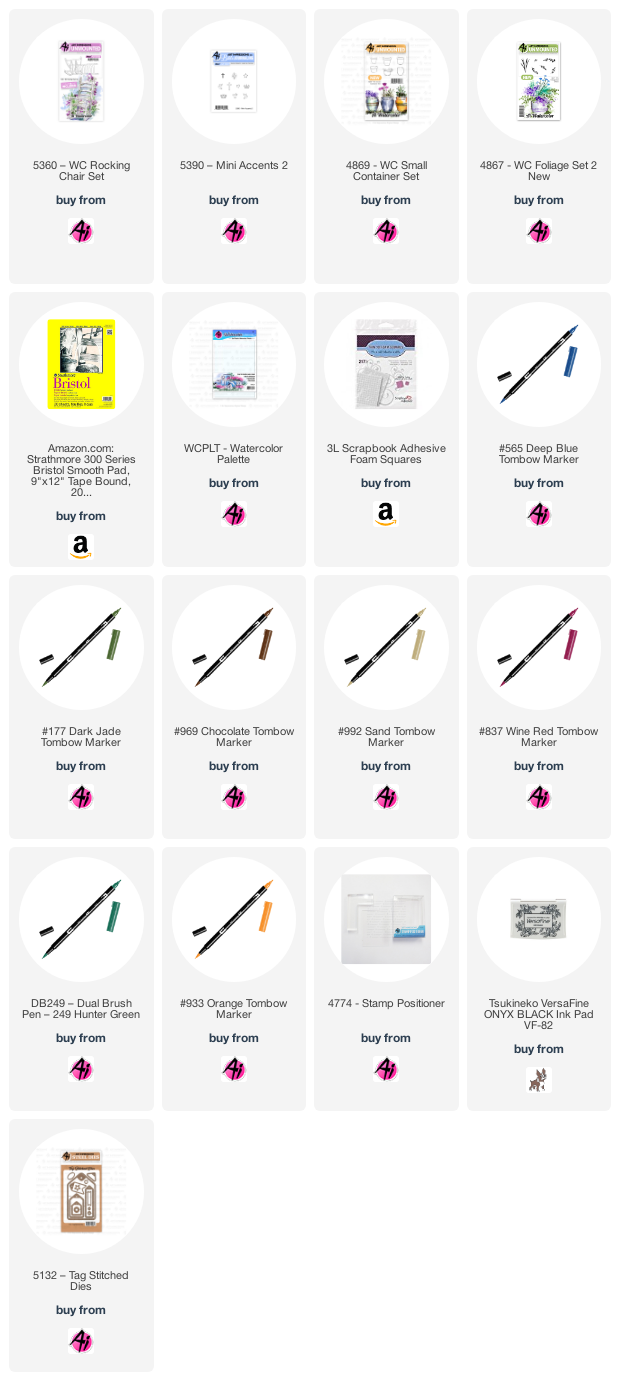
I am using a few of the newly released Art Impressions Watercolour and Bible Journaling sets today to create my little Santa's rocking chair scene.

I am painting on Bristol Smooth cardstock, as I have some fine details, and felt this would work best with my #1 paintbrush. I started by diecutting the rocking chair from my masking paper, and then without sticking it down, I used it as a guide for where to draw the hat. I sketched the hat in lightly with a pencil, then masked it. I coloured up the 5360 - WC Rocking Chair Set stamp with my Tombow Dual Brush Marker #N65 Cool Grey 5 and stamped it onto my paper, then covered it with the die cut mask. I inked up one of the pots from 4869 - WC Small Container Set in #N65, and stamped it over the mask, so that it appears slightly behind the chair. To add the greenery, I picked the small pine-like green from 4867 - WC Foliage Set 2 New, and stamped it repeatedly with #249 Hunter Green to create my little tree (sometimes only colouring small portions of it). Drawing directly onto the paper, I used my #969 Chocolate marker to add in the suggestion of the tree trunk. The star is in one of the newly released Bible Journaling sets: 5390 - Mini Accents 2 - it was the perfect size! I coloured it in #993 Chrome Orange.

To the chair I added #476 Cyan, painting it quite loosely, leaving lots of white areas to suggest weathered wood. The Santa hat and pot were painted with a mixture of colours, starting with #837 Wine Red, with a few layers of a blue/red mixture to create shadows and texture. I sketched in the floorboards with my #992 Sand marker, and painted a few streaks with it, and #969 to look like woodgrain. I also drew in the #992 on the edges of the star to create some shadows. After touching the greenery with a damp brush, I added in some #565 Deep Blue to create some shadows on the tree, the chair and shadows on the floor. A watery version of #177 Dark Jade was painted in as the wall colour.
My scene was cut out with the 5132 - Tag Stitched Dies, and I cut out coordinating rings using the tiny die that comes in the set. I added the sentiment from 4514 - Snowman Shaker (retired!) and mounted it with 3D foam adhesive over a patterned tag. I added a few enamel dots and tied on some organdy ribbon with Baker's Twine. I love that none of my stamps were holiday themed, but together they made up a sweet Christmas scene!


1 comment:
Such a beautiful scene you created - wow!
Post a Comment