Wednesday, June 5, 2024

Hoopla & Embroidered Blooms

Today I'm using pretty much the entire Embroidered Blooms set from The Greetery, along with the Hoopla Oval die that I got to use it with.  I was looking for a pretty colour combo, and somehow decided to use patterned paper, so I found a 6" paper pad that has been in my stash for years - Cool Summer by Carta Bella.  It made for a bunch of pretty die cuts, and a fun mix of flowers.

I cut the Hoopla die out of some tan cardstock, and used Vintage Photo and Weathered Wood Distress Oxide inks to darken and grunge it up a little, then I cut the bits out of gold and silver cardstock, and the center out of cream - to be the 'fabric' base. 

After cutting everything, I inked them up a little to add some shading, and then adhered everything down.  I used the It's Your Day Betterpress sentiment with it's matching die, and created a brown banner to layer it on so that it would stand out more from the busy background.  Some Wink of Stella was added to the flower centers, and a few gold pearls were tucked around the hoop.

Happy to have two of these in my stash!

Tuesday, June 4, 2024

Embroidered Blooms

I have been patiently waiting to pull out my Embroidered Blooms die set from The Greetery, while I finished up other projects.  The large peach flower was simply my test cut of the large die, and I ended up using it in a couple of cards.  All of the floral bits are from the die set, and the sentiment is It's Your Day Betterpress plate from Spellbinders.

The patterned paper is the older "Persimmon" by Basic Grey - the muted tones are not my norm, but I really love the look.

I die cut out the center frame, popped it up with 3D foam adhesive, and matted it with some dull gold cardstock.  A few gold pearls finished it off.

Sunday, June 2, 2024

Gnomes & a Seaside Scene

 Hello Ai Watercolour fans!


I'm kicking off our June Watercolour Weekends with a couple of outdoor scenes - my first one is using everyone's favourite gnomes:


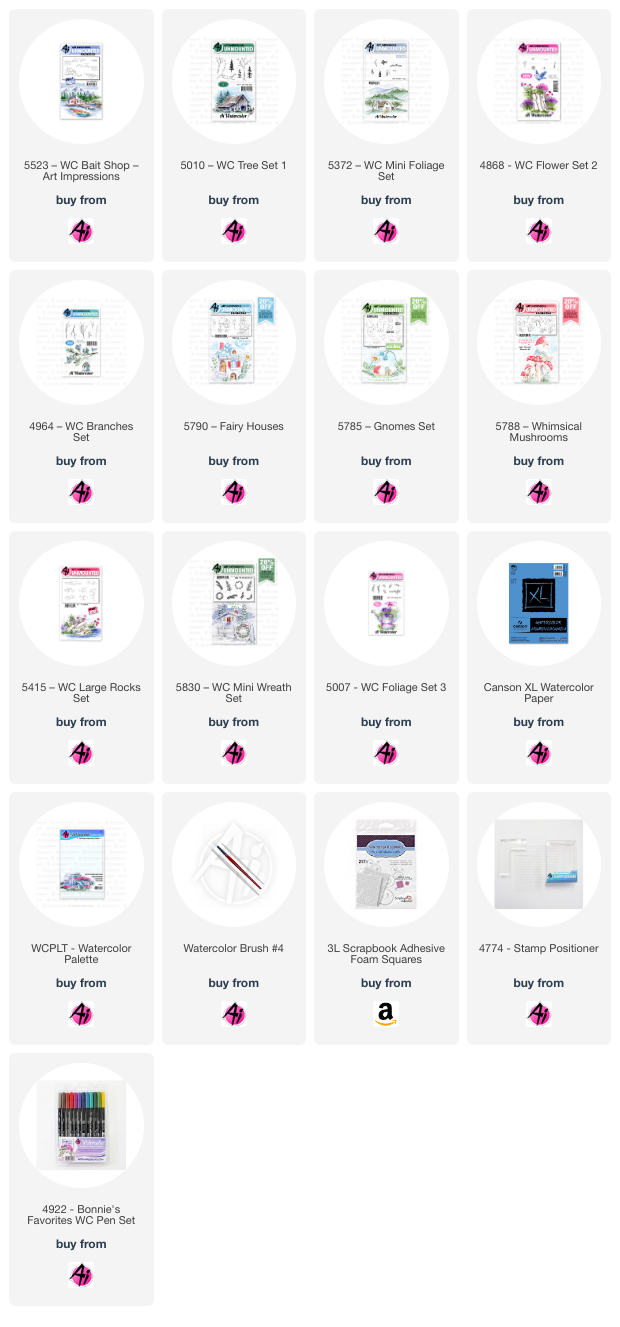
I wanted their home to be the focus, so I began by stamping one of the houses from 5790 - Fairy Houses Set on my Canson XL Watercolour paper using Tombows #969/565 (I use this marker combo for all of my main images!).  After masking the house, two of the smaller mushrooms from 5788 - Whimsical Mushroom Set were stamped on either side, using my stamp positioner.  I added a gnome from 5785 - Gnomes Set on either side of the house, positioning them a little lower on my page so that they appeared to be out in front of the house.  The sitting gnome was also masked, and I used my positioner to add the rock cluster from 5415 - WC Rocks Set.


With the house mask still in place, I also masked the mushrooms, then used my positioner to add in the ferns from 5830 - WC Mini Wreath Set, colouring the tops of them with #126, and fading it into #346 on their lower half.  I filled in under the mushrooms with the grasses from 5007 - WC Foliage Set 3 in #177.  After pulling the colour from the lines with a damp brush, I began adding colour to the images.  The house was painted with #991/993, with a mix of #565/969 added to the roof, and on the hat and coat of the gnomes.  Brown shades of #969/992 were painted on the stump and as wood accents on the house, keeping the shades darker in the crevices, and also used on their boots.  I made the suggestion of a pathway by painting a pale trail of #992, and put some grey shadows to mark the edges - then painted in the grass with a wash of #126.  The mushrooms and red clothes were painted with #856, and finally #565 was painted in as the sky, and used as shadows in the windows, and around all of the images.  
I used a decorative die to frame my scene, then mounted it to my kraft cardstock base with 3D foam adhesive.


For my second card, I knew that I wanted to paint a circular scene, so I traced my die onto my paper as a guideline, and painted within it.  


All of my images are stamped in #969/565 - and I began with 5523 - WC Bait Shop, positioning it slightly to the left, then used my stamp positioner to add the cliffs on both the right and left sides of it.  The two sets of boats from the set were added to create a bit of a harbour scene.  I used trees from 5010 - WC Tree Set 1 and 5372 - WC Mini Foliage, stamping them in #177/249, varying their heights to create a forest background, then used #177 to add the grassy hillside.  The cliff edges were painted in shades of #992/969/947, making the crevices darker, and the upper edges lighter.  I used #N57 to paint in the roof of the Bait Shop, and the greying dock, as well as on some of the rocks.  The grey was also used to add a few darker clouds along the horizon.  


For the water, I used #565 to paint a darker line around the cliffs, under the dock and around the boats, then painted in the rest of the water with #493 - and used it in the sky as well.  I wanted a bright red door, so it was painted with #856.  The boats are done in #249/565/991/856.  Finally, I created a grassy foreground, stamping the flowers from 4868 - WC Flower Set 2 in #177/856, and drew in some grass directly with the 177 marker.  A couple of the 4964 - WC Branches Set were stamped in with #969.  Shadows were added to the windows, cliffs, boats and trees using #565.


I cut out my scene with the circle die, and matted it in blue, then adhered it to my card base with 3D foam adhesive.  I pulled out my sewing machine to add a little zigzag stitching to my patterned background.  This would make a great masculine card for Father's Day!
Friday, May 31, 2024

Wax Seals

 Have you tried them?  They're pretty addicting once you start... (and then you want all the seals!!)  I've been wanting to try them with pressed flowers, and a plain circular seal... so I scoured my neighbourhood for tiny flowers, and pressed them in a dictionary for 3 weeks!  Scroll down and you'll see my efforts at the end.

These ones were with vellum and clear wax - that are virtually identical.  They're actually a little 'brighter' than this is reality, as the woodgrain is showing through the seals.  You can see my fail there on the right!  I was trying to add gold leaf flecks, which were very difficult to handle, and caused the wax to cool before I could press the seal on it.
Pretty happy with this group - I love the teal, especially done as a two-tone seal with the lime.  The two daisies were a purchased set of pressed flowers that my niece gifted me - and they turned out perfectly!  The dark grey wax was lumpy, and not easy to use... another fail.

Happy with these ones also!  Two shades of pink, some marbled, and finally done marbled with white.  This is where I started experimenting with Distress Glitter - and it worked really well.  I learned that less is more!

Finally, I ended my afternoon with the gold wax, and I knew it wouldn't look amazing with the flowers, so I mainly did regular seals.  I tried my gold paint pen with the vellum seals, but need to work on my technique a little more.
Here are my favourites!  The hydrangea blossoms are gorgeous - I still have the plant, so will definitely press more.  Below are shots of the flowers I pressed - the hardest part is arranging the fresh blooms so that the will press open - harder than it sounds.


You can get all your wax seal supplies at the Papercrafter's Workshop!


Thursday, May 30, 2024

Incredibowl

It's been a minute since I've used the 4530 - Incredibowl set from Art Impressions - it's been retired for a while.  But an old coworker of mine is retiring today, and she's a bowler, so I inked her up and pulled out my Copics.  Plaid papers are older Lawn Fawn.


Tuesday, May 28, 2024

Betterpress Q

 I really do love this large, elegant Q!  This is the Floral Q and Sentiment Betterpress plate from Spellbinders, pressed onto their white cotton card panel, and watercoloured with the fabulous Shimmer Sunbeam/Moonbeam Watercolour palettes from Crafter's Companion.  A few Glacier Jewels from Pinkfresh Studio added a little extra glimmer.

I painted the flowers in rainbow order!  Love the look

All supplies are available at the Papercrafter's Workshop!


Monday, May 27, 2024

Betterpress Z and Shimmery Watercolours

I am revisiting a couple of the Betterpress Alphabet plates this week.  Today is the Betterpress Z and Sentiment, pressed on watercolour paper, and painted with the most amazing shimmery watercolours from the Crafter's Companion.  This is the Sunbeam set - available at the Papercrafter's Workshop.


LinkWithin

Related Posts with Thumbnails