Showing posts with label Ai Watercolor stamps. Show all posts

Thursday, March 17, 2022

Ai Lighthouse

Hello Ai Watercolour fans!

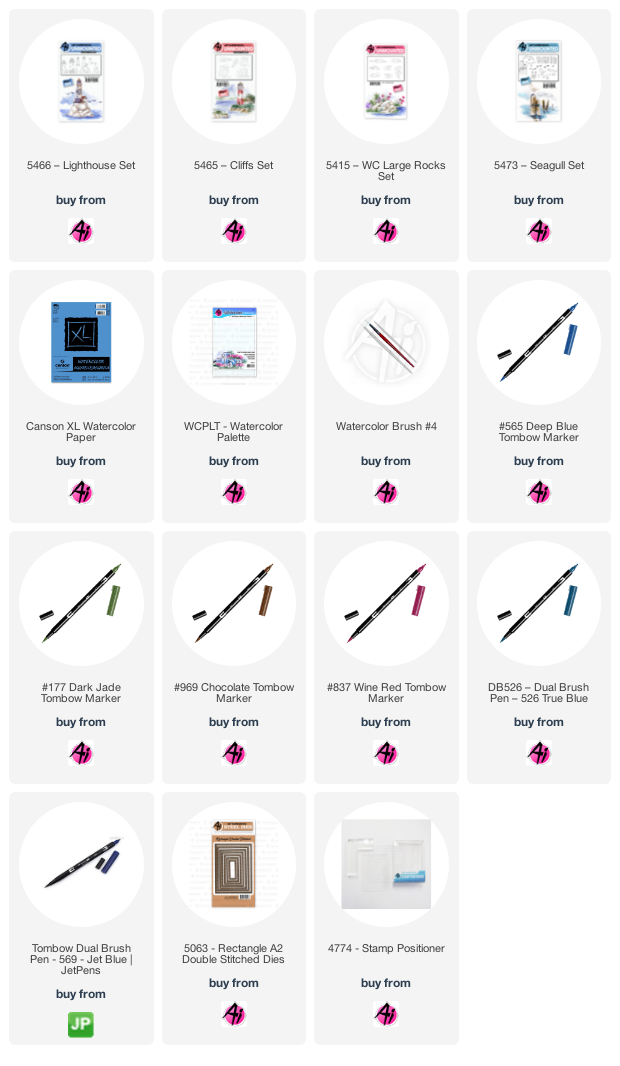
I've once again enjoyed painting with the 5466 - Lighthouse Set:

I chose one of the larger images in this set, and paired it with a large cliff from 5465 - Cliffs Set.  I began by colouring the cliff in #565/#969 and stamping it on my Canson XL Watercolor Paper.  I used my stamp positioner to place the lighthouse where I wanted it, using the same colours.  Because the cliff was not quite large enough for how I wanted my scene to look, I used one of the rock images from 5415 - WC Large Rocks set, colouring half of it, and stamping it in the lower right corner - it perfectly extended my cliff, and I drew in the top edge with a pencil.  I pulled out all of the colour from the stamped lines with a damp brush, then layered in shades of #N55/#969/#565 to create the browns, greys and shadows of the cliff.  I painted shades of #526 mixed with #565 to create the water and sky, adding a few grey cloudy areas.  #569 was painted in stripes on the lighthouse, and #837 added in the bright red roofs and accents.  I painted #N55 to the lower edges of the stones around the base of the lighthouse, keeping the tops white to suggest the round shape of the stones.  #177 was dabbed on to create a treed backdrop, and as a wash for the grass.  The seagulls from 5473 - Seagull Set were stamped in #N55.  I die cut my scene using the 5063 - A2 Double Stitched Rectangle Dies.

Be sure to check out the Art Impressions blog on Saturday to see what Dot & Tricia have created.  Happy painting!

Thursday, July 16, 2020

Birdhouse for Watercolor Weekend

Hello Ai Watercolor fans!  Time for another Art Impressions Watercolour Weekend.
I've been wanting to try mixing an ink blended background with my watercolour stamps, and came up with a card design that I thought would work.
Using my #565 Deep Blue Tombow Dual Brush Marker, I coloured up one of the birdhouses from 5261 -WC Large Birdhouse Set, and then went over it with #969 Chocolate, before stamping it onto my Bristol Smooth cardstock.  I used a 3 1/4" circle die to create a mask using some printer paper, and taped it down, positioning it over the top of the birdhouse.  With my blender brushes, I used 4 colours of Distress Oxide inks to create the suggestion of a sky (Broken China and Faded Jeans) and a grassy hillside (Crushed Olive and Mowed Lawn).  I was careful to get fairly close to the birdhouse, but mainly avoided it with the inks. 
With the mask still in place, I used the two grasses from 4875 - Garden Wagon Mini Set inked in #076 Light Olive to stamp in the grass around the base of the birdhouse.  From 5008 - WC Flower Set 3, I chose one of the long stemmed flowers, and inked up the stems in #158 Dark Olive, and the blooms in #856 Chinese Red. *I didn't touch any of these with my damp brush, as their definition would've disappeared, but also the nature of the Distress Ink background is to turn a milky-white colour when it meets water, which I didn't want.
I did use my damp #4 paintbrush to soften the lines of the birdhouse, then I added in #969 Chocolate from my palette to paint streaks of brown on the post to create a woodgrain effect.  #856 was added to the roof, and #565 was painted on the house itself, and on the base.  I used a darker shade of #565 to add shadows under the eaves, in the holes, and down the post.  I used the two bird images from the 5261 - WC Large Birdhouse Set in #565/969 to stamp them on top of the inked background.  I painted in shades of #565 to give the birds colour, again being careful to keep my brush inside the images to avoid bleeding into the background.  Of course, being from Toronto, I had to make them into Blue Jays (you baseball fans will get that!).
The sentiment is from the Exclusive Daisy Set available through Scrapbook.com, stamped in Versafine Onyx Black ink.  The image was die cut with the 5063 A2 Rectangle Double Stitched Dies, mounted on some dark red cardstock, and adhered to the base with 3D foam tape.  Be sure to check out the Ai blog this Saturday to see what Dot & Tricia have to share, too.


LinkWithin

Related Posts with Thumbnails