This is my tutorial for the
One Crazy Stamper blog! I'm going to share a few tips and ideas today on taking photos of your cards. Let me start by saying that I am
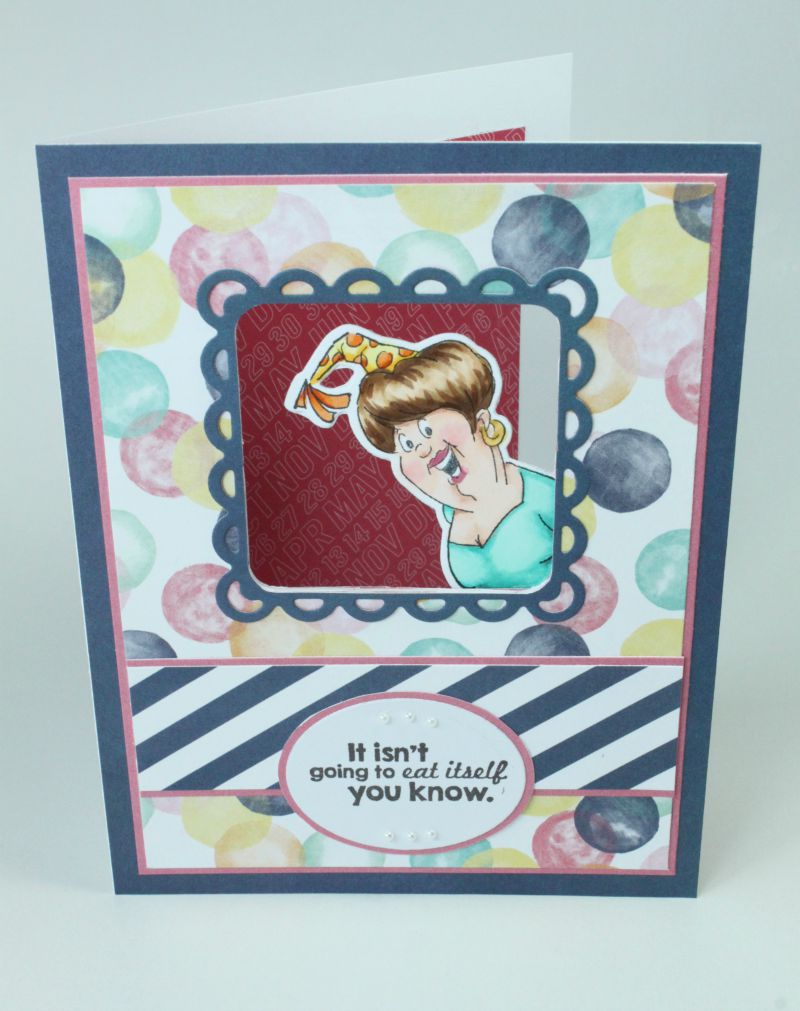
NOT an expert photographer! Many of my cards take hours to produce; I take pride in my work and want to show it in the best possible way, so I've taken the time to learn a few tricks of the trade. I'm going to talk about lighting, angles and editing. Funnily enough, the card I made today is one of the more difficult ones to photograph, I have an easel card to share, using
Art Impressions Girlfriends - here is the finished photo:
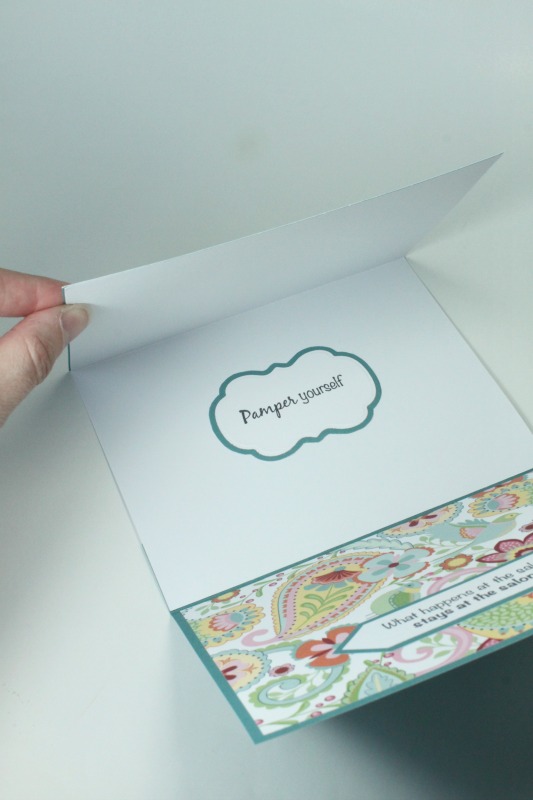
And here it is flat, before setting it up:
I first want to show you my photography setup. This is my craft table, I am lucky to have it sitting next to a large, north facing window - which is a perfect location for photography.
Other than two Ott lights, I have no professional equipment. I grab a storage cube from the shelf behind me and plunk it down on my table. Then I grab a large piece of lightweight, flexible white cardstock that I bought at a stationary store ($1?) that becomes both my base and backdrop - you can see how I set it up against the cube. Because this makes a seemless backdrop, there are no corners, edges or shadows behind my cards, just a plain white background. I keep the lights always plugged in, sitting on the shelf behind me. Because everything is close at hand, my photography set up is less than a minute - no fancy set up required.

Notice the angle that I have everything placed at? I have my cards facing directly into the light coming in through the window. NATURAL LIGHT IS YOUR FRIEND! Find a spot in your home with a good supply of indirect light (direct sunlight is too harsh). Use whatever you have at hand to set your card on (chair/table/dresser). For me, the Ott lights provide an extra boost of "daylight" and mean less editing of my photos - and a lot of my shots are taken at night, so they provide my daylight. If you have a good location with natural light, you may not need lights at all. And yes, I wedge myself right up against the window to take my shots. Your light source should be coming from behind you, shining directly onto your work.


Here are two things to avoid. The shot on the left has the light in the room pointing behind the card, so the card is darker than the background. If all you're working with is an overhead light in the room, it should be over and behind your head as you take photos, so that as much light as possible falls on the front of your card. The shot on the right has a lamp shining on it from the left, leaving the right half of the card in shadow. This is why I use two lights - one on each side as shown below.
I play with them and move them around so that no shadows or bright spots appear on the card, and the light is evenly distributed. Next up: ANGLES
Take just a few extra seconds to position YOURSELF and your camera properly. The shot on the left is an exaggerated example of the photographer being positioned too high over the card. The shot on the right is simply snapped too quickly without a thought for position, resulting in a badly misshapen card. Put yourself down at the same level as your card (trust me, my chin is on or below my craft table). I look through my viewfinder to make sure that the edges of the card appear perfectly up and down. Try resting against something to help steady yourself. Make sure that you're not tilting the camera forwards or back. I take at least a dozen shots of every card, since I can't always be steady or perfectly positioned. The luxury of using digital cameras is the ability to take multiple photos in order to select a good one.
EDITING - After downloading my photos onto my computer and selecting the shots I will use, I edit them before putting them on my blog. I have used Photoshop, Lightroom and Picasa, but prefer to use a free online site called Picmonkey. I'm going to keep my editing tips brief to keep this post from getting too long!
Here is what I do after opening my photo:
1) Crop - Get rid of excess space around your photo, I leave a little bit to frame my card.
2) Exposure - I play with Brightness and Highlights to make my card as bright as possible.
3) Colour - I use Saturation to intensify colours when needed, and the temperature button allows you to warm up or cool down a photo. Only minute adjustments are needed. Sunny/snowy/cloudy days all have different effects on your photos so this is a great way to compensate for odd colour casts on your photos.
4) Click on the 2nd icon which is Effects - I usually add "Dark Edges" to my photos, to add a soft grey halo around the outside.
5) I use the butterfly icon to add my OCS watermark to my photos, or you can use the font icon to type your own watermark.
6) Finally, I resize my photos, making the largest side of my photo 800 pixels (this is adequate for a blog, make it 1200 or 1500 if you want a sharper resolution).
7) Now hit save, and this is how I reduce the size of my photos before saving them onto my desktop - it makes them a better size for uploading and emailing them to others.
Here are photos of my card, the first shot is how it came directly out of the camera, and finally you'll see my edited version as described above that I would post on my blog. This is NOT a long process! All of the steps above take me about 2 minutes per photo since I just repeat the same editing functions every time. Between photography and editing - it adds about 10minutes to my prepping of a blog post, which I feel is well worth it. I hope you've found a few tips here to help you put your best foot (or photo!) forward.

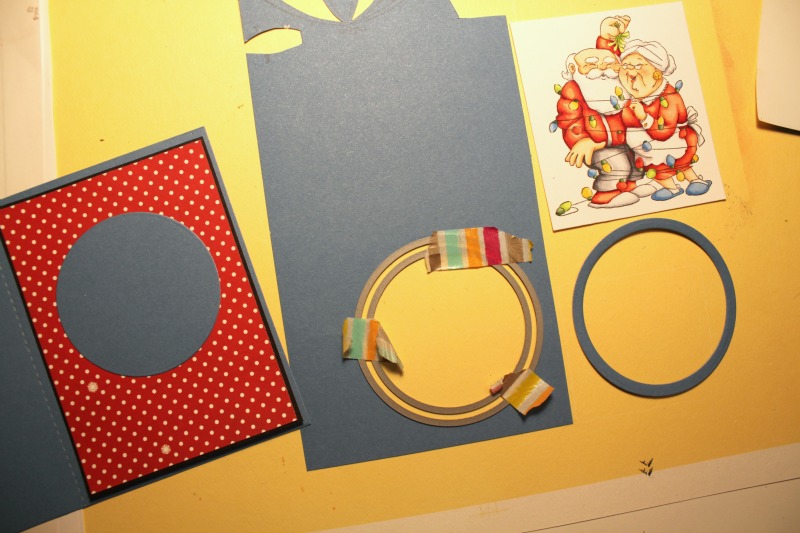
 I started by cutting two easel die pieces in blue cardstock with my Cuttlebug. Then using washi tape to hold together two circle dies, I cut out a circular blue frame:
 I added some patterned paper to the front of one easel piece, die cut a hole through all the layers and added my frame:
  Now for the part that's hard to photograph... when I glued my easel card together, I did not glue down the front easel piece that has the circle opening, so that it will open and close just like a regular card:
 I glued my matted image to the inside of the card, centering it under the circle opening:
 Here's a closeup of the snuggly couple:
 And finally a back view, which possibly shows it the best. You can see how I tucked in some organdy ribbon on both the front and back of the easel, so that after the recipient has opened and read my card, they can tie it back up and put it on display.