Wednesday, May 26, 2021
More stencilled backgrounds!
Monday, May 24, 2021
Floral Notes
I am really loving my new Pinkfresh Studio stencils! This is Floral Notes, along with Beautiful Word Die and the Slim Diagonal Stitched Rectangle dies - also from Pinkfresh Studio:
I used a mixture of Distress Oxide inks with the three-step stencil. Spun Sugar & Kitsch Flamingo for the large blooms, Picked Raspberry for the centers & small blooms, and Crushed Olive & Mowed Lawn for the foliage.I used the 3 different layering slimline dies with my coordinating cardstock and adhered them to my base. The Beautiful word die was cut out 3 times, and layered to create a more substantial word, and some glittery gold Stickles were added to the flower centers. I love the end result!
I am entering this into the monthly challenge on the Pinkfresh Studio blog - this month is 'Anything Goes'.
Sunday, May 23, 2021
Oopsie Daisy
This card has been on my desk for a month in various stages! Finally fixed it and got it assembled today. Yes, fixed it - as I can't seem to spatter paint to save my life. Everyone else seems to effortlessly spatter a little paint on their projects for that perfect finishing touch. Me, not so much.
Thursday, May 20, 2021
Critter Cubbies!
This is the cutest line of stamp & die sets that Art Impressions has out right now - Critter Cubbies! I have a couple of little nephews in my family to make cards for, so I pulled out 5226 - Bus Cubbies to make a card to accompany a little gift I was sending:
This was so fun & easy to do! I started by keeping the dies all together and die cutting the pieces out multiple times. I put the negative die cut into my Misti, and lined up all the stamps in each space. Then I filled in the negative with all my cut pieces, and was able to stamp enough for 3 cards quickly. All of the pieces were coloured with Copic markers.
After colouring, I was able to adhere the animals, having them peek out different windows, and I adhered the bus to my card base with 3D foam adhesive. I made my own cloud stencil, and ink blended 4 different inks to create my sky, and added some green to the bottom of the card to suggest grass. A strip of grey cardstock created my road, and I added some motion lines behind the bus. The best part, is that you can open up the bus doors... and see the little koala waving at you :o)
Thursday, May 13, 2021
Try Something New
This week on the Art Impressions blog, our Watercolour Weekend theme is "Try Something New". I've been wanting to combine stitching with my watercolour scenes for a long time, and this week's theme meant that it was time to give it a shot! This took a little bit of planning:
I wanted the stitching to simply be an accent, not be all throughout the scene, so once I decided on a sunrise, I sketched it out on scrap paper, marking out the size of rectangular die I would use. I picked my cottage, stamping it on the scrap to determine placement, where the stream would be, and even how the sun rays would look.
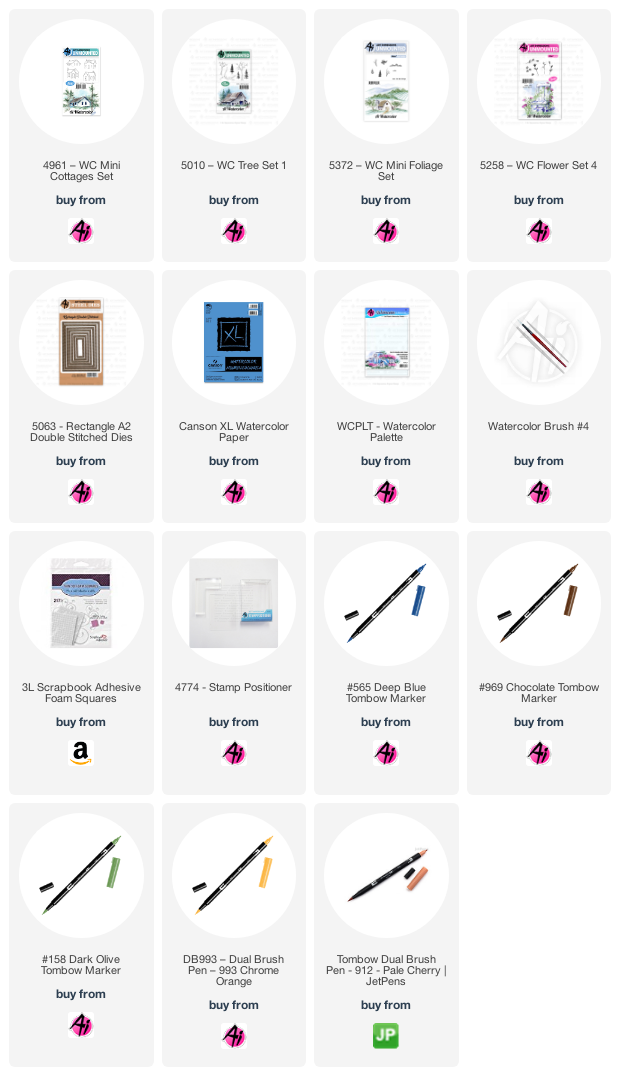
I diecut my 5063 A2 Rectangle Double Stitched Die from Canson XL Watercolor Paper, and stamped my cottage from 4961 - WC Mini Cottages Set, colouring it first in #969 Chocolate, with #565 Deep Blue overtop. Next I sketched in my scene (you could definitely do this with one of the Ai scenes, but I used a pencil!). I painted the sun and some of the sky with #993 Chrome Orange, adding several layers to darken the sun. I added in #912 Pale Cherry and #451 Sky Blue to create my sunrise sky. Since the light is coming from the back of my scene, I painted #993 along the top of the hillsides, around the edge of the house, and into the stream as a reflection. It also meant that the front of the white cottage was in shadow, so I added shades of #565 to show that, and painted it into the stream also. Using my stamp positioner, I stamped the tree from 5010 - WC Tree Set 1 beside the cottage, and did two smaller trees from 5372 - WC Mini Foliage to the left of the stream.
I did my foliage in layers, starting with the very light #126 Light Olive, using the foliage from 5372 - WC Mini Foliage, and the row of shrubs from the same set, below the trees - and dabbed them with a damp brush. I stamped the foliage again in #158 Dark Olive, to add a few darker tones. A wash of #158 was painted on all the grassy hillsides. To balance the sun in the upper left, I stamped the spiky flowers from 5258 - WC Flower Set 4 in #993/#158, and added some foliage around the base of them. Before darkening in the door and windows of the cottage, I went in directly with my markers to add some dots as flowers in window boxes.
For the stitching, I used a very fine hand sewing needle, as my thread was a very fine gold fillament. I used my needle to pre-pierce all of the holes around the sun, and then did my long stitches to indicate the rays. I went over the small flowers with stitches, and on the taller wildflowers I did some french knots - and I'm pleased to say that I only had one re-do! My embroidery skills are a little rusty.
I mounted my scene on some matte gold cardstock, and adhered it to my base with 3D foam adhesive.


