More of my efforts to use up images that I had stamped previously, along with patterned paper from Carta Bella that I'm finishing up. This little penguin and the trees (love these!) were from High Hopes Rubber Stamps:
I managed to get 8 of them made! I used the 2-step Snowflake dies from Photoplay, with Speckled Egg and Broken China Distress Oxide inks, and I love the background effect it created.Sunday, February 28, 2021
Saturday, February 27, 2021
A little more Christmas
Yes, I'm still making Christmas cards whenever I can. This was part of my pandemic colouring blitz when we were first in lockdown last spring - a High Hopes image I'd had stamped years ago - so I spent my evenings colouring with my Copics.
Thursday, February 25, 2021
Pink Christmas part 2...
I have the other 3 styles of Christmas cards to share, that I made using Merry & Bright papers from Carta Bella. Love these papers!
Wednesday, February 24, 2021
Pink Christmas
It's Pink Shirt Day! So what's a crafter to do, but post a pink card or two? I am on a mission to use up supplies that have been in my craft room for awhile, and managed to create 8 Christmas cards using the Merry & Bright papers from Carta Bella.
I also made a point of using some of the STICKERS that came with this paper pack - something I never do, but they're wonderful stickers, and make great accents. I added a few die cuts and kept the colours bright and fun.I'm also loving all of the Nuvo Drops that Santa put in my stocking this year - those little green dots are one of my new colours! I'm going to split up my cards into a few posts, but here's the group of them together:
Thursday, February 18, 2021
Save the Date!
I've pulled out a few older and a few newer stamps to create a Save the Date card for this week's Watercolor Weekend on the Art Impressions blog:
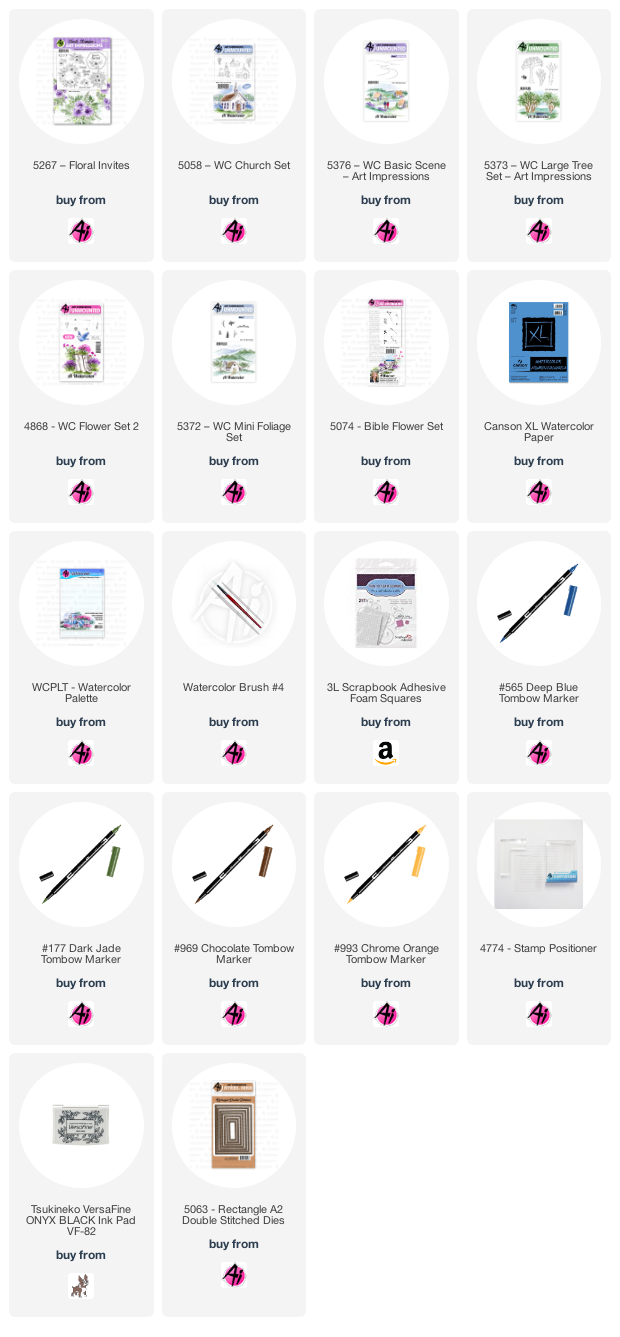
I began by inking up the smallest church from the 5058 - WC Church Set in my Tombow Dual Brush Marker #565 Deep Blue, and then went over it with #969 Chocolate before stamping it onto my Canson XL Watercolor Paper. I covered it with a mask, and then coloured up 5376 - WC Basic Scene in two colours - the road in #969, and the hills in #177 Dark Olive. Because this stamp is clear, I was able to easily stamp it and position it perfectly to have the church perched on one of the hills. To the foreground, I added the smallest tree from 5373 - WC Lg Tree Set, colouring only 1/2 of it in #969 chocolate. I placed a small tree from 5372 WC Mini Foliage beside the church, and added the shrubbery to the hillside with #177. The scribbled foliage was used on both trees - I stamped one layer that I then added water to soften and paint out the detail, and then I stamped a second layer to created darker foliage with more detail. A damp brush was used to pull of the colour of the road and tree trunks and to add colour to the hills.
Monday, February 15, 2021
More Hexagons
I posted a card a few weeks ago with a hexagon background, and using the same patterned papers and my hexagon dies, I've put together a few more generic cards to keep in my stash:
I used three different sizes of hexagons, and randomly arranged them in different patterns. I used my Lawn Fawn 'thanks' die and my Avery Elle 'hello' die in black cardstock for my sentiments.On these two, a few of the smaller hexagons are popped up with 3d foam dots, and I added some black Nuvo Drops on all of them.
Tuesday, February 9, 2021
The Last Valentine
Well here I am with 5 days to go... and I'm finished my Valentines??! If only I could finish all of my Christmas cards early and ahead of schedule! I saw this idea by Michelle on the MFT Instagram page, and recreated it with a couple of CTMH dies that I had in my craft room:
I used a heart die to create my own stencil, then from the bottom up, used Cracked Pistachio, Mermaid Lagoon, Peacock Feathers and Faded Jeans with blending brushes to fill it in. I sprinkled it with a bit of water, then some indigo ink.I taped down both the stitched rectangle die and the love word die, and ran them both through my Cuttlebug. I cut love out 3 more times in white cardstock that I stacked underneath the original to give it a bit of height. I matted it all on a piece of teal green cardstock and mounted it onto my white card base.
Friday, February 5, 2021
Valentines
Getting some Valentines made for my children. I usually do cute & fun ones for them, but this year I went more classy & dreamy! I was inspired by the sketch on the Fusion Card Challenge blog (so happy to be playing along - it's been a while!).
Here was our inspiration:
Photoplay Masculine cards
I've pulled out my Photoplay Say it with Stamps set again... this time to make a few masculine cards. This is the best set of products I've owned (ever?) to make masculine cards - all I have to do is pick the right papers, choose one of many sentiments, and it comes together really quickly:
Every guy I've given a card to that says "You are a bad ass" has smiled. It's a win!Thursday, February 4, 2021
A Watercolour Valentine
For the upcoming Watercolour Weekend on the Art Impressions blog, I'm sharing a quick Valentine idea using the wonderful 5072 Block Letters Die Set and a little watercolor wreath to spell out "I (heart) you"!
I actually started out by creating my ink blended background panel, which established my colour palette - Distress Oxide Ink colours are listed below!
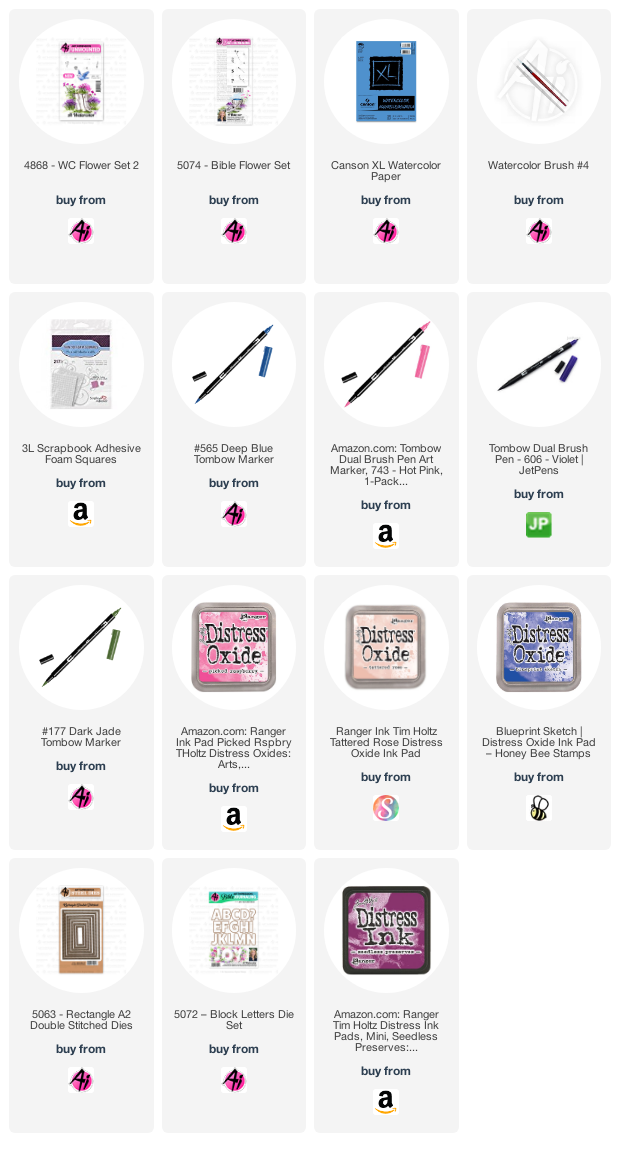
I chose similar colours of Tombow Dual Brush Markers, and started making my focal panel by sketching a heart shape on my Canson XL Watercolor paper. I stamped little clusters of flowers and greenery using the following: From 5074 - Bible Flower Set, the Daisy cluster in #606 Violet; the tiny dot flowers in #565 Deep Blue; and the Tiny greenery in #177 Dark Jade and from 4868 - WC Flower Set 2, I used the little heart flowers in #743 Hot Pink. I touched everything with a damp brush - but kept the images fairly intact without spreading the ink around. I lined up the I and U from the die set, and ran it through my machine to cut out the letters.
I took both of my panels and cut them out with the 5063 - A2 Rectangle Double Stitched Dies which finished the edges nicely. Both panels were mounted onto a matte silver cardstock, and I had to cut the middle of it out under the letters to have the background show through. I tied some blue organdy ribbon around my base, and added a bow before adhering my image down with 3D adhesive tape. A few sequins finished it off.


