I bought this lovely London Scape die from Sugar Pea Designs a few months ago, and finally pulled it out to use this afternoon! It's the last day to play along with the March Mix-It-Up Challenge on the Sugar Pea blog, so I did a little ink blending and made birthday card:
I went with just the colours for my card - couldn't resist the pretty spring shades. I used Squeezed Lemonade, Cracked Pistachio, Broken China and Picked Raspberry Distress Oxides.
I used a sentiment from Verve's Simply Amazing set, and a sprinkling of Verve sequins to finish it off. I kept the negative from the die, and will be making another card from it in the near future.
Sunday, March 31, 2019
Friday, March 29, 2019
Garden Shed
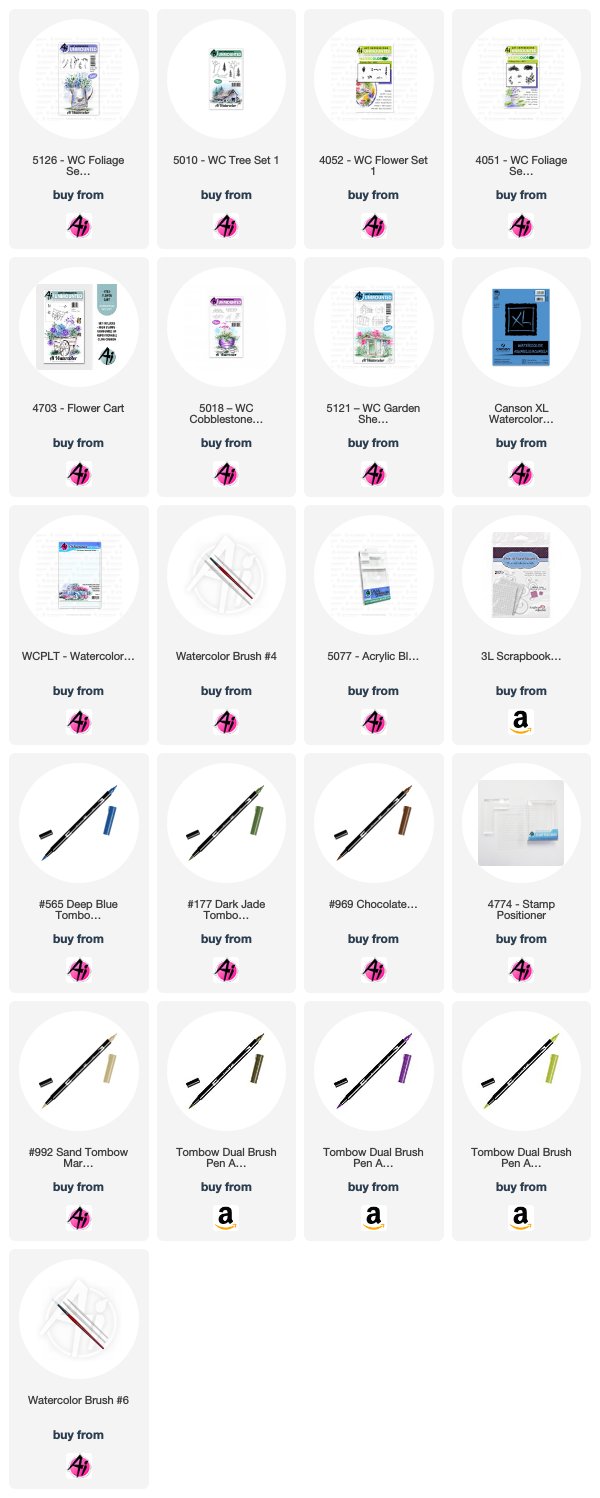
This sweet garden shed is from one of the recently released Art Impressions Watercolor stamp sets, and I've paired it up with the lovely flower cart to create my watercolor scene:
I've used seven stamp sets in my scene today! I started by placing one of the sheds from 5121 - WC Garden Shed Set and the 4703 Flower Cart together on the same block, which allowed me to control exactly where they were placed to achieve the right perspective.
I coloured them both with 969 Chocolate, stamped, and softened the lines with a damp #4 paintbrush. I used a combo of 969 and 992 Sand to paint in the roof, shingles and cart. Using N57 Warm Grey, I coloured and stamped 2 of the stepping stone images from 5018 Cobblestone Set, and pulled out the colour to create some texture and shadows. I used the two trailing greenery images from 5126 Foliage Set 4 coloured with 177 Dark Jade to stamp foliage falling out of the cart, and dabbed them with a damp brush to activate the ink. Next I used the floral cluster from 4052 WC Flower Set 1 coloured in 676 Royal Purple to create the pink flowers in the cart, and after masking the shed, I stamped them on either side of it. I coloured 565 Deep Blue onto the tiny bluebell image from Flower Set 1, stamping it three times in an upward direction to create tall stalks of blue flowers. After softening all the flowers/foliage with a damp brush, I went in with the tiny leaf image from 5009 - WC Mini Flower Set (oops! that's an 8th stamp set!!) to fill in around the flowers where needed. I also used it around the shed to create some bushes with the flowers.
I used both the small and large grasses from 4051 - WC Foliage Set 1 in 177 as well as 126 Light Olive to add the suggestion of grass around the shed, stones and cart. I pulled out the colour from the grasses, and painted in and around the images to create a wash of green grass. After masking off the shed, I coloured two of the tree images from 5010 WC Tree Set 1 in 177, varying the heights - then softened them with a damp brush. Finally, I scribbled 565 onto my palette, and painted in the sky and the door, and then used it to add shadows to the window, stones and cart.

Thursday, March 28, 2019
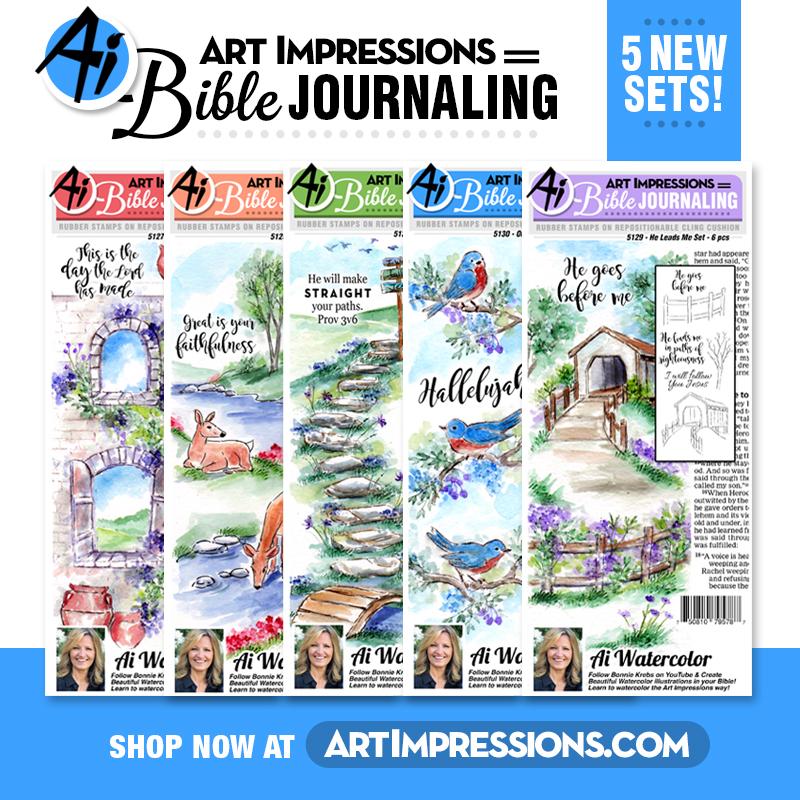
New Ai Bible Journaling Sets
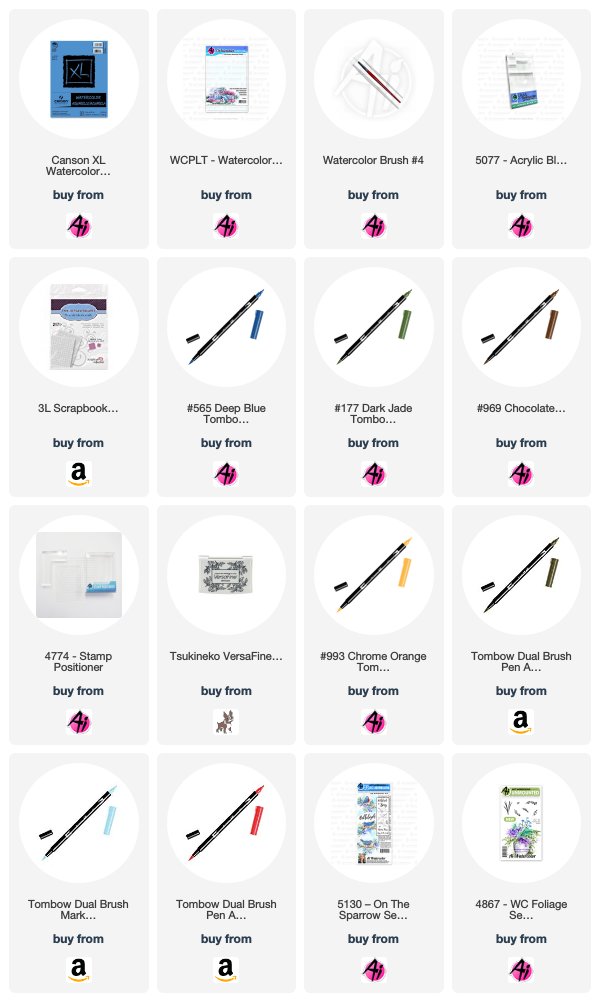
If you're a fan of the Art Impressions line of Bible Journaling stamp sets, today is your lucky day! I am helping to launch the five new sets for 2019 by sharing 3 projects made with 5130 - On The Sparrow Set. I wanted to show how you can use these sets for so much more than journaling - so I have two cards and a bookmark to share:

When I first saw the On The Sparrow set, I immediately thought of using it for a Try-fold card (Art Impressions style!) so I played around with the stamps to create a Try-fold card in a size that worked with the images. I'm using a smooth watercolour paper that scored well and doesn't create a bulky card when it's layered three times. It measures 10 1/4" x 5 1/4" and is scored 3 3/8" in from each side.
I used three of the lovely script sentiments that come with the set, putting a different one on each layer, because they worked so well together.
And finally the card opened up:
I created a simple card using one of the bird/branch images, along with the nest and the fourth sentiment "Sing". *I'll list the colours I've used on all the projects at the bottom of my post.
I've used Tombow Dual Brush markers, starting by colouring the birds/branches with 969 Chocolate, then softening the lines with a damp brush. I used N57 Warm Grey for the robins, scribbling the marker onto my palette, and picking up the colour with my paintbrush, layering a few times to build up the darker shades. Their red breasts are 856, and I used the 993 marker directly on the paper to add a bit of colour to the beaks and feet. I used the medium leafy sprig from 4867 WC Foliage Set 2 New to stamp the leaves in 177 Dark Jade, stamping multiple times without reinking to get both light & dark foliage. I added a touch of robin's egg blue to the eggs in the nest, colouring directly with my 451 marker. And finally, I watered down 565 Deep Blue to paint a blue wash suggesting the sky.
Head on over to the Art Impressions blog to see what the rest of the Guest Designers are sharing today! And Happy Stamping!

Sunday, March 24, 2019
Most Days Require Chocolate
Using a bunch of old stuff today, to put together a couple of fun cards for a friend. Verve's Chocolate stamps and word die were perfect for what I had in mind, and these ancient Close To My Heart papers with the chocolate accents made them even better:
I couldn't resist adding a little zigzag detailing with chocolate coloured thread... and the new Art Impressions Tag Die is amazing! Notice the little ring around the hole? Yes, it's a separate die that comes in the set - there's a wonderful attention to detail, that let's you add the perfect finishing touch to your card (you're going to hear me go on and on about these dies!!)
I couldn't resist adding a little zigzag detailing with chocolate coloured thread... and the new Art Impressions Tag Die is amazing! Notice the little ring around the hole? Yes, it's a separate die that comes in the set - there's a wonderful attention to detail, that let's you add the perfect finishing touch to your card (you're going to hear me go on and on about these dies!!)
Enjoy the day!
Friday, March 15, 2019
Sketchy Saturday Christmas card
I am just sneaking in a post using last Saturday's Sketchy Saturday sketch from Laurel's blog... and I try to use her sketches for Christmas cards whenever I can, so I managed to get two made this week:
I used Echo Park's A Perfect Winter papers, my new Echo Park Holiday Season Word Die set, and my Alpine Stitched Snowflakes from Poppy Stamps. I added a little zigzag stitching on each of the stripes. Two more Christmas cards in my stash!
I used Echo Park's A Perfect Winter papers, my new Echo Park Holiday Season Word Die set, and my Alpine Stitched Snowflakes from Poppy Stamps. I added a little zigzag stitching on each of the stripes. Two more Christmas cards in my stash!
Labels:
A Perfect Winter,
Christmas card,
Echo Park,
Karen Day,
Sketchy Saturday
Thursday, March 14, 2019
Summer scene
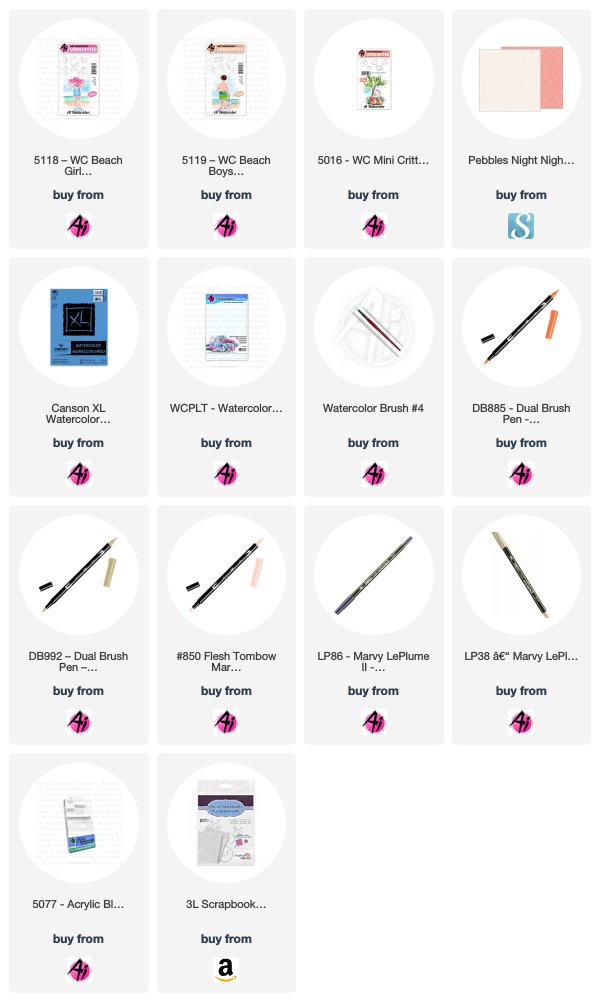
I have a sweet summery watercolour card to share with you today, using stamps from the latest Art Impressions Watercolor release!
I started creating my image cluster by stamping the puppy from the WC Mini Critters Set, the sitting little girl from WC Beach Girls Set, the beach ball from WC Beach Boys Set - masking each as I went along - and finally stamping the umbrella from WC Beach Girls Set. I coloured each of the stamps with my 992 Sand Tombow marker, except for the girl, where I used my LP38 Oyster Grey Marvy marker. I wanted a paler shade for her skin tone, as she's sitting partially in bright sunlight. I also used the fine tip of my LP38 marker to draw in the blanket.
With a damp WC Brush4 paintbrush, I softened all of the lines, and then began filling in the colour by scribbling my markers onto my palette: Tombow 991 Straw for the hat/ball; Tombow 885 Warm Red for the umbrella, and added more water to make it more of a pink shade for her swimsuit & the ball. I used my LP86 African Violet Marvy marker to create the shadow under the umbrella, and in and around all of the images on the blanket. Her skin tone is made with several layers of Tombow 850 Flesh, and then I used the same colour to sketch in the suggestion of a sandy beach. I picked up the LP86 with my brush and painted in the water, and after watering it down a little more, used it to paint in the suggestion of a sky as well.
*Design tip! You'll notice that I placed everything on the left side of my painting, leaving the upper right corner mostly white. The white space provides a sense of balance for the cluster of images. I could've added a sentiment up there, but felt like it would've been too busy.
To assemble my card, I popped up the image and the stripey pink frame that I created with adhesive dots with my periwinkle cardstock peeking out from behind. Happy painting!

Thursday, March 7, 2019
A Retirement Card
One of the loveliest ladies I know is retiring today (sniff). Years ago, Trish led book clubs when I brought my kids to the library, and even now when they are adults, she remembers everything about them. Little did I know that I'd wind up working with her for 6+ years down the road...
We're sending her off with a bang, so I needed a fun card to add to her gift.
Labels:
Art Impressions,
Copic Markers,
Karen Day,
Retirement card
Tuesday, March 5, 2019
Serving up some Love
My tennis-playing friend at work loves giving these out to her friends on their birthdays, so I made another card for her with 4529 Birthday Love Set from Art Impressions:
I used the bright & fun Under the Sea papers from Doodlebug Designs to pick up the colours of her snazzy tennis outfit. I coloured her with Copic markers and cut her out with a stitched rectangle die.
I used the bright & fun Under the Sea papers from Doodlebug Designs to pick up the colours of her snazzy tennis outfit. I coloured her with Copic markers and cut her out with a stitched rectangle die.
Love her!
Happy stamping!
Saturday, March 2, 2019
Back on the Ai Team!
Just doing a quick repost of the Elf cards that I posted a few days ago... you'll see them over on the Art Impressions blog this morning, as part of their "Watercolour Weekend" post. Ai asked if I would join their team as a Watercolor Guest Designer - and I said yes! So wonderful to be back working with Ai... and if you scroll down through my Feb posts you'll see how much I love their watercolor line!
Subscribe to:
Comments (Atom)


