Thursday, June 18, 2020

A Wreath for Watercolour Weekend

I haven't made a wreath in a while with my Art Impressions watercolour stamps, and after seeing inspiration on Pinterest, I decided to try something a little different from my usual style.
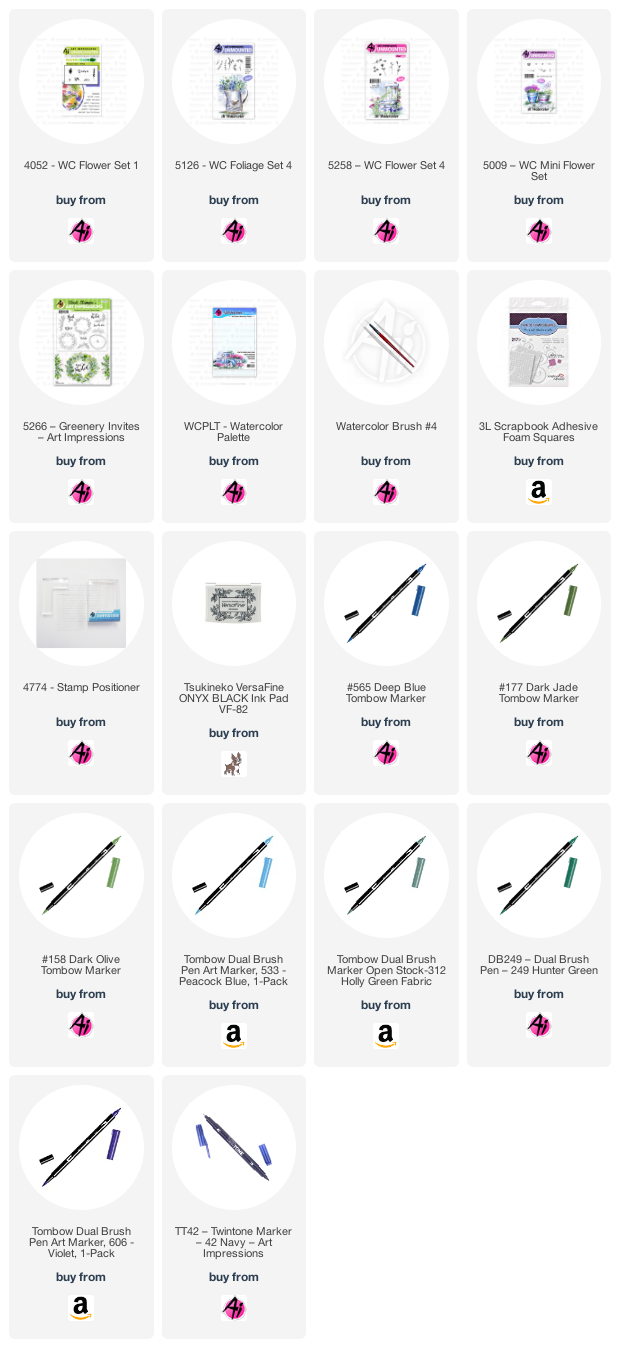
I began by lightly drawing a 3" circle in pencil on my Bristol Smooth Cardstock, and marked the points at which I wanted the sprigs to end.  Using my Tombow Dual Brush Marker in #312 Holly Green, and the two skinny sprigs from 5126 WC Foliage Set 4, I stamped them in several directions at each end of the wreath.  Using the largest sprig in the set, and #158 Dark Olive, I stamped the branch upwards from the lower right corner, several times, and again in the opposite direction along the lower side.  Next it was time to work on the cluster of flowers.
I used the triple rose cluster from 5258 WC Flower Set 4 and my #533 Peacock Blue marker to create the flowers, sometimes colouring only one or two of them.  I placed several more flowers sporadically around the wreath.  After dabbing them with my damp #4 paintbrush, the flowers needed to be darker, so I used my #565 Deep Blue picked up off my palette, to deepen their centers.  With the larger vines from 5126 WC Foliage Set 4, I stamped in greenery around my cluster using #373 Sea Blue - but the colour was too harsh, so I went over it with #249 Hunter Green, which was a better choice.  With the tiny Foxglove stamp from 4052 Flower Set 1 and my #606 Violet marker, I stamped it 3 or 4 times moving the stamp out slightly each time, to create trailing blooms coming out of my cluster.  After touching them with my damp brush, I added another few dots off the end of the flowers to make them appear to be a pointed shape.  Finally, to create the strings of flowers coming off the bottom of the wreath, I used the image from 5009 - WC Mini Flower Set that has 3 heart shaped flowers.  Colouring just one of them with #565 Deep Blue, I carefully moved it straight downwards and stamped numerous times without reinking (If I had moved the stamp away to reink, I would never have gotten it back to the same spot to continue).  I used my TT42 - Twintone Blue Marker - 42 Navy to draw in the stems, and to add dark centers to the roses.  Anywhere there were spaces needing to be filled, I stamped in a little greenery, or used my markers right on the image to draw in a leaf.
The sentiment is from 5266 - Greenery Invites, stamped in Versafine Onyx Black Ink.  I used my sewing machine to stitch the image to a black mat, and adhered it to my blue base with 3D Adhesive dots.  Be sure to check out the Ai blog on Saturday to see what Dot & Tricia have to share!

Monday, June 15, 2020

Oopsie Daisy

Such a great name for a stamp set.  I made a couple of cards with new (to me!) stamps from The Greetery.  This is Oopsie Daisy, plus Just Mason Around and the Knit Wits stencil on the background:
 I used my Misti to stamp all of the jars and flowers, as they all have multiple stamps involved in creating each image.  It's a great way to stamp multiples, so I have enough extra supplies to do 5 or 6 more cards.
 I did some ink blending with Tattered Rose and Worn Lipstick to create my background, and went over a portion of it using my Knit Wits stencil and the same colours.  I made two versions, with slightly different arrangements, and then added the sentiment from the Art Impressions Exclusive Daisy set.

Tuesday, June 9, 2020

Masculine cards

It's that time of year to make up a few masculine cards.  I'm using a new word die & matching stamp set by Photoplay, that comes with all kinds of sentiment options.  What a great way to use up some of the patterned papers in my stash.  Here's what I'm giving my husband for Father's Day:
 I also bought the matching strip die, that has about 10 different sizes of these thin strips to die cut the sentiment - they made it so easy to line up and get a perfect sized strip.  And here's my brother-in-law's birthday card:
The stamp set includes the thinner "you" as a stamp, but I'm just using the double dies with matted cardstock.  And finally the Father's Day card that I'm sending to my Dad, with a slightly gentler sentiment...
The star dies are from Close To My Heart, and made great accents on my cards.  I made up two of each of these, leaving the others without the sentiments - and then I can quickly stamp them when I need a card.

Thursday, June 4, 2020

A Little Southwestern Watercolour Weekend

I have a Southwestern scene to share this week for Art Impressions' Watercolour Weekend!  
For most of my cards (but especially this one!) I like to plan them out on scrap paper ahead of time.  I usually sit down in front of the TV and design a whole bunch of cards, planning the layout, the stamp sets and even colours/paper if I can.  I don't like to just sit down in front of a blank piece of watercolor paper and try to start stamping - I find I'm much more productive if I have a sketch and a plan.  Here's what my sketches look like:
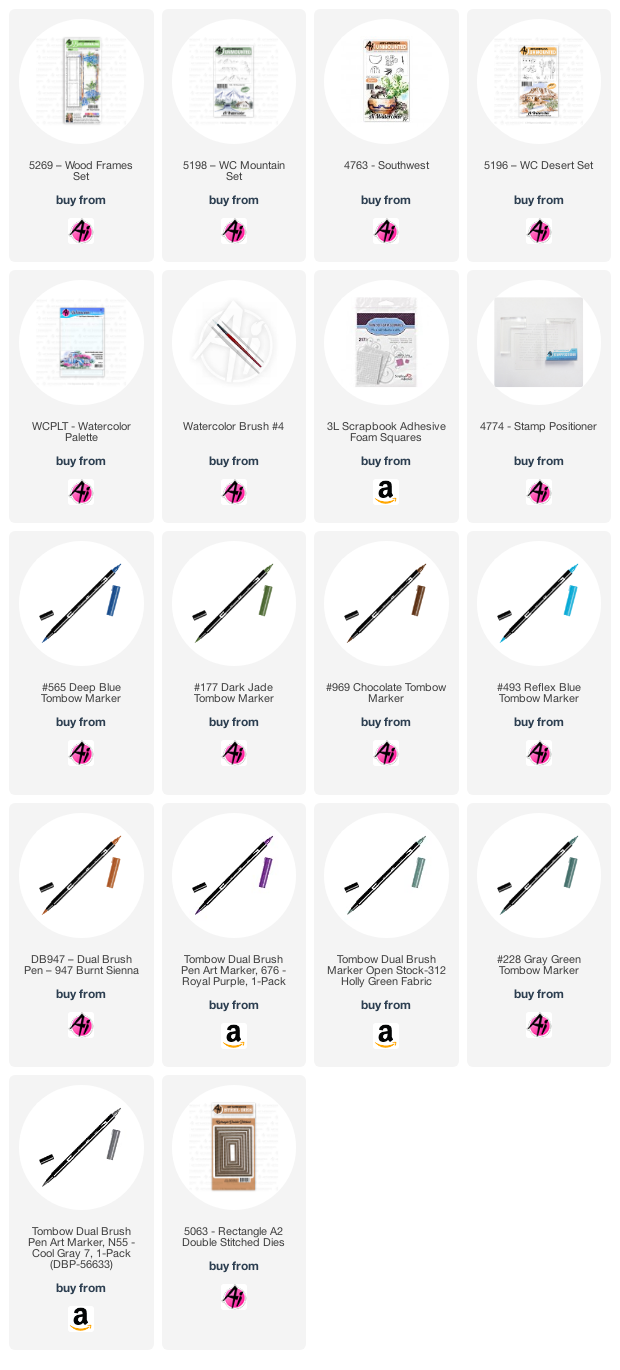
With my sketch beside me, I planned out what the cactus cluster was going to look like on scrap paper, mixing and matching stamps, and trying out colours to get it just right.  I started stamping it on Bristol Smooth Watercolor paper from the bottom up, using the rock cluster from 4763 Southwest, colouring them in my Tombow Dual Brush Marker #N55 Cool Grey 7, then I added the smaller stones from 5196 WC Desert Set in #947 Burnt Sienna.  I masked the stones, and stamped the prickly cactus from 4763 Southwest in #228 Grey Green, masked it - and stamped the spiky greenery in #312 Holly Green.  With all of the masks in place, I added the larger cactus from 5196 WC Desert Set in #177 Dark Jade in the background.
I put my watercolor paper into my Misti, along with the frame from 5269 Wood Frames Set from the Bible Journaling line.  I coloured about 3/4 of the frame with #969 Chocolate - just enough to stamp the left side of the frame.  Then I repositioned my paper, moving it about 1/2" to the left and coloured the portion to the right of the cacti, and stamped it.  I did this to make the frame longer than it is, about 1/2" extra so that I could fit the scene in the background.  I used the smaller rock formation from the 5198 WC Mountain Set coloured in #947, stamping it in the upper left, and after masking the frame, a portion of it in the lower right.  I stamped the tiny rocks from 5196 Desert Set around the base of the mountains several times in #947.
Now that the stamping was done, I finally grabbed my #4 paintbrush, and pulled the colour out of all the images, concentrating it in areas where the shadows would be, and leaving plenty of white highlight areas.  I purposely kept the frame very streaky, adding warmer and darker browns to achieve a worn wood effect.  The river was painted in with #565 Deep Blue, picking it up off my palette, and then using it to add shadows in the mountain crevices and on the rocks & cacti.  I added touches of #676 Royal Purple all over my painting to liven it up a bit!  Finally the sky was added with #493 Reflex Blue, and I added touches of it to my scene as well.  I die cut my painting with a 5063 Rectangle A2 Double Stitched die, matted it with kraft cardstock and adhered it to my base with some thin 3D adhesive.  A few sequins finished it off. *I had intended to hand write a sentiment just below the frame - but chickened out at the thought of maybe messing it up after all my hard work!  I may think about it a little longer and add it in... 
Before I painted today's card, I actually did a "Pacific Northwest" version using a pine tree & mountains:
 I created my tree with the WC Tree Set 2, added a few rocks around the base, and a touch of grass.
 I used the twig frame in the Frames set, using the same method of stamping and moving my cardstock before stamping the right side.  I used the other mountains in the mountain set to stamp my scene in the frame, and painted the rest in with my brush.


LinkWithin

Related Posts with Thumbnails