Sunday, December 27, 2020

Jolly Santa

 Still making Christmas cards here!  As long as my supplies are still out on my craft desk, and the decorations are still up... I continue to finish up holiday cards, that will simply start my stash for next year.  The rush of fall crafting, and the hectic pace of the season means that I'll take any bonus cards that I can get made early!  Here's an older Art Impressions image that I coloured up early on in the pandemic when we weren't going anywhere, and colouring filled my evenings:


I love this Croyogen paper - it has a slightly creamy colour, and a real sparkle to it - perfect for holiday images.  I coloured them up with my Copic markers, used a sentiment from another Ai set, then matted it in black and added it to my patterned card base (Bo Bunny from a few years ago!)  The sentiment was added with 3D pop dots.


Sunday, December 20, 2020

Freezin' Season

 These Simple Stories papers are some of my favourites!  I needed a few more cards for coworkers this past week, and whipped up 6 different ones with a few sentiments and die cuts:


Quick & easy, but still festive.  I love the non-traditional colours!  Happy Holidays :o)

Thursday, December 17, 2020

Hearth & Home

 Happy Holidays, Ai fans!

One of my favourite things to do with my Art Impressions Watercolor stamps, is to use them differently then how they were intended.  I wanted to do a fireplace scene, and stumbled upon 5127 - Build My Life Set, and knew it would be perfect:  


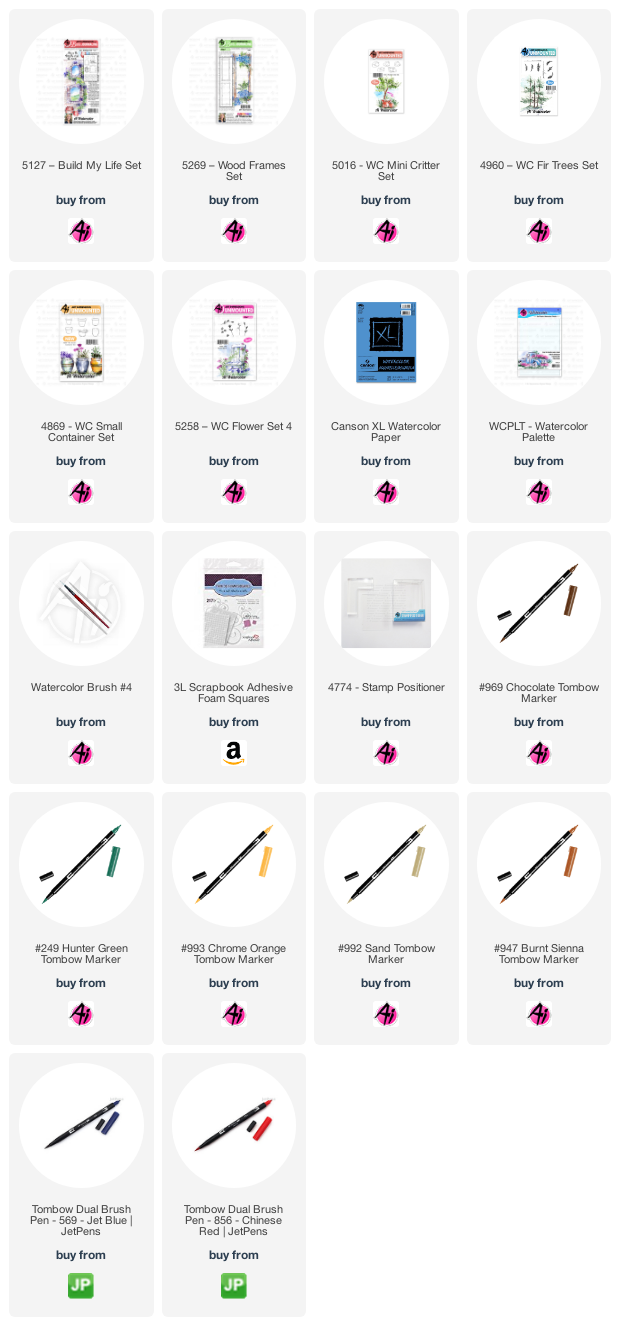
I used 6 different stamp sets to create my scene today!  I started with 5269 - Wood Frames Set, colouring just a portion of one side with my Tombow #969 Chocolate to create the wooden mantle.  I had to build my scene from front to back, so I used my stamp positioner to stamp the kitten from 5016 - WC Mini Critter Set in #947 Burnt Sienna, and covered him with a mask.  Next came the small window, which was coloured with #N45 Cool Grey 10, stamped in the center of my panel, and then covered with a mask.  I masked off the sides of my scene with purple tape, since the brick image is quite a bit larger - coloured the bricks in #N55 Cool Grey 7, and stamped it just below the mantle.  When I removed the purple tape and masks, I used my N55 marker directly on the paper to draw in the edges of the bricks that were cut off by the tape.  I used a damp brush to soften all the lines of my painting, and to pull out the colours.  

One of the small pots from 4869 - WC Small Container Set was coloured in N55, and stamped to appear just in front of the fireplace, then the rose trio from 5258 - WC Flower Set 4 was coloured in #856 Chinese Red and stamped above it.  I used four of the branch images from 4960 - WC Fir Trees Set, colouring just a portion of each in #249 Hunter Green to add greenery to the pot, and across the mantle.  I used a pencil to sketch in the logs and candles, then went over them with my 969/N55 markers.  The flames are a combination of #991 Light Ochre/993 Chrome Orange.  With my #992 Sand marker, I sketched in the wooden floors and painted in some streaks to suggest wood grain.  I picked up the colours of my scene from my palette, darkening the kitten, and adding shadows to the pot and bricks, as well as a darker shadow for the interior of the fireplace.  I used #569 Jet Blue to paint the walls, and create a contrast with the lighter bricks.  

Thank you to everyone who views our creations, and leaves such lovely comments.  Wishing you a happy, healthy holiday - we'll see you in 2021!
Wednesday, December 16, 2020

A Couple of Snowglobes

 I coloured up a bunch of little images with my Lawn Fawn Snowglobe Scenes Set - and got 8 cards made for my coworkers:

I couldn't help but go bright & bold with these... after fussy cutting, I mounted them onto pink tags cut with my Studio Katia die, and added a few other die cuts.


Monday, December 14, 2020

Snowman Trio

 Hello Ai fans!

Do you love the new 5353 - Large Snowflake Dies as much as I do??  Adding snowflakes is something I do to almost every holiday card that I make, and... well... I kind of went to town on these two!


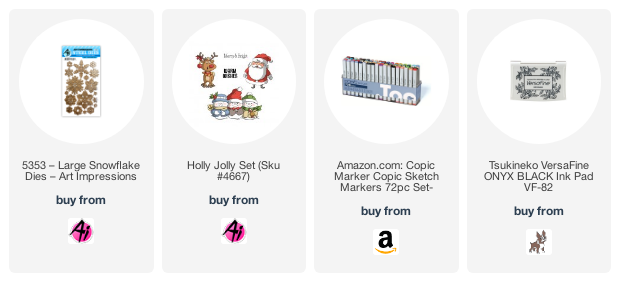
I did a lot of Copic colouring when we were first in lockdown mode last spring, so I had coloured up these two images from 4667 - Holly Jolly Set, and pulled them out this week to add to my Christmas card stash.  I die cut both of them with decorative rectangle dies, and mounted them on black cardstock.  To create my snowflake background, I die cut the entire Large Snowflake Die in 5 different colours of cardstock.  I arranged them randomly on my white card base, adhered them down, and then trimmed off the bits that hung over the edges.

The sentiment "Merry & Bright" comes in the Holly Jolly set, but since I wanted to use the word die, I cut my sentiment in half (gasp!) and just used "Merry &"...  I stamped "Merry &" in Onyx Black Versafine ink, and die cut the word "bright" in some shiny silver cardstock.
Both cards are 5"x 6 1/2".    

Happy stamping!


Saturday, December 12, 2020

Santa Paws

Hello Ai fans! 
I have another wonderful Art Impressions Christmas image to share with you today, here is the adorable 4937 - Santa Paws Set:
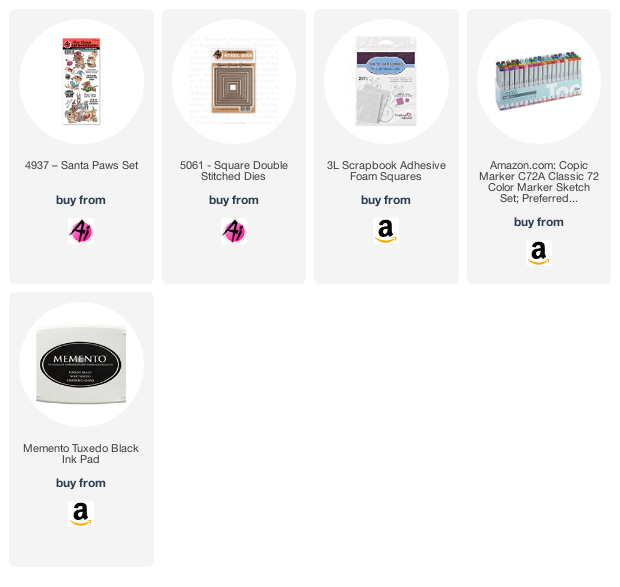
This was a fun one to colour!  My image is stamped in Memento Tuxedo Black ink, and coloured up with Copic markers.  I used the 5061 - Square Double Stitched Dies to cut it out, and mounted it on some deep blue cardstock, then adhered it to my base with 3D adhesive foam tape.  
My sentiment was cut twice from some metallic red cardstock, and then I glued the two layers together to make a more substantial piece when I added it to my panel.  A few red rhinestones finished everything off nicely!  The finished card is 5 1/2" square.
                             
Happy stamping!


Friday, December 11, 2020

Yeti or Not

 I just adore this Lawn Fawn stamp set called "Yeti or Not", and I paired it up with their "Over the Mountain Borders" set to create my little scene:

Everything was coloured using my Copic markers, and the sentiment was white-embossed on black cardstock.  I glued the bits and pieces down, and then adhered the panel to my card base using 3D foam adhesive to raise it up a little.  All in all, I got 12 of these made today!  (Okay, the fussy cutting started a few days ago...)  Happy with my efforts :o)


LinkWithin

Related Posts with Thumbnails