Showing posts with label Watercolor. Show all posts

Friday, February 19, 2016

Mojo & All The Little Things

I am playing along with a new challenge on Lesley Croghan's blog, called "Inspired By All The Little Things".  She has posted an inspiration photo, which immediately made me think of this floral paper from Teresa Collins.  I'm using this week's Mojo Monday sketch:
I needed a sympathy card, so I pulled out an older set from Close To My Heart (Card Word Puzzle) and stamped it on a circle of watercolour paper.  I used the CTMH inks that matched my paper and used a paintbrush to paint the inks onto my image.  I popped it up over a piece of organdy ribbon to finish it off.  The sentiment is from Verve's "Blessings".
Patterned paper is You Are my Happy, by Teresa Collins; Cardstock and Inks are Sorbet & Desert Sand, CTMH; Colonial White organdy ribbon, CTMH; Sentiment is Blessings by Verve; Stamps are Card Word Puzzle, CTMH; STAX Circle & Stitched Circle dies, My Favorite Things.

Tuesday, February 9, 2016

Watercolour Valentines

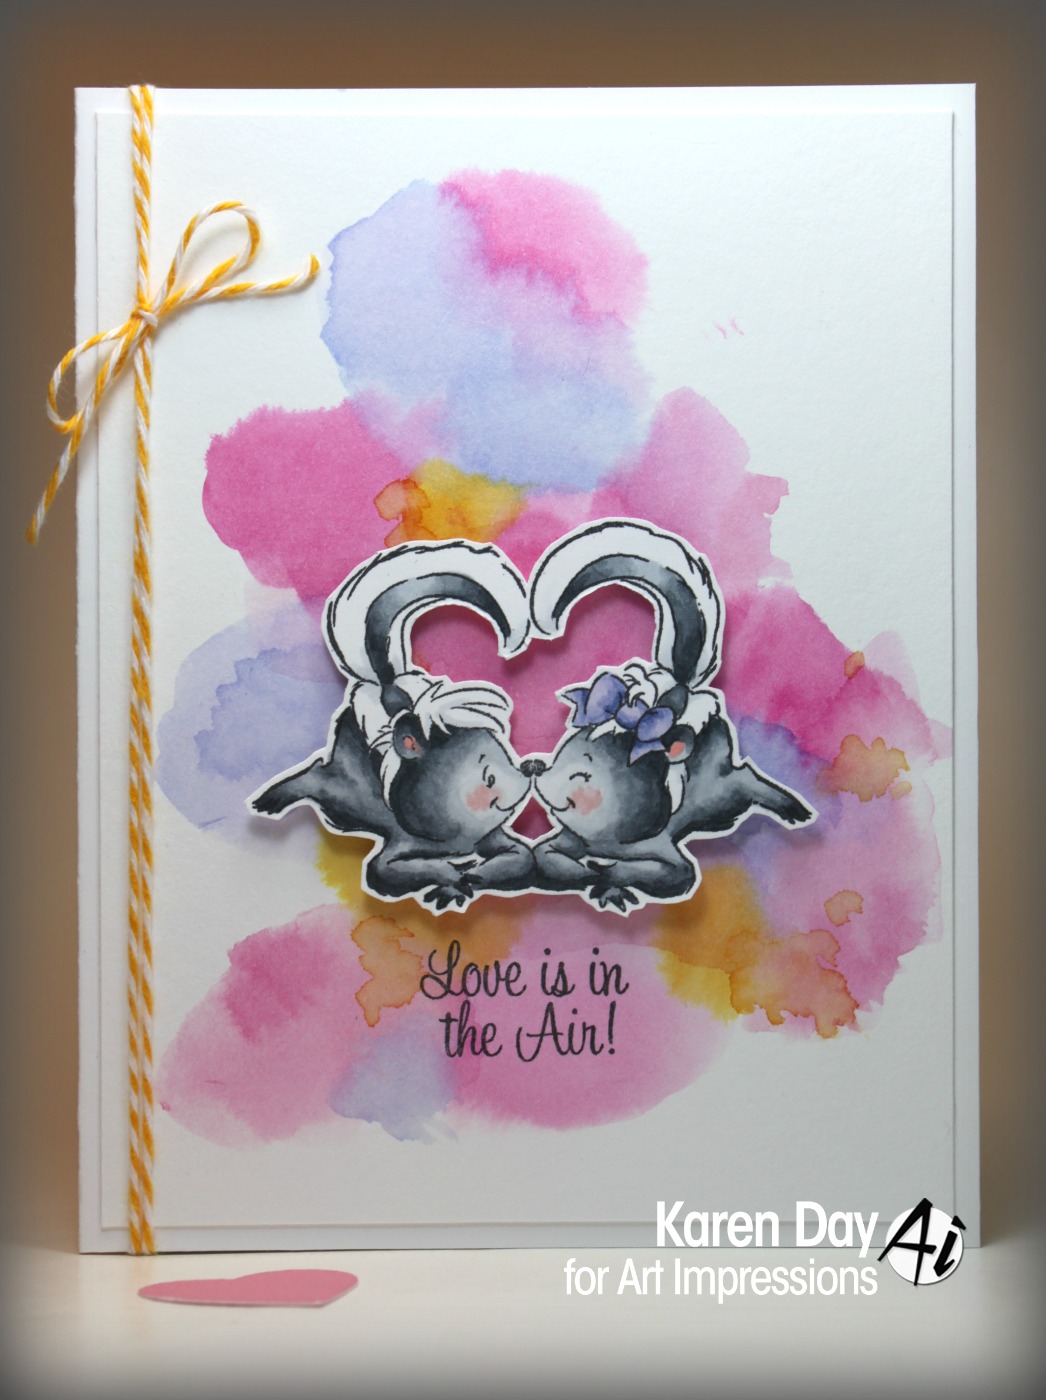
 Have you seen the newest Art Impressions release of several Valentine sets??  One of them is a clear acetate set featuring the cutest little skunks, several sentiments and some additional accent images.  I am featuring a couple of cards with the cute skunk couple from In The Air Set (Sku #4753):

 I made a watercolour background using three different distress inks, on some Ranger watercolour paper.  The paper has both a textured side, and a smooth side, so I tried one of each, and don't really have a preference?  They were both easy to work with.  I kept things simple and mounted them onto a plain white card base, added some Baker's twine and popped up the fussy cut image over the sentiment.
Copics used: C7, C5, C3, C1, C00, BV04, BV02, BV01, BV00, R20


Friday, October 30, 2015

Watercolour Birthday

I realized when it was my daughter's birthday earlier this week, that I hadn't shared the card that I made her, here on my blog.  I cut up a bunch of squares and rectangles of watercolour paper, pulled out my Distress Inks and started playing.  This was my favourite colour combo:
I love that you never quite know how colours are going to blend, or look together.  After the ink dried, I stamped overtop of it with black ink, popped the whole square panel up on pop dots, and added an arrow die cut.

Tuesday, June 17, 2014

Watercolour

I am posting on the Art Impressions blog today!
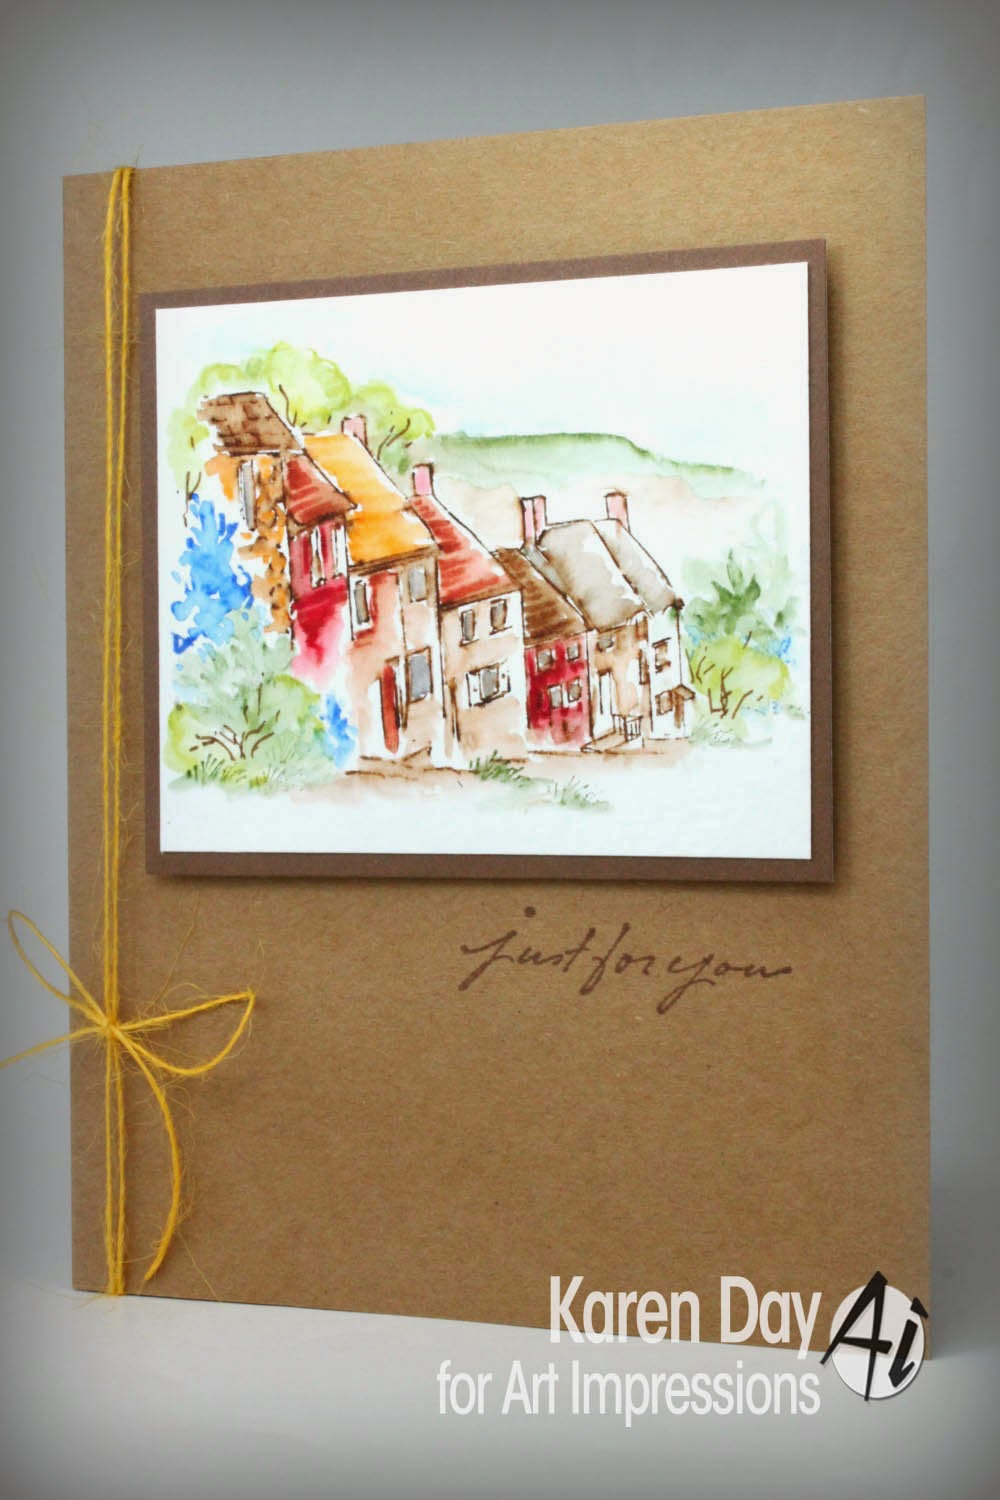
I have ventured into some watercolour artwork again... this time using WC Series 6 Set 2 - Sku#3498.  Both of the Series 6 sets depict a small town in the Engligh countryside, so I've used a couple of the images to create a small scene:
 I've used combination of both Marvy & Tombow watercolour markers, initially colouring the stamp of the houses in a dark brown.  Then I used the markers directly on the paper to add colour to the houses and to create the scenery around them.  I went back in with a wet paintbrush to soften the colour and move it around.  Here's a closeup:
These are such great stamp sets to work with, since they give you the foundation image, and then the colouring & background details are all up to you.  Art Impressions has a huge inventory of Watercolour Series sets that you can find on the website, here!
Happy watercolouring, everyone!


Tuesday, March 18, 2014

Tuscan Summer Watercolours

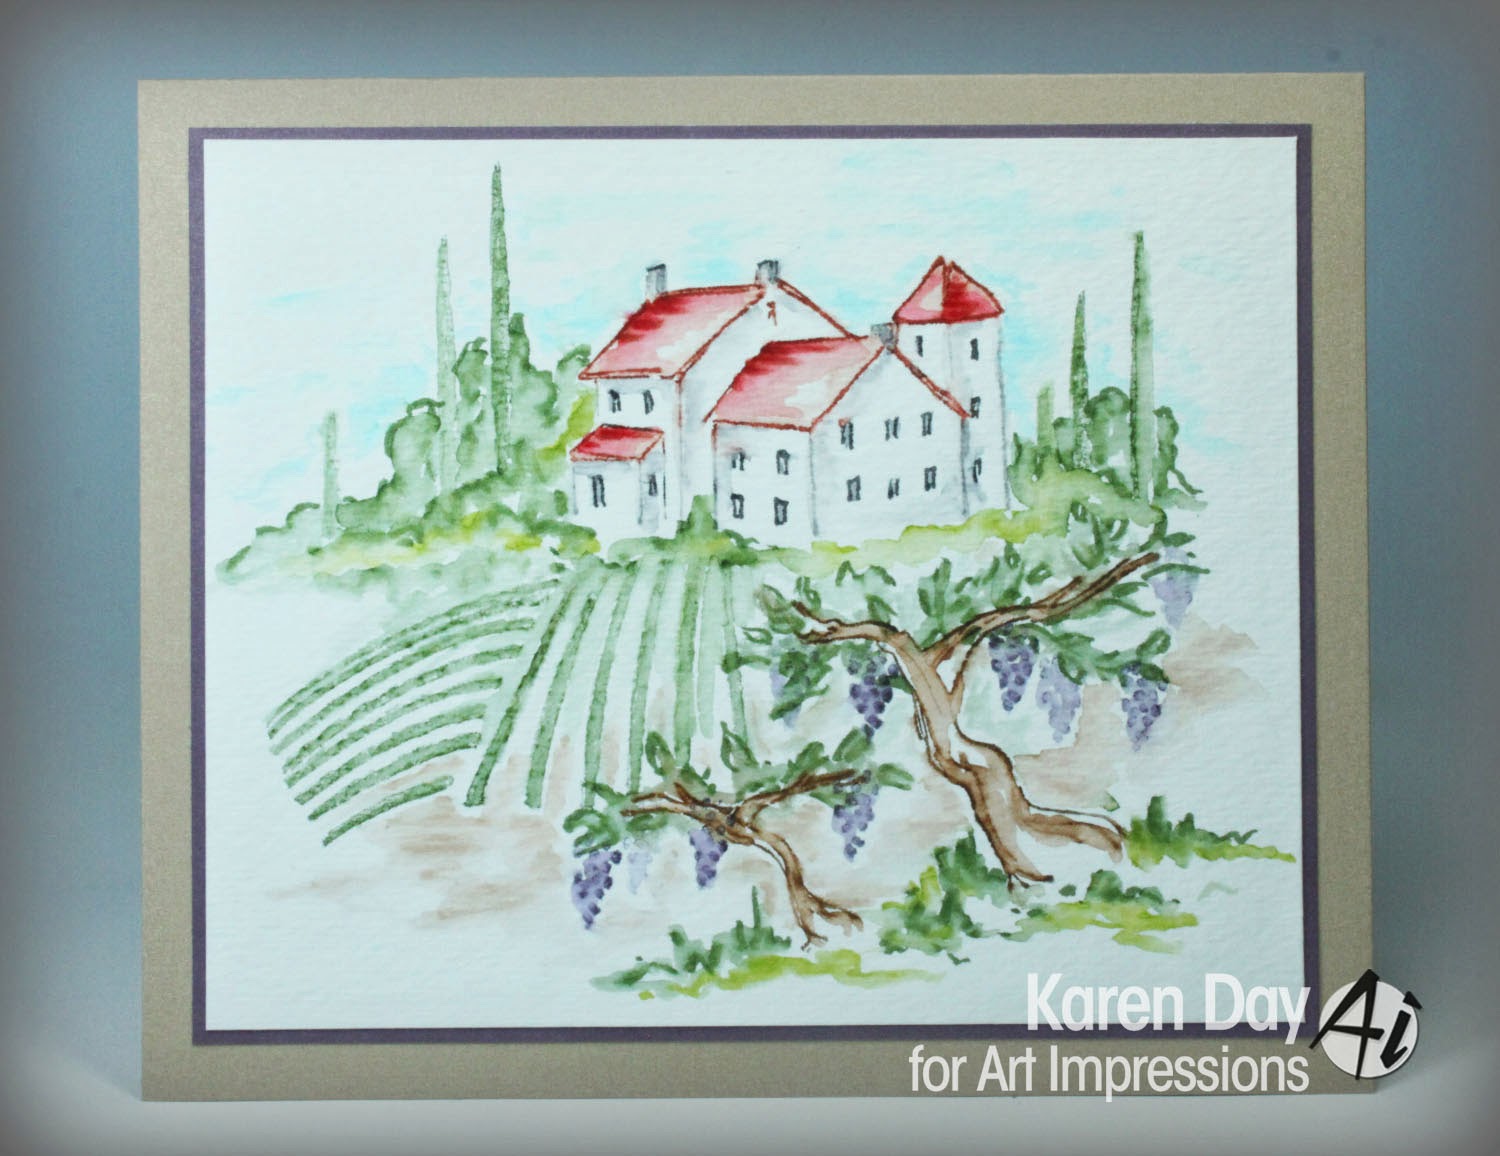
 I'm very excited to be sharing something new with you today!  One of my New Year's Resolutions this year was "I will watercolour in 2014".  I have had the Art Impressions Watercolor Series 9 sets for a while now, have experimented and practised a bit... and now that I finally have all the tools & supplies organized - I played with them all day on Sunday.  I'm going to share my favourite project first:

This was actually my third attempt at watercolouring!  Here is a closeup of my scene:


If you aren't familiar with the Ai Watercolor sets - they are scene builder sets, where you get approx 6 different stamps in each set that can be used together in different combinations and arrangements to create your own scene.  These are all 'outline' stamps - so in my scene above, I'm using the outline of the grapevine, the outline of the basket of grapes and the small cluster of grapes.  You colour the stamp with a water soluable marker, and after stamping it, you use a wet paintbrush to soften the lines of the image, pulling the colour from the stamp to fill it in.  So on my basket of grapes, I used a green marker on the leaves, a purple one on the grapes and brown on the basket.  The grass, leaves on the vine and background are all my freehand work with the markers/brush.  Here was my second attempt:


 And finally my first attempt... I liked the design, but the colours were a bit too vibrant for me - I haven't quite decided how to make it into a card yet:


The first card I shared was my own creation, but the next two were done with a little help from my friends at Art Impressions.  When you purchase the Watercolour sets - I highly recommend getting one of the Instruction Guides (you can find the one I used, Tuscan summer, here!).  This is a full colour, six page booklet with step by step instructions on how to build your scene, complete with colour info:

If you would like to be able to paint, without having to draw out your own scene - this is the perfect choice for you.  I'm going to share a few things that I've learned in my experiments:
1) Have all the right supplies: 140lb Coldpress watercolour paper, Watercolour markers (I used both Marvy & Tombow), a decent quality brush.
2) Don't hesitate to use your markers directly on the paper - I added foliage, extra shading to the vines, and freehand drew in the grass and hilltops.  I found that I had better control with the markers than trying to paint freehand with my brush (I'll get better with practise!)
3) Layer colours overtop of each other to create different shades (I only had a vibrant pink/red shade that did not look good on my rooftops, so I found that by layering brown over the red, I achieved a more subtle shade that worked)
4) Watch Bonnie's videos!!  You'll see links to them on the sidebar of the Art Impressions blog.
5) Start with the examples in the instruction guide, and as your skills improve along with your confidence, you'll start creating scenes of your own.
Happy watercolouring, everyone!


LinkWithin

Related Posts with Thumbnails