Showing posts with label Front & Backs. Show all posts

Friday, September 15, 2023

New Front & Back

I have a very different card to share for this week's Watercolour Weekend on the Art Impressions blog - mostly dies!

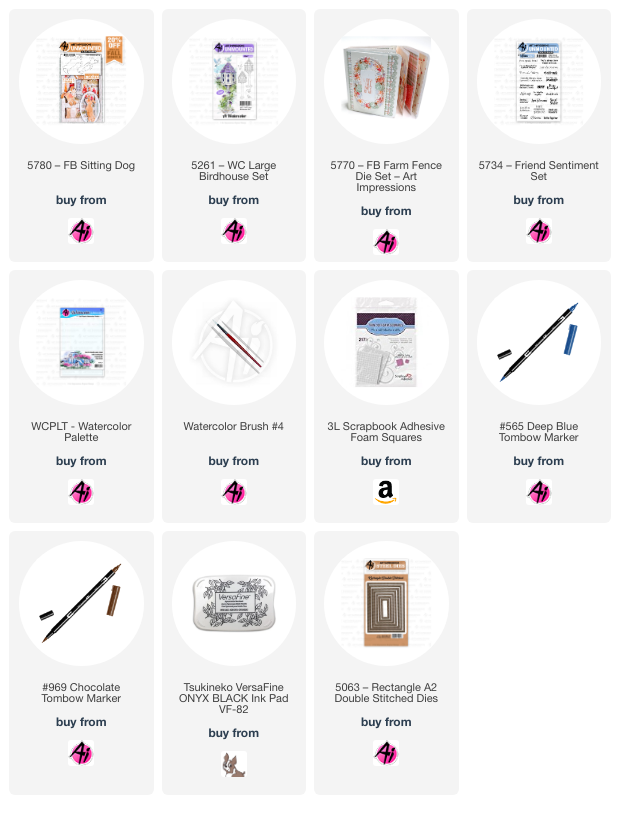
I stamped the little 5780 - FB Sitting Dog onto some Bristol Smooth Cardstock using Tombows 565 & 969, and painted him with N55, adding layers where he needed to be darker.  I went over his features with my Black Twintone marker, then cut both the front and back out with the matching dies.  I did the same with the bird from 5261 - WC Large Birdhouse Set, painting him with 533 and fussy cutting him out.

To create the window, I cut the window frame from 5770 - FB Farm Fence Die Set in white cardstock - twice, and cut the shutters out in black.  It's a little hard to see in the photos, but I cut 1/2" strips of pale blue cardstock, and glued them all together to mimic the wood siding on a house.  I ran this panel through my machine with the 5063 A2 Rectangle Double Stitched Die, then cut out two black & white polka dot rectangles as well.  The black one was glued inside my card to be the 'inside' of the house, and the white polka dot piece was glued to the inside of the window.  Once I had created my layers for the front of my card, I used the rectangle die that cuts out the window, then glued the two window frames on the inside and outside of my card.

The pup was glued together and placed with his head sticking out the window to look up at the bird.  The dies that cut him out also cut out under his paws, which allowed me to let them perch on the windowsill.  I cut out my Memory Box Twig die in some kraft cardstock and glued it to my card so that there would be a good spot to have the bird standing on one of the branches.  The sentiment from 5734 - Friend Sentiments Set was stamped in Versafine Onyx Black ink.

Even though this is an easy card - it required a lot of planning!  You have to think before you glue things together, making sure you're not missing a step.  It's also important with a Front & Back card to have the inside look nicely finished - so I made sure to have some patterned paper on the reverse of the front panel to not have the dog sitting there on his own.

Check out the Ai blog and instagram on Saturday to see what Diane & Tricia have to share!


Saturday, August 1, 2015

Birthday Front & Back

It's the first of August!  Which means a whole bunch of inspiration on the One Crazy Stamper blog.  I am sharing a fun birthday card using Art Impressions  Front & Back - Eat Itself Set (Sku #4567):
 This stamp set comes with a front upper body image and a full lower body image that is the rear view.  I coloured both images with Copic markers, cut them out and glued them together.  I assembled my card body, cut out a window opening, and positioned my birthday girl peeking out of it.  Here's the view from the inside:

 Be sure to check out what inspiration the rest of the Design Team has to share with you over on the OCS blog!  Products found in the OCS store:

Tuesday, April 28, 2015

Got Any Cake?

I'm using one of the new 2015 Art Impressions Front & Back sets today: Any Cake Set (Sku #4569):
I love the expressions on their faces!  A few of them are practically smirking :o)

And the best part, is opening up the card to see their cute little behinds!

There are all kinds of front & back images available in the Art Impressions store - you'll want to check out all of them!  Happy stamping everyone!
Copics: E57, E55, E53, E51, E50, W5, W3, W1
**This is my second post for today - please scroll down to see my One Crazy Stamper post!


Wednesday, April 1, 2015

Got any cake??

It's a new month, and a new challenge over on the One Crazy Stamper blog!  Our April challenge is "Anything Goes" - you can use any products you like, just no digi stamps please :o)  I have a fun Front & Back image from Art Impressions called Any Cake Set :
After stamping & colouring both the front and back images, I cut them out, and glued them together.  I cut a window through all the layers on the front of my card, just large enough for the little group of raccoons to peek through:
Here's what they look like from the inside - I like to put a piece of patterned paper on the inside behind the window for a little added colour:

 Be sure to check out the inspiration from the rest of the Design Team on the OCS blog, and get ready to link up your creations to our April challenge!
There are quite a few of the Art Impressions Front & Backs sets in the One Crazy Stamper store - here's a list of the products you'll find there from today's card:


Tuesday, February 17, 2015

Birthday Front & Back

 Are you loving the newly released Art Impressions Front & Backs??  I am!  I have a sweet birthday card to share today using Eat Itself Set(Sku#4567):

 Don't forget that there are FOUR brand new F & B sets available in the Ai store - as well as the classic F & B sets and the Mini Front & Backs.  We would love to see you using them in our current "Front and Back Challenge" on the Ai blog.  Happy Stamping!
Copics used - Skin tones - E11, E00, E000, R20
Hair - E55, E53, E51
Pinks - R85, R83, R81
Yellows - Y26, Y23, Y21, YR12, Y13, Y11
Blues - B02, B01, B00, B000
Greys - W7, W5, W3, W1
Greens - G43, G40
Oranges - YR16, YR15, YR12

Thursday, February 12, 2015

Front & Back Challenge


Hello!  We have a new challenge on the Art Impressions blog today which is a "Front & Back Challenge" - we want to see something on both the outside and inside of your cards.  If you have some of the wonderful Ai Front & Back images, even better!  AND - the design team is launching the first of the brand new 2015 Art Impressions images today - we have four brand new F & B sets for you.  I am sharing Any Cake Set (Sku #4569):
Aren't they cute??  Their little grins really make me smile... here's what their back view looks like on the inside:
And here are the sweet kitties in Purrr-thday Set (Sku#4568):
In order to be as accurate as possible, I actually looked up both cat and raccoon images online so that I could make them look realistic.  The fun part was making sure that I matched up the backsides of them when colouring.  Here's the inside:
These cute sets come with both the front & back images, as well as one sentiment.  And even though mine are cut out manually - Ai has DIES for them!!  To make my openings, I cut out die cut shapes with my Cricut, and then used an old Coluzzle template to cut the openings for them to peer through:
Head on over to the Art Impressions blog to see what the rest of the Design Team are sharing today, and be sure to enter our challenge!  I'll be back on Tuesday with another F&B card to show you.

Tuesday, April 15, 2014

Easter Gift Set

It is my Tuesday post on the Art Impressions blog, today!
Easter is just around the corner, so I've made up a little gift set to celebrate the occassion!  Warning - lots of photos ahead...  One stamp that is definitely a signature image for Art Impressions is "The Fence" (Sku#P1499), and I am using it to make a Front & Back card along with Bunny FB (Sku#K1566), F & B Peeking Rabbit (Sku#K1750), Egg Basket (Sku#G1755) and Got Eggs? (Sku#D4015):
There was a lot of stamping, colouring and fussy cutting for this project - and yes, it did take a little time!  Here's what I started with on my craft table:
 
I began by colouring and fussy cutting around each piece.  The outer fence is part of the card base, and I glued the second fence to the back side of it.  Then I glued on the die cut grass along the bottom edges.  I added the bunny butts to the outside of the card, and matched their fronts to them on the inside, along with the basket of eggs.  I created a little hillside of gingham paper and glued it to the inside base along with the clouds and sky, then stamped the sentiment, "Got Eggs?":


For the matching treat holder, I cut a 4" x 12" piece of cardstock, scored it at 5 1/4" and 6 3/4", and cut a 2" circle out of one end.  I used a Spellbinders Label die to cut a shape for the top, and a small strip of green cardstock folded over the top.  The bunny was fussy cut and glued over the circle:

I used just the backview image, because I wanted it to look like the bunny was peeking in at the eggs:


I filled a small cello bag with Easter grass and a few chocolate eggs, then sandwiched it between the topper that I stapled on.

 
Did you see the Mini Front & Back images that we launched here on the blog a few weeks ago?  Well they would all work just perfectly with both the fence and the treat bag idea - and not just for Easter, maybe for a birthday party?  Another occassion?  And be sure to check out the Front & Back section on the Ai website - there are several dozen images to use along with the Fence.
Copic Markers used:
Fence: W1, W3, W5
Bunnies: E51, E53, E55, C1, R20, R22
Basket: E53, E55, E57, Y21, Y23, R81, R83, G40, G43, B01, B00, B000, V20, V22
Happy stamping, & Happy Easter!


LinkWithin

Related Posts with Thumbnails