Showing posts with label Distress Ink. Show all posts

Monday, March 24, 2025

Uniquely You Valentine

I needed a valentine, and had an extra panel of the January Betterpress Society plates, 'Uniquely You' pressed on some watercolour paper.  Similar to one of my other cards, I pulled out four colours of Distress Ink and painted in the leaves.


I painted a strip of scrap watercolour paper with Picked Raspberry ink, then die cut a bunch of little hearts from it, and decorated my image.

I trimmed down my panel, mounted it on some black cardstock and also pressed one of the sentiments from the set below the urn.  A few black jewels finished it off.

You can get a Betterpress Society subscription from The Papercrafter's Workshop.


Saturday, February 24, 2024

Spellbinders Cardmaking Star

I am entering the Spellbinders Cardmaking Star competition with this card using the Cosmos Backdrop press plate, that I've watercoloured using Distress Inks.

My image was pressed onto Canson XL Watercolor paper, using Betterpress Black Ink, and my Spellbinders Betterpress system.  I painted it in by smooshing my Tim Holtz Distress Ink cubes onto my palette, and picking up colour with a paintbrush to add to my image.

After using my powder tool, I used Versamark Watermark ink with the It's Your Day Sentiment Strips to impress some black cardstock with all the great sentiments that come on this plate!  I sprinkled the impressions with white embossing powder and heated them all with my heat gun, before using the coordinating die to cut them out.

I matted the image with black cardstock, and adhered it down to my periwinkle blue cardbase.  The sentiment is attached with 3D foam adhesive, and a few black gems were placed around it.

I'm really loving my Betterpress!


Thursday, March 4, 2021

Watercolor Weekend: Green

I will be on the Art Impressions blog on Saturday for their Watercolour Weekend post, and we've started to have themes.  I went CAS for my 'green' card this week! 

I began by taping a piece of Ranger Watercolor paper onto a board, and after masking off the top 2/3, I ink blended some Crushed Olive and Mowed Lawn Distress inks for my grass.  I switched the mask to the bottom 1/3, and blended Tumbled Glass and Salty Ocean, keeping a white area just off-center. (This paper is a bright white, and kept my ink colours bright and clear!)
                           
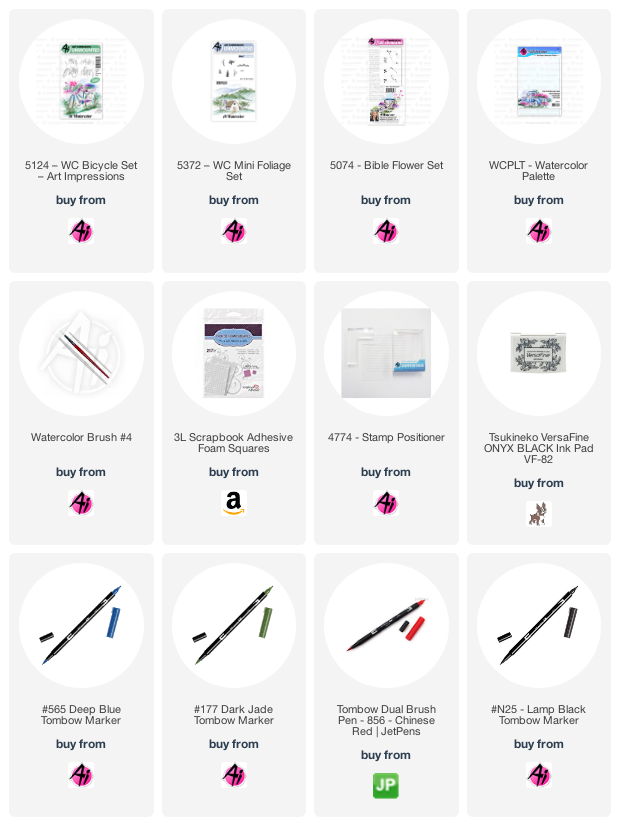
I used the smaller bicycle from 5124 - WC Bicycle Set, coloured it with my #N45 Cool Grey 10 Tombow marker and used my Stamp Positioner to place it where the white 'halo' area was, making sure that it sat just above the grass line.  I used my damp brush to pull out the colour in all the metal bars, then picked up #N25 Lamp Black and painted in the wheels and seat.  I added #856 Chinese Red to the handlebars and fenders.  With the small leafy green from 5074 - Bible Flower Set, I masked off the basket, then stamped it repeatedly in #177 Dark Jade.  I used the same #177 and the grass from 5372 - WC Mini Foliage Set to stamp grass around the tires.  A touch of #565 Deep Blue added shadows to the white basket, and on the bike.
I used the green and black ink on my palette to spatter some ink on my scene, then stamped the sentiment from the Exclusive Daisies Set and die cut it with a decorative rectangle die.  The scene is adhered to my white card base with 3D foam adhesive.

Tuesday, January 26, 2016

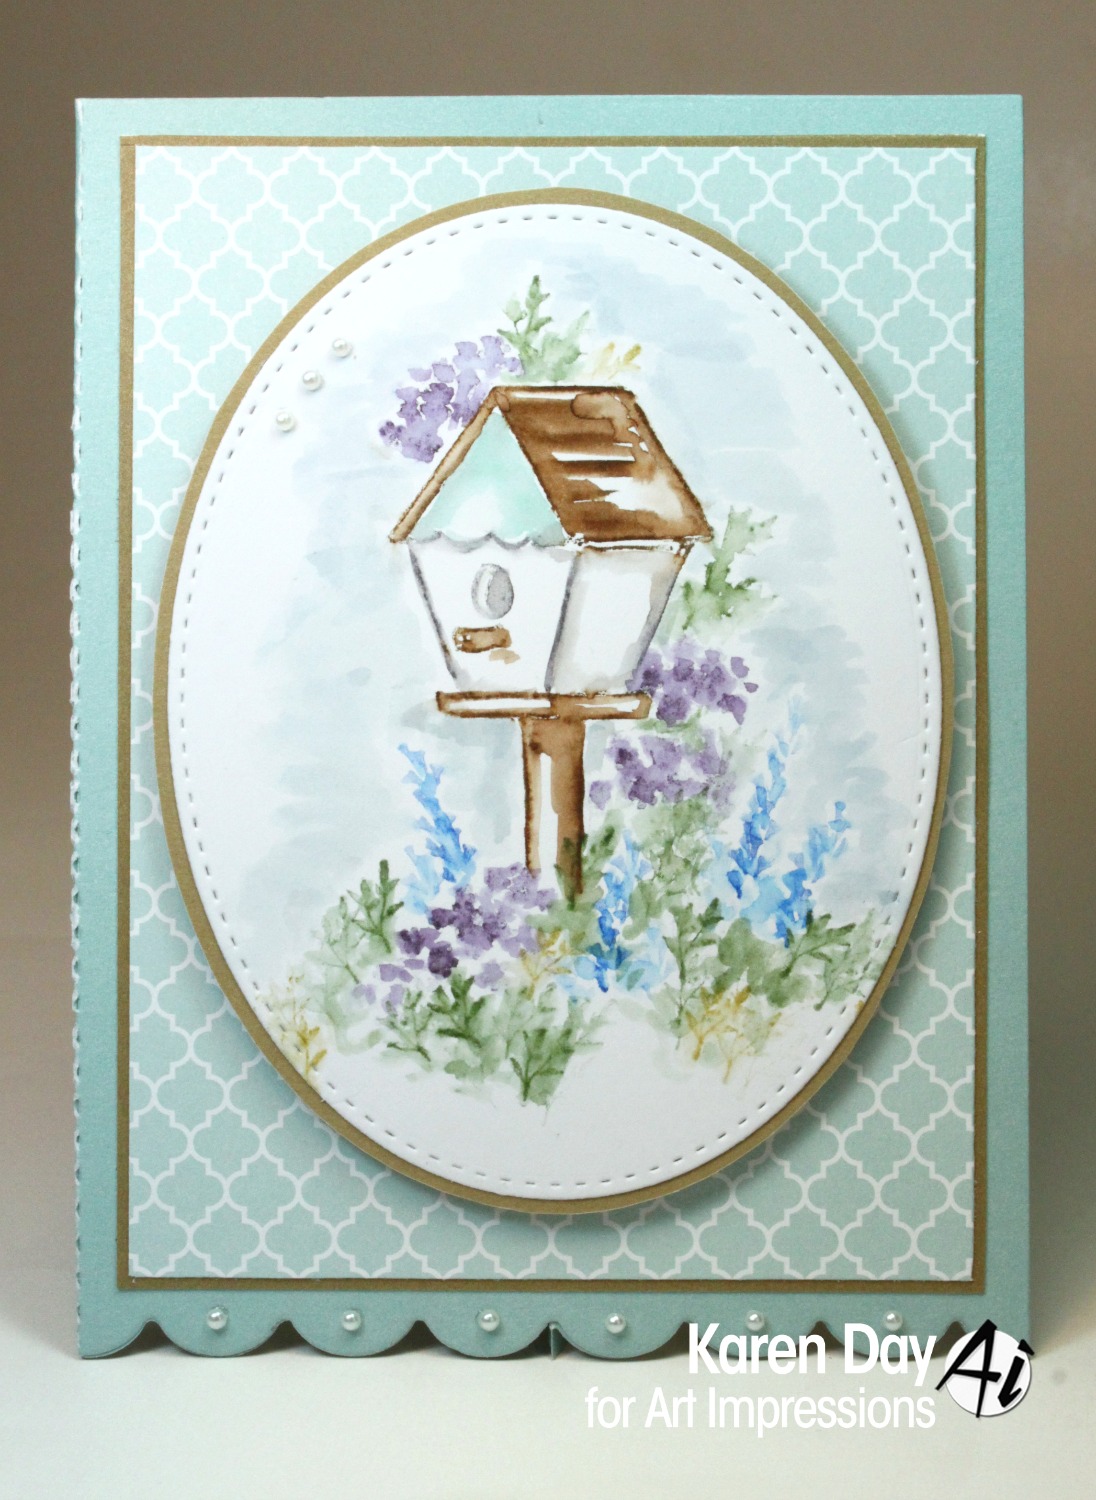
Blooming Birdhouse Watercolour

I'm back with another of the Ai Watercolor Mini sets: Blooming Birdhouse (Sku #4603).  As always, I painted several of the images and made up a few different card styles.  Here is a 5 1/2" square card:
 The next one is much smaller, I used the wonderful Scallop Easel Die (Sku #4700) to cut out my base, which makes for a 3 3/4" x 5" card.  I used pop dots on my matted oval to give it a bit more dimension, and added some tiny pearls to the oval and the scalloped edge.
**Watercolouring tip!!  On the easel card, I used my #4 paintbrush for the sky, which is what I used to soften the lines of my stamped images, and even though I like the end result, I thought that the sky came out a bit "scribbly".  So for the square card, I tried something different.  After I stamped my birdhouse, and before I added any leaves or flowers, I used a large brush to add a pale blue wash all around it.  The larger brush gave a softer, smoother sky - and then I stamped my flowers and foliage over top of it.  It's a little hard to see in the photo, because the sky is quite pale, but I loved this effect!
The set comes with the birdhouse, three flowers and a small leafy sprig; I also added a flower stamp from the WC Flower Set (Sku #4052) that I stamped to make my blue Lupines.


Tuesday, January 19, 2016

Art Impressions Watercolor Mini

 I am posting on the Art Impressions blog today.  I had a great time this past weekend - I pulled out several of the Ai Watercolor Mini sets, my Tombow markers and Distress Inks, and I painted a whole bunch of watercolour images!  So today I'm sharing a couple of cards made with my favourite set from the last release: Clay Pot (Sku #4701)
 They're both the same, but I switched up the colours of the pot, and I tried a darker sky on this one:
 Once I find a design that I like, I tend to paint up several, and experiment a bit.  This set comes with the pot image, twig, berry branch and wildflower.  I added the two grass images from the WC Foliage Set (Sku #4051) and used the sentiment from one of the Try-folds: TF Garden (Sku #4203).  I'll be back next week with another Watercolor Mini set!


Friday, April 3, 2015

I Wuff You

Ha!  I love this sweet little sentiment that comes with the puppy in the Woof Set from Art Impressions.  This is one of the Ai Zoo Babies - and Lora has all four Zoo Babies in the One Crazy Stamper store, so you'll want to check them out!  I decided to do something different with today's cards, as I'm usually a bit of a patterned paper junkie.  I love all the watercoloured backgrounds that I'm seeing on people's blogs, so I cut some small rectangles of watercolour paper, grabbed some of my mini Distress Inks and got to work.  Here's what I came up with:
 The first card uses Mustard Seed and Picked Raspberry Distress Inks.  I tapped each ink onto a clear acrylic block which I used as my watercolour palette.  Then I dipped my paintbrush into clean water and wet the cardstock.  With a slightly damp brush, I picked up the Raspberry (pink) ink and dabbed it three or four times onto the wet area of the paper.  The ink immediately started to spread wherever the paper was wet.  After cleaning the brush, I then picked up the Mustard (yellow) ink and did the same thing.  You can see the areas where the two colours met and blended - forming an orange shade.  I love the randomness of the pattern!  The ink will only go where the paper is wet, which allows you to have some control.
The second card uses Peacock Feathers and Mustard Seed again.  I love watching the colours blend!  And if you don't find the colours to be deep enough, you simply drop more ink onto the paper until you achieve a colour that you're happy with.  You'll get the best results if you remember how we all learned about the colour wheel in school... red + yellow = orange, blue + yellow = green etc.  But I encourage you to get out your Distress Inks or a set of watercolours, and play! 

 I coloured the puppies with Copic markers, picking up the colours of the background for their ribbons.  Then I fussy cut them out, and popped them up on pop dots.  Here's what you can find in the OCS store:


LinkWithin

Related Posts with Thumbnails