Sunday, September 15, 2024

Hello Again...

Before the day was done, I used the extra pieces that were on my craft desk, to create a landscape version of my previous card.  Why reinvent the wheel?  I was happy with my colour combo, and loved them on the pierced background... so here is version two:


Hello.

I am using a new-to-me set from Pigment Craft Co. that I recently purchased.  This is the Spring Floral stamp set along with the Dashing Sentiments.  The base is an Altenew piercing plate.  I don't own the matching dies, so yes - this was a lot of fussy cutting!

I have been using a lot of navy in my projects over the past while!  It still seems to be something I gravitate to - even on my fall projects.  I used Distress Oxide inks for my stamping, and then added some shading with Copic markers.

A few of the flowers were mounted partially/totally with 3D foam adhesive, and a few brown jewels were sprinkled around.  The Hello sentiment was doubled up before being adhered to my base.


Thursday, September 12, 2024

Winter Sprigs Tags

And another project using the July Betterpress Society plate, "Winter Sprigs Tree".  Natalie Murdock posted cute little tree tags, so I created my own versions:


I pressed the tree onto Canson XL watercolour paper using black Betterpress ink, then die cut it plus a second die cut in cream cardstock.  


I scored near the top of the second piece, then glued the top portion of it, onto the coloured tree piece.  I added a little Baker's twine to the top so that I can attach them to a parcel or a bottle of wine for the holiday.


If you're interested in signing up for Spellbinders Betterpress Society, contact the Papercrafter's Workshop to get added to the next subscription!


Tuesday, September 10, 2024

Fall Wreath

I was playing with my Gansai Tambei Watercolours a few weeks ago, after cutting out this pretty wreath from Elizabeth Craft Designs out of Canson XL Watercolour Paper.  This is 2079: Fall Wreath & Owl.


After painting, and spattering with black paint, I cut about 1/3 of the wreath off, and adhered it to my patterned card base as shown, after inking the edges of my paper.  It's actually Christmas paper!  But it worked well for my fall card.


I made a wax seal using Spellbinders Timeless Blooms Wax Seal Stamp and Matcha wax, then used a Decopaint gold marker to highlight the design.  I adhered it to the wreath over a swirl of gold mettalic thread.  I gold embossed a sentiment under the seal, and added a few gold pearls.

All supplies are from the Papercrafter's Workshop.


Sunday, September 8, 2024

CAS Winter Sprigs

This was my 3rd project for the Papercrafter's Workshop using the July Betterpress Society plate, "Winter Sprig Tree".


Both of these are pressed onto regular cardstock, so the plate functions similar to a stamp.  I used Stayzon Watermark ink on the green one, then heat embossed the image and sentiment with gold embossing powder.  I used green Copic markers to colour in all the pieces of the tree.


My kraft card was even simpler!  I was definitely looking for a CAS vibe with these.  You'll notice in most of the photos, I only painted in the star with metallic gold paint, but you'll see in the close up, that I ended up painting in the smaller berries as well.


Both cards are adhered to a black base with 3D foam adhesive, after being die cut with the Hemstitch Rectangle dies from Spellbinders.


If you're interested in joining the Betterpress Society, contact the Papercrafter's Workshop, and they'll get you sorted out.


Thursday, September 5, 2024

Painted Winter Sprigs

I have another Winter Sprigs card to share - this time I pressed onto Canson XL Watercolour paper which is a creamy colour, with Betterpress Black ink.  I wanted to try the amazing Moonbeam Shimmering Watercolour paints from Crafter's Companion on this image, as it's screaming out for a little glimmer!


It's hard to adequately show just how shimmery these paints are, but I'll include a shot of the palette itself.  I chose my papers based on the colours that I painted (there wasn't a dark green paint, so what I used is pretty pale).  Next time I would probably not use the blue, as it was hard to find Christmassy papers that looked good with it - so I went with something fairly plain.


The tree and sentiment are attached to the base with 3D foam adhesive, and I added some shiny gold pearls for extra glam.  The finished card size is 5" x 6.5".


This was the July exclusive press plate set for the Betterpress Society from Spellbinders.  If you're interested in ordering upcoming months - contact the Papercrafter's Workshop to sign up.


Tuesday, September 3, 2024

Art Impressions Stamptember!

Yes, it's Stamptember time again - and Art Impressions has an exclusive stamp set available through Simon Says Stamp.  The Ai Design Team are all posting projects today, so you can check out the Ai blog or social media, along with the post on the SSS blog.  I created two cards using this cute set, this is SSE24A - Sweet Bday: 

I've had that Doodlebug donut paper for years!  So I was thrilled to be able to put it to good use, and based my colour choices on the paper.

How could I not make a donut shaped card?  I used my Coluzzle templates that I haven't used in years, to cut the large circle - it's about 5 1/8" diameter.  The image was coloured with Copic markers and fussy cut out.
The edges of the donut were shaded with Vintage Photo Distress Oxide ink, and I used my Copics to shade around the blue icing.  The sentiment was heat embossed in white on chocolate cardstock, then adhered with 3D foam adhesive.  I *almost* added some beads around the icing to look like sprinkles... but thought it was getting too busy.
This is the second image included in the set, and it was perfect to allow that patterned paper to shine!  After fussy cutting, the image is adhered with 3D foam adhesive.
Remember to check out all the inspiration on the Simon Says Stamp blog, and don't wait to purchase the set, the exclusives tend to sell out quickly!


Monday, September 2, 2024

Winter Sprigs Tree

I'm sharing a project I've made with the July Betterpress Society plate from Spellbinders.  This one has been fun to use!  Once I started pressing it, the ideas kept coming, so I've got quite a few projects in the works.  Here is the one I made as a tutorial for the Papercrafter's Workshop Society members:

I cut 8 strips of cardstock that were 3/8" wide, choosing colours to give a bit of an ombre effect in both cool reds and greens.
I used distress ink to paint in the image, in colours that matched the cardstock strips that I'd chosen
Both the tree and die were pressed onto Porcelain Cotton Card panels, and cut out with their matching dies.  I adhered them both to my base with 3D foam adhesives.
If you're interested in joining the Betterpress Society subscription - be sure to contact the Papercrafter's Workshop, and they'll get you sorted for the next round.

Sunday, September 1, 2024

September Watercolour Weekend

I am on the Art Impressions blog today!


It's September, which means it's fall card making season!  I painted up an image I'd never used before - this is 5593 - Harvest Scenes Set.  

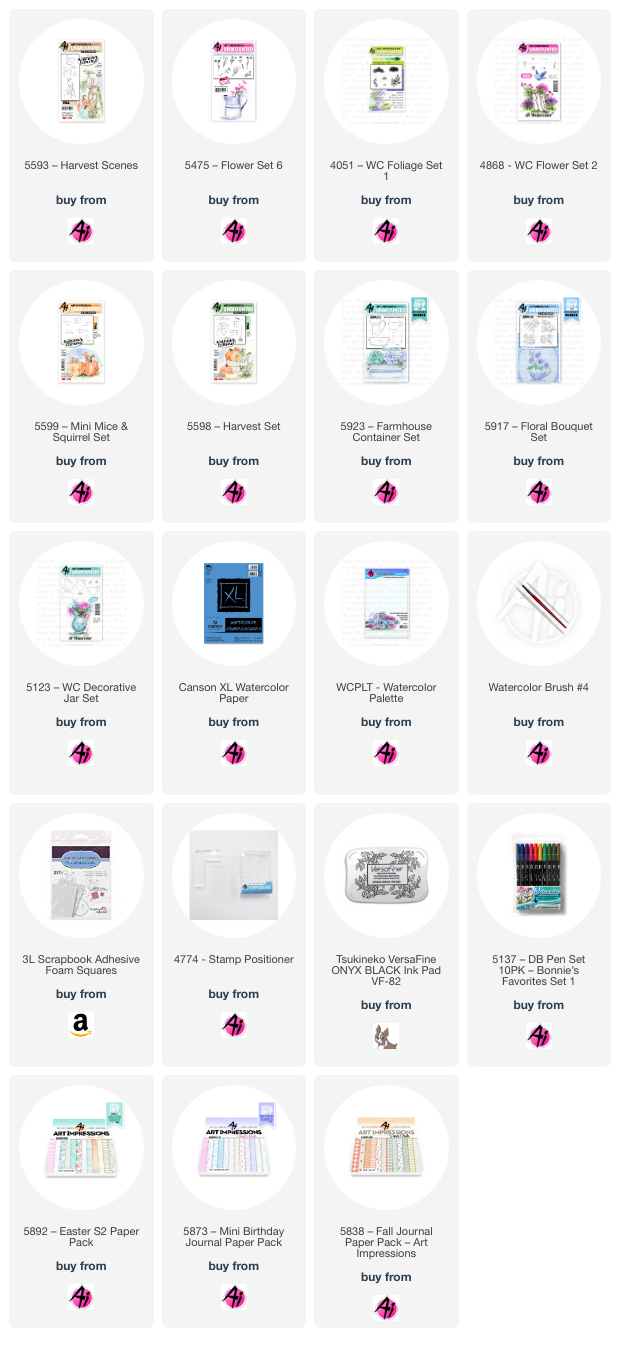
I stamped the image with Tombows #969/565, leaving off the bottom edge of the smaller pumpkin.  I used my stamp positioner to place the leaves from 5598 - Harvest Set, and the squirrel from 5599 - Mini Mice and Squirrel Set as well.  I stuck to a simple colour palette - using #312 on the pot and smaller pumpkin, adding layers to achieve the darker areas.  For the orange pumpkin, I started with #933 in several layers, then added #947 to deepen the shadows.  After pulling the colour out of the lines on the ladder, I used shades of #969, keeping it fairly light, as I wanted a weathered looking wooden ladder - then added touches of #947 and #565 for shadows.  A combination of #947 and 969 was used on both the bird and squirrel.

For the flowers spilling out of the pot, I used 5475  - WC Flower Set 6, in #312/177 and then the small circle of V shaped flowers from 4868 - WC Flower Set 2 was used with #847.  For the leaves, I painted splotches of #173/947/312/993/847.  With the small grass from 4052 Foliage Set and #177, I created the little hill behind the pumpkin and other images, then painted it out with my brush, dragging the colour out as a wash of grass.  I used my Twintone markers to add a few details back in, as well as to darken the eyes... then added a few dots around my scene.

The sentiment from 5797 - Little Things Sentiment Set is stamped in Versafine Onyx Black, and the background paper is from 5838 - Fall PP.

My second September project is actually a set of cards using the newly released 5917 - Floral Bouquet Set.

I'm not going to go into a lot of detail about the colours I've used, as I started painting these a couple of months ago, and didn't note everything down!  We'll talk more about concepts.  I initially just wanted to paint up these pretty new flowers, putting each of them in a container - and realized that I had the makings of a sweet card set to gift someone.  One way to create a card set is to do matching colours and papers, but since I had painted each bouquet in different (not necessarily coordinating) colours,  I used the card design to tie them together.  After painting, I used a postage die to cut them all out, then added a different sentiment from 5797 - Little Things Sentiment Set to each one using Versafine Onyx Black ink.  They were matted on a slightly larger piece of Canson XL Watercolour paper, and a piece of dark grey cardstock that was just 1/16" larger - and adhered with 3D foam adhesive.  The background papers are a bit of a mixed bag, but in this case, I kept in mind that the cards are going to be given out individually, so I focussed more on each background working with each painting, not that all four cards matched each other.  Details for each are below:

Thinking of You - Container is from 5123 - WC Decorative Jar Set, paper is 5892 - Easter S2PP.  You'll see on each painting that I've added colour around the base to 'ground' the container, as well as added a shadow of it.

One Day at a Time - Container is from 5923 - Farmhouse Container Set, paper is 5873 - Mini Birthday PP.  Look closely at the jug, and you'll see that I like to add touches of other colours when I'm painting containers.  I feel that it ties in the scene as a whole, and shiny containers always pick up reflections of items that are around them.

Just a Little Note - Container is from 5923 - Farmhouse Container Set, paper is 5892 - Easter S2PP.  This one is little!  But I love the idea of flowers in a teacup.  The yellow of the cup was quite a strong contrast to the purple/pink flowers, so I brought a little of the pink into the teacup as well, and added a darker ground to balance it out a bit.

Sending a Little Hello - Container is from 5123 - WC Decorative Jar Set, paper is 5892 - Easter S2PP.  I took my time shading between the petals on this one, as the image is very delicate, and the details really matter!


LinkWithin

Related Posts with Thumbnails