I always want to make something special for my niece whom I share my crafting passion with, when it's her birthday! It's an all-diecut card this year - with my new Eucalyptus and Citrus Slice dies from The Greetery, with a whole bunch of ink blending to add some interest, and ink spatters in blue, black and gold. It needed a little something more, so I tucked some pine boughs that I had on my desk in behind. I adhered it all to a desert sand piece of cardstock that I added a little Speckled Egg to, and tied some twine around the stems. Happy Birthday, Allie!
Tuesday, January 31, 2023
Saturday, January 28, 2023
Block Alpha Valentine
You all know how much I love the 5072 - Block Letters Die Set from Art Impressions... and word die cards are very popular right now, especially as valentines. I wanted to do another colour strip card, so combined the two ideas to make a slimline card:
I did some ink blending on my white textured card stock, using Worn Lipstick Distress Oxide ink, fading it upwards, then cut out my shape with Studio Katia's Dotted Slimline die, and centered my L, V, E and heart die before running it through my diecut machine again. I used a Pinkfresh Studio stencil and some Festive Berries ink to add a little something to my background panel, then added 1/4" strips of my six cardstock colours, and adhered the white panel down with 3D foam adhesive. A few irridescent blue jewels added a little sparkle.
Thursday, January 19, 2023
Valentine Mailbox
For the next Watercolour Weekend post on the Art Impressions blog, I'm doing a simple scene to show you how to make a Valentine by using the stamps you have.
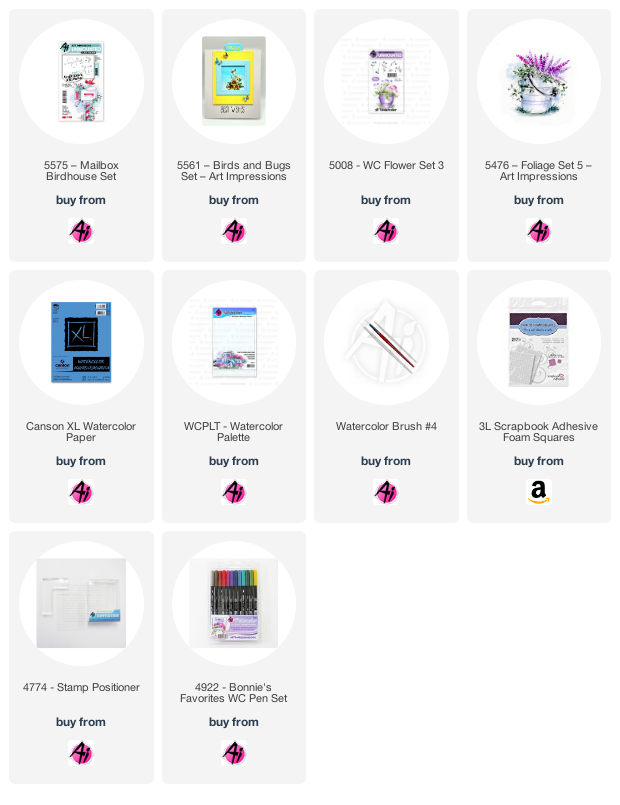
I stamped the mailbox image from 5575 - Mailbox Birdhouse Set in Tombow #969/565 onto my Canson XL Watercolour Paper. And used the same markers to add the bird from 5561 - Birds and Bugs Set. I wanted to create a bunch of hearts spilling out of the mailbox, so with a pencil, I sketched the hearts, making them smaller as the floated away. I also drew one tilted sideways in the bird's beak. I used three of the blooms in 5008 - WC Flower set 3 coloured in #856/177 and stamped my flowers around the base of the wood stand.
After pulling out all of the colour with a damp brush, I used #761/856 to paint the hearts, keeping a lighter highlite area. #993 was added to the flag, and shades of #969 were painted in streaks to suggest woodgrain on the base of the mailbox. The sweet bird was painted with shades of #528, with a little #565 on the wing tips and as shadows. With the two grasses in 5476 - WC Foliage Set 5, I added them under the flowers in #177/126, and blended them with my damp paintbrush. I just lightly touched each bloom with my paintbrush to enliven the colour a little, but not enough to lose the definition of the petals. A wash of #565 was added to the sky. I hope you'll pull out some of your regular stamp sets and make them into something sweet for Valentine's Day!
Be sure to check out the Ai blog this Saturday, to see what Tricia & Diane have to share.

Saturday, January 14, 2023
Folk Floral Stem
When your daughter needs an engagement card... you dive into your new supplies from the Papercrafter's Workshop's Boxing Day sale and get down to business. It was the perfect excuse to pull out the Floral Folk Stem stamp and stencils - so quick and easy to get great results. I used the Perfect Sentiments set and a few irridescent jewels to glam it up. All supplies are Pinkfresh Studio.
Monday, January 9, 2023
Ruscus Birthday
This is going to be one of my go-to products to make birthday cards! I made this for my husband, and went a bit artsy with a watercoloured background, a bit of ink blending on the leaves, and then black and gold paint spatters over everything. I adhered it to my base with 3D foam adhesive, and added a little sentiment from Lawn Fawn. The Ruscus Die is from The Greetery.
Sunday, January 8, 2023
Valentines for Veterans
I am happy to have been able to put together 30 cards for an initiative that the library I work at is supporting this week. Valentines for Veterans is a program that the government supports to have homemade valentine cards given to veterans in long term care homes. We will be putting out craft supplies at the library, so families can create the cards, and write a brief note inside thanking them for their service. I kept the designs bright and bold, and made multiples of each:
Thursday, January 5, 2023
Critter Pots


.jpg)
%20-%20Copy.jpg)
%20(1).jpg)
.jpg)

.jpg)
.jpg)

.jpg)
.jpg)


.jpg)
.jpg)
%20(1).jpg)
%20(1).jpg)
%20(1).jpg)
%20(1).jpg)
%20(1).jpg)
%20(1).jpg)
