Showing posts with label Art Impression Watercolors. Show all posts

Sunday, February 1, 2026

My final Art Impressions post

 Hello Ai Watercolour fans!

I have started all of my posts of the past (almost) 13 years with that phrase.  It is a bittersweet day for me that this will be my last post as part of the Art Impressions design team.  I started on the main team in 2013 after falling in love with Bonnie's amazing Girlfriends, and Old People stamps - still my favourites to this day!  I took a short break 4 1/2 years later, then returned on the Watercolour team where I've remained until today.  Life changes, and it's time for me to allow someone else to be part of this amazing team, using Bonnie's wonderful creations.  Thanks for being along for the ride with me!


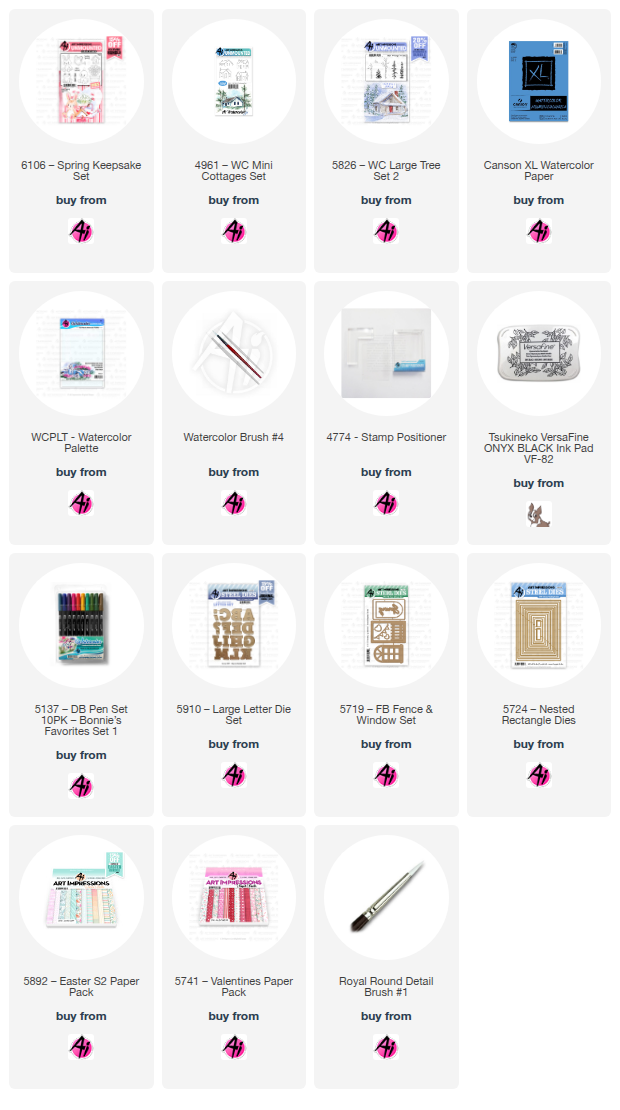
My first card is using the newly released 6106 - Spring Keepsake set.


I positioned the frog and watering can on the same block, and stamped them both using Tombow #N45 onto my Canson XL Watercolour paper.  After masking, I stamped the pot behind them, and then added the flower bouquet.


I was painting this in the middle of a snowstorm!  So I was reaching for bright, spring colours (helped brighten my mood, but the snow kept coming!).  I wanted a lot of contrast on the frog, so used #126/055/245/373, using the same on the greenery, but with some darker #177 added in.  #515 was painted in layers on the pot, and N45 watered down on the watering can.  #991/933 were used for the daffodils, and shades of #847 for the tulips.  A wash of #565 was painted as the sky, and used to add shadows around the images, and amongst the flowers.  When I'm painting something metallic or shiny, I like to add hints of the other colours in my painting, so you'll see touches of pink, blue and green on the watering can - as though it's catching their reflection.
The Spring die is from the 5719 - FB Fence & Window Set, cut twice and glued together to be a little sturdier.  The scene and blue mat are die cut using the 5724 - Nested Rectangle dies.  I mounted my scene onto some bold paper from the 5741 - Valentines paper pack.


My second card was a bit of a departure for me... and the jury's still out on this one!  I was inspired by a card from Alli Frazier, whose card was very CAS using diecuts.  I thought a watercolour version would be fun to try:


I really love the Ai alphabet dies... so I pulled out the 5910 - Large Letter Die set, then went searching for a house that was the right scale, facing forward.  But first, I had to make a template to plan out my card.  I traced a 4 1/4 x 5 1/2" rectangle on my Canson XL Watercolour paper, and drew a line across it diagonally in pencil.  I placed the letter dies along the line, and this allowed me to figure out my placement for the house from 4961 - WC Mini Cottages Set, which I inked in Tombow #N45, and stamped.  I picked the three trees from 5826 -WC Large Tree Set 2, and after masking the bottom portion along my line and the house, I inked them all in #312 and stamped them across the page at varying heights, stamping some a second time without reinking.


There was still a lot of sky on my card, so I decided to add the larger mountains from 5198 - WC Mountain Set, inked in #533.  I pulled out the colour of both the mountains and trees with a damp brush.  The house was painted with #N45 on the roof, #703 on the house, and #847 on the chimney.  I used #565 as a wash in the sky, and to add shadows to the house & windows. I used my Gray Twintone marker to darken the lines of the house and to outline the smoke.


This is the point where a lot of debate ensued!  The mountains and trees were way darker than I'd envisioned - I had wanted them to be more of a hazy background.  I used some of the white paint to soften the lines/colour of the mountains, and painted in the smoke from the chimney.  I added a strip of green cardstock under the line - and had planned to use the same green for the letters, but they were too similar of a colour to the trees.  The pink letters were much bolder than I intended, but gave a better contrast with the background.  My daughter described this as a girly card!!  Which I'm okay with.  So the pink won.


I found this pale green striped paper in the 5892 - Easter S2 paper pack, and cut it to contrast with the angle on the card.  I thought the word 'home' was a little lonely on it's own, so pulled the sentiments out of my craft stash to finish the card off.  The sparkles are just clear silver, and look great in person, but appear black in the photos.  It was a lot of fun doing something out of my normal style.


On a parting note - a huge thank you to Bonnie, Phil, Joel, Kim & Kendra for everything.  It's been such a joy to work with you & your amazing products.  


Sunday, January 4, 2026

Glass Container & Birthday Journal Set

 I am on the Art Impressions blog today for their Watercolour Weekend post!

Welcome to a whole new year of watercolour painting!  I have two projects today featuring older products.  After all of the holiday crafting over the past few months, I'm always needing to replenish my stash of cards in the New Year, and birthday cards top the list.


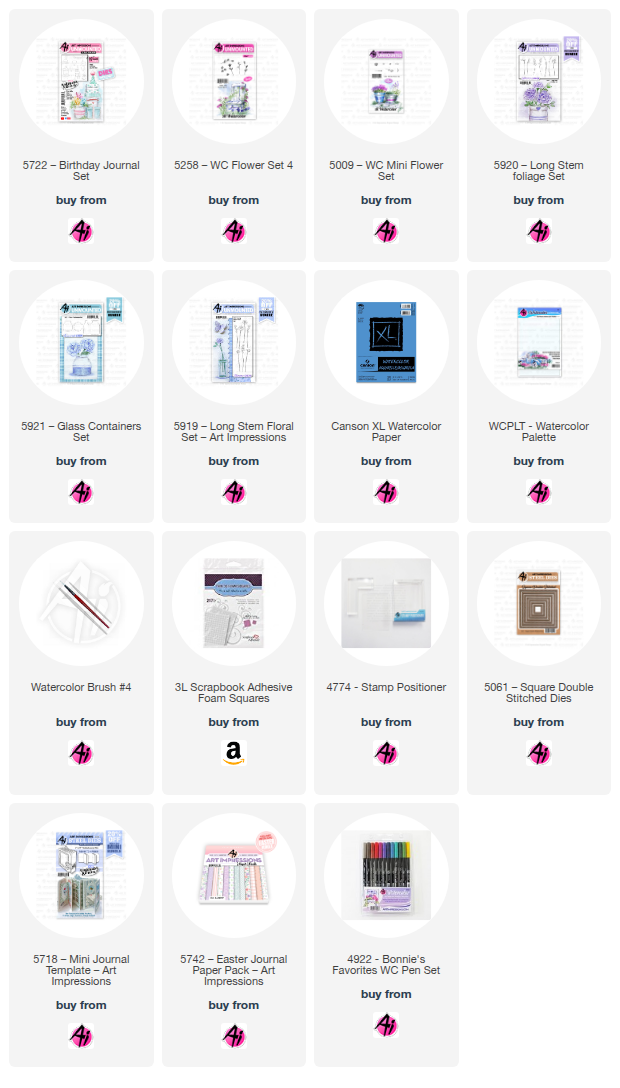
I stamped the sweet pup from 5722 - Birthday Journal Set in Tombow #N45, masked him, and stamped the stack of presents beside him, and the banner across the top.  I am using the 5742 - Easter PP on both projects today, and choosing my pretty background paper was the starting point for picking my colour palette.  I painted the pup in #947, keeping the undersides a little darker, and the face area almost down to nothing.  The florals are from 5258 - WC Flower Set 4, painted in #703 & #636, surrounded by the small green from 5009 - WC Mini Flower Set in #312.  I took a damp brush to my bouquet, softening everything.  


The packages were painted with #761/703/312/N45/636 in various washes & patterns, and the banner was washed with N45.  565 was used as a wash in the sky, and to darken up a few shadowy areas.  I used my grey Twintone marker to darken up some of the lines of my scene, and to draw a bow on either end of the banner.  I used the 5061 - Square Double Stitched dies to cut out my scene, and mounted it on a larger square of dark grey textured cardstock.  I cut the hello from 5718 - Mini Journal Template in the grey cardstock, and adhered it across the top.  I added 3D foam adhesive and attached it all to my card base - the finished card is 5 1/4" square.


I have never painted a glass container before!  It was time to give it a try.  


Using Bonnie's examples as inspiration, I stamped the largest vase from 5921 - Glass Containers Set in #N45, then masking the rim only with a tiny sliver of paper, I stamped in the flowers and foliage from 5920 - Long Stem Foliage Set and 5919 - Long Stem Floral Set using #312/177/636/N45.  I picked up all of the colours from my palette, and painted in the foliage softly.


Most of the stems were stamped inside the vase, but for a few that weren't, I painted the stems using the green shades.  I used tones of #451 and 565 to paint in blue lines suggesting the inside of the vase and the waterline, adding a few streaks of green for the reflection of the stems.  #565 was used as a wash in the background, and around the base of the vase.  To add a little glimmer, I used my silver Gel Pen to paint the flowers of the baby's breath - to echo the silver cardstock.


The scene was cut out with a decorative rectangular die, and mounted on some silver cardstock.  Everything was adhered to the card base with 3D foam adhesive, and a few iridescent jewels added more sparkle.

Thursday, December 18, 2025

Karen's Top 5 of 2025 - Art Impressions Watercolours

 Hello Ai Watercolour fans!


It's one of my favourite posts of the year, when I get to review all my Ai projects painted this year, and pick my favourites.  It's also a chance to say a sincere thank you to those of you who leave such lovely comments both here, on the Ai blog, and on all of our social media posts.  I appreciate you all so much!  And a big thank you to Bonnie and everyone at Ai, who gives us these wonderful products to work with.  So here in no particular order, are Karen's Top 5:

5916 - Woodland Castle Set


5789 - Hot Air Balloon Set


5466 - WC Lighthouse Set


6105 - Fall Keepsake Set


6117 - A Cozy Christmas Set

Here's to a wonderful Painting New Year in 2026!


Sunday, November 2, 2025

Fall Keepsake and an Ornament

I am on the Art Impressions blog today for their Watercolour Weekend post!

I have a couple of projects featuring some of the newly released sets today!  First is a card using the 6105 - Fall Keepsake Set:


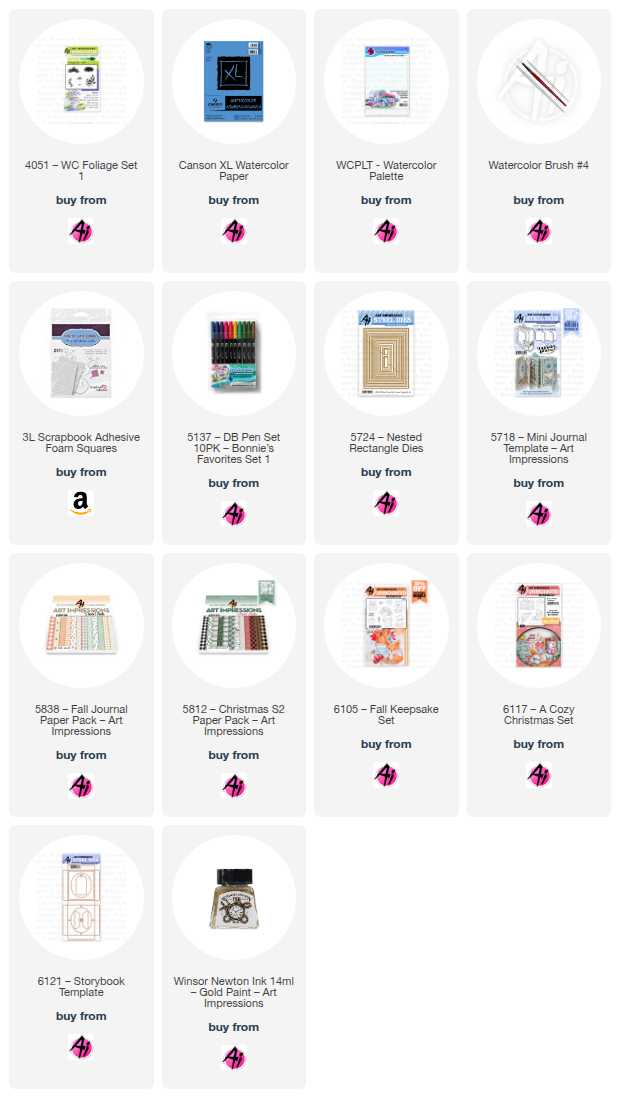
I coloured the images with my N45 Tombow Dual Brush Marker, and stamped them on my Canson XL Watercolour Paper.  I started with the fox, then the toadstool, and added masks to both of them.  The pumpkin and pail followed, and finally the fall bouquet was added to the pail.  After pulling the colour out of the lines with a damp brush, I added a pale coat of #993 to the pumpkins and fox, followed by several layers of #947, and finally a mix of #947/977 to create the really dark areas.  Shades of #N55 were painted on his paws and to the bucket, layering to keep the sides of the bucket and bottom of his paws darker.


I wanted the leaves to be multicoloured, so did sections of #993/947/856/126/346/977, blending them together.  I added #346/126/977 to the stems of the pumpkins, and the stem of the toadstool, and painted shades of #856 on the top of it, touching the dots with a little 346.  I used the N55 to add shadows to the fox's white areas, and finally painted a wash of #126/346 for the grass, and stamped the small grass from 4051 - Foliage Set 1 in #126, and then I used the fine point of the 346 marker directly on the paper to add a few darker lines of grass.  A wash of #493 was painted in as the sky.  I used my Grey Twintone marker to colour in the eyes/features and redefine any areas that needed it.


My scene was die cut using the 5724 - Nested Rectangle Dies, and adhered to a brown mat with 3D foam adhesive.  The word 'hello' is from the 5718 - Mini Journal Template set, cut twice in brown and stacked to be a more stable die cut.  Both pieces of background paper are from the 5838 - Fall paper pack.

My second project is featuring the new 6117 - A Cozy Christmas Set, that creates a sweet little ornament!


I have a lot of photos for you today!  I tried to capture a few steps in the assembly process, but I highly recommend that you watch the Ai video by Kim to see how to assemble it.


In addition to the stamp set, you need to purchase the 6121 - Storybook Template die.  The die cuts out the box (at the top) and you cut three of the inner frame piece.  The images were stamped on Mixed Media paper with #N55, and painted in with #349/993/493/837/N55, and a few touches of gold ink.  Images were cut out using the coordinating dies that are included with the stamps.


I cut a piece of patterned paper from the 5838 - Fall Paper Pack at 3 1/8" x 2 5/8" to act as the background, and glued it to the back of the box.  I fussy cut the fireplace out, and glued it down so that it would appear behind all the other pieces.  Each of the stamped images is drawn along the curve of the oval opening, so each piece was die cut and glued under one of the frames (there is a tab where you can add the glue, see the photo below from the backside).


Each of the frames got pieces of 3D foam adhesive attached to the corners and in a few other spots, and then each of them is layered on top of each other starting with the tree.


After the tree comes the Mama bunny, and finally the baby bunny on the top layer.  *I used 2mm thick adhesive, but there is plenty of room to use a thicker adhesive if you prefer.  I'm happy with how this looks, though.  When you adhere the layers, you want to make sure that the openings are stacked directly over each other.


The Storybook die includes a tab piece which I cut out of some woodgrain paper from the 5812 - Christmas S2 Paper Pack.  I wanted the woodgrain on the outside of the box, so I used the inner frame piece to cut it out, then attached it to the front of the box.  I added pieces to cover the sides, top and bottom also.  The tab is adhered to the top back of the box after it's assembled.  Glue was added behind each of the tabs, the box was folded and attached to the other side, enclosing the scene.


Sunday, October 5, 2025

Christmas Cars and Classic Truck Foundations

 I am up on the Art Impressions blog today for the Watercolour Weekend post.

I have one fall and one Christmas card to share with you today,  let's start with my favourite season:

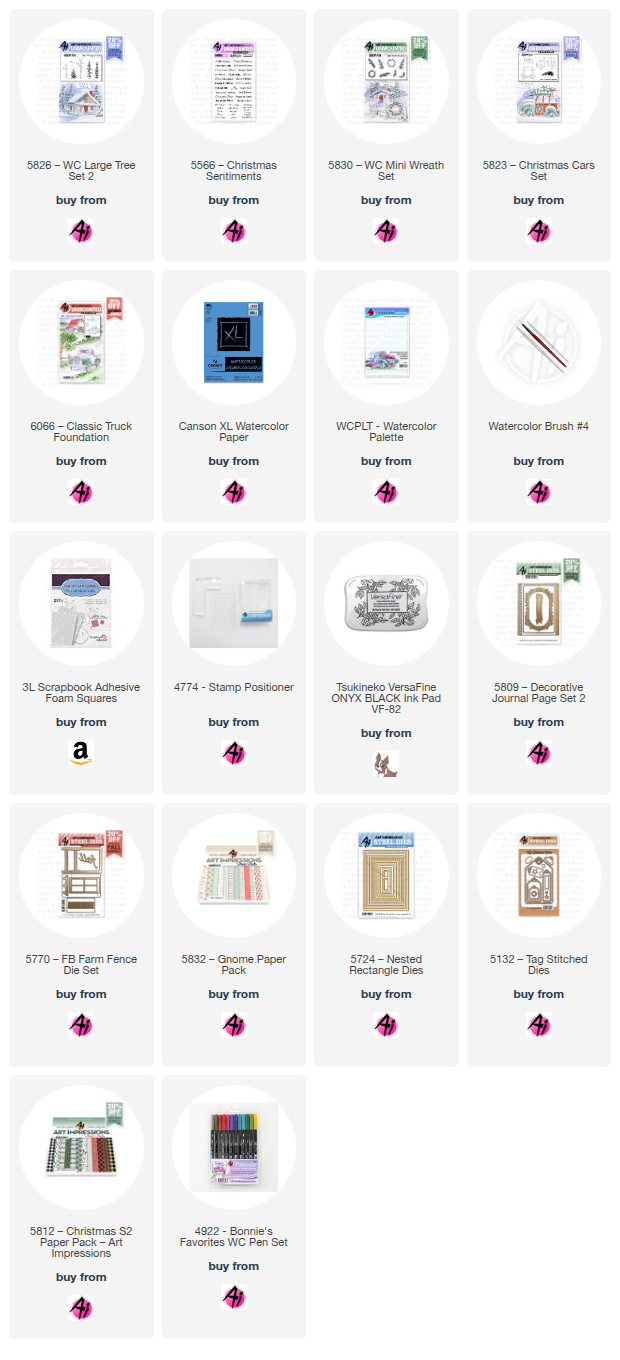
This is the 6066 - Classic Truck Foundation set.  I went for the softer side of fall with this one.  I stamped my image with #N45 onto some Canson XL Watercolour paper, and pulled out the colour with a damp brush.  I used a wash of #177 with touches of #993 to paint in the hillsides, and shades of #992/969 for the dirt road, tree and fence.  The truck was painted with a mixture of #565/249 to create the washed out aqua shade, and all the trim was done in layers of #N45. The interior of the truck was painted with #565 to give a shadowed look.


I wanted a white barn, so only painted light shades of #N45 on the shadowy sides of the barn, and a darker layer of grey on the roof.  I used a pencil to add in the vertical barn boards.  The doors were painted in #837, and #565 was used to shade in the windows and under the eaves.  A wash of #493 was painted in the sky, leaving negative white space to suggest clouds, and I added in some areas of #N45 to add some shading to them.  I drew in the trees along the hillside directly with my #177 and 933 markers, and even though I used a tiny foliage stamp for the tree in the foreground, I wasn't happy with the look so used the markers directly on my paper to add in the leaves. 

The image was die cut with the stitched/rounded corner die from the 5809 - Decorative Journal Page 2 set which fits the Foundations perfectly!  I added a blue mat underneath it, and mounted it onto this pretty plaid from the 5832 Gnome Paper Pack.  I wanted to accent the barn door colour, so used the Fall word die from 5770 - Farm FB Fence Set, cut out three times from some warm pink cardstock, and layered on top of each other to create a nice thick word.  I offset my panel slightly to the right of my card.

My second card is the start of my painted holiday cards!  

I used the sweet little truck from 5823 - Christmas Cars set, and stamped it in #N45 onto some Canson XL Watercolour paper.  After pulling out the colour, I painted the truck with several layers of #837 to build up the darker areas, leaving the rounded parts of the truck much lighter.  I masked off the back of the truck, and used my stamp positioner to stamp the tree from 5826 - WC Large Tree Set 2 in #249.  After touching it with a damp brush, I stamped it a second time to add some of the detail back in.  I wanted a wreath on the front of the truck, and the little half wreath from 5830 - WC Mini Wreath Set worked perfectly!  I used #249 and my stamp positioner to get it in the right spot.

I used #565 to paint in a wintry sky wash, and also added the 'suggestion' of a person in the truck, and added a shadow under it.  I used white paint and a #1 brush to dab on some snow on my scene.  I used my red Twintone marker to draw a bow on the wreath.

My image is small!  So I made a busier background using the 5812 - Christmas S2 Paper Pack.  I used the 5724 - Nested Rectangle Dies to cut it out, and matted it with black cardstock.  I cut the 5132 - Tag Stitched Die from the woodgrain paper, and adhered it down to my background.  The sentiment is from 5566 - Christmas Sentiments Set stamped in Versafine Onyx Black ink.

LinkWithin

Related Posts with Thumbnails