Showing posts with label Fall card. Show all posts

Monday, November 17, 2025

Cascading Autumn Cheer

My third project with the September Betterpress Society plates, 'Autumn Cheer' was made with a pattern cascading leaves on a Bisque Cotton Card panel.

I began by ink blending an ombre masked strip using several shades of Distress Oxide inks.  The leaves were then pressed over top of it using Lisa Horton's metallic Solid Gold ink.


The sentiment is one included in the set, also pressed in gold ink, and adhered with 3D foam adhesive.  A few gold pearls finished it off.


You can get a Betterpress Society subscription from The Papercrafter's Workshop.


Friday, November 14, 2025

Autumn Cheer without ink

My second project with the September Betterpress Society set, 'Autumn Cheer' is featuring one of my favourite ways to use my Betterpress - without ink.

There are four leaves in the set, so I pressed them multiple times onto a Porcelain Cotton Card Panel - without ink, to just leave the impressions.

I pressed the oak leaf, with three colours of Distress Oxide ink blended on it, and cut it out with the coordinating die.  I adhered it onto a postage edge rectangle, and adhered it to the base with 3D foam adhesive.

I pressed one of the sentiments that is included in the set with Lisa Horton's Solid Gold Metallic Ink and added it with another strip of foam adhesive.


You can get a Betterpress Society subscription at The Papercrafter's Workshop!


Wednesday, November 12, 2025

Autumn Cheer

The September Betterpress Society plates, are a lovely set of fall leaves, that impress a wonderfully irregular design - so many possibilities!  I'm going to be using these a lot.  My first card, was a take on one made by the talented Carissa Wiley.

I call this a Z fold card, made by simply scoring and folding the front of the card to the left.  I die cut arches to go on both the outside (glued to the half fold), and a matching one to go underneath it on the inside.  I used a brick stencil and some Vintage Photo Distress Oxide ink to break up the plain background a little.

The leaves were all pressed onto a peachy/melon, a warm yellow and a mocha cardstock with Lisa Horton's Solid Gold metallic ink.  I arranged them on either side of the arch, and also had them peeking out underneath, but adhering a few to the inside arch.

The sentiment is one of the four that are included in the set, pressed in the same gold ink on watercolour paper, and adhered with 3D foam adhesive.  I added a few gold pearls to continue the glimmer.  You can get a Betterpress Society subscription from The Papercrafter's Workshop.


Sunday, September 7, 2025

Hello Fall Wreath & a Fall Scene

 I am on the Art Impressions blog today for their Watercolour Weekend post!


Painting fall scenes are among my favourite things to paint!  Another thing I love to do is to use multiple stamp sets to create my scene, which is what happened with my first card:


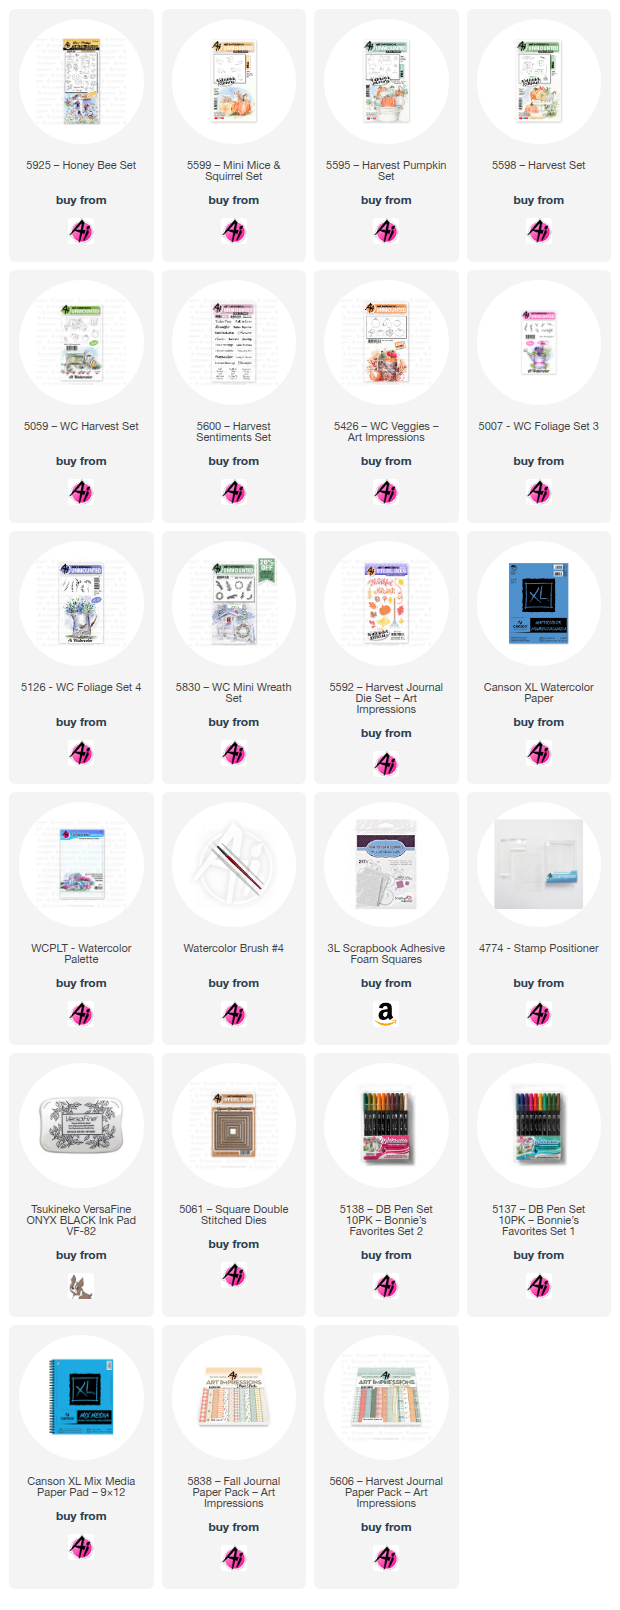
This was the first time I've used the Canson XL Mixed Media paper that is available in the shop, and it wasn't bad to paint on!  It's very lightweight, and fairly smooth, but took the colour well.  I started by stamping the large birdhouse from 5925 - Honey Bee Set in N45, leaving off the lower right corner as I knew that I was going to stamp the single pumpkin from 5595 - Harvest Pumpkin Set beside it.  After masking the birdhouse, I stamped the two pumpkins from 5059 - WC Harvest Set in N55, and put the mouse from 5599 - Mini Mice & Squirrel Set in front.  I really love the line of leaves from 5598 - Harvest Set, and stamped it in front of the pumpkin, as well as just small parts of it on either side of my scene.


With all the elements in place, I started painting in #993 and #312 on the house, and to get the colour of blue that I was looking for, I used Stormy Sky Distress ink for the roof and wooden base.  On the two lighter pumpkins, I used #312/N45/565, and for the orange one I used #993/933/947/899.  The mouse was painted with layers of #899, and my black Twintone marker filled in his eye and feet.  The leaves were done in a multi-coloured fashion, using #126/933/993/899.  The sky was added using a wash of #565, and a wash of #126 was painted in as the ground.  I used my #565 to add shadows under the house and objects, and darkened up different areas with my grey Twintone - or redrew lines that had disappeared.

The greeting from 5600 - Harvest Sentiments Set was stamped in Versafine Onyx Black, and the scene was matted with a blue decorative rectangle die, and mounted on paper from the 5606 - Harvest Journal PP.

My second project was started with the intention of it being a wreath, but as I got painting, I stopped at a half-wreath since I liked the way it looked.


I started with the veggies from 5426 - WC Veggies, stamping them in N55, masking where needed (can you tell that's some broccoli peeking out??).  Then I began building my design with the ferns from 5830 - WC Mini Wreath Set, done two-toned in 126/993 and 126/158.  The vines from 5007 - WC Foliage Set were coloured in #565/177, stamping one in each direction, on each side.  This is the point where I decided that I didn't want to do an entire wreath, so I added the leafy branch from 5126 - WC Foliage Set 4 in 933/993 on either side to finish it off.  I decided that my wreath needed a little something beside the veggies, so I used the small sprig from 5830 - WC Mini Wreath Set in a bit of a rainbow fashion using #565/685/933/993.  After painting in the veggies with (orange) 933/947/969 (brown) 899/947 (yellow) 993/899/933 and (green) 249/177/126, I touched everything with a damp brush, and pulled out a bit of the colour.


After looking for a sentiment to add, I found the Hello Fall die in the 5592 - Harvest Journal Die Set.  I first painted it in an ombre style on watercolour paper, but it looked a little bold.  Knowing that I intended to add a metallic gold mat under my square, I tried adding a gold diecut layered over the painted one, and loved the look!  A few dots with my gold pen added a little more sparkle.  The square was cut using the 5061 - Square Double Stitched Dies, and was mounted onto paper from the 5838 - Fall PP with 3D foam adhesive.


Friday, November 1, 2024

Raining Pumpkins

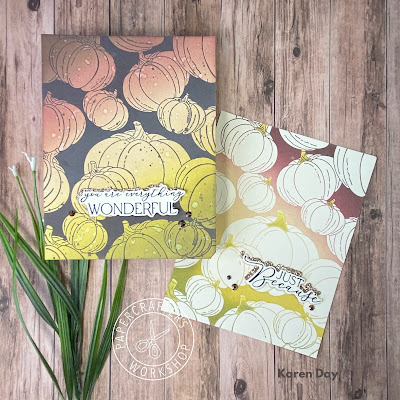
The September Betterpress Society plate from Spellbinders was called "Raining Pumpkins", and was this fun, full coverage plate of (you guessed it!) pumpkins, that are raining or floating.  I used it as a chance to create some fun ink blended backgrounds, so created two versions using the same colours:

For the first card, I used Distress Oxide inks (Ground Espresso/Aged Mahogany/Antique Linen/Crushed Olive/Peeled Paint) on a piece of Bisque Cotton Card, blending from the upper left corner, to the bottom right.  Then I spattered the panel with water to create the fun oxidization effect, and also spattered with some Ground Espresso ink.  The plate was inked up with Ground Espresso and pressed.

For the second card, I did the same blend, but this time did my ink blending on the press plate itself, then pressed it onto a piece of regular cream cardstock.  This left the pumpkins uncoloured, and created a lovely, colourful background.  The ink comes out a little more vibrant on the cardstock.  I used the coordinating stencil to ink in the stems using some Peeled Paint ink.

Both cards were mounted onto card bases, and a sentiment from the You Are Everything set of Press plates was added, and I die cut the same shapes out of glitter cardstock and mounted it behind them.  A few brown jewels added some extra glimmer.

You can get a subscription to the Betterpress Society through the Papercrafter's Workshop.


Sunday, October 27, 2024

Paige's Wreath

I have yet another version of the arch shaped wreath card that I posted last week.  Those were showing off the wax seals, this one is just to show the pretty wreath, and is a birthday card for my daughter.  This is the Fall Wreath from the vault by Tim Holtz/Sizzix - and this one is using all kinds of the bits and pieces that come in this die set.

I am really loving shades of blue on my fall cards this year.  The shaped dies are Essential Arches by Spellbinders, and the sentiment is created with my Betterpress machine using It's Your Day press plates, and the Spellbinders Treasured Gold cardstock.  Happy Birthday, B!
You can get your Spellbinders and Tim Holtz products at the Papercrafter's Workshop.


Saturday, October 19, 2024

Wax Seal Wreath

If you're attending today's Craft Around event with the Papercrafter's Workshop in Stouffville, Ontario... you'll be making a very similar project to what I'm sharing today.  Our main focus is creating wax seals, so for those folks who've never tried it, they'll have a chance to create one with the Acorn Trio stamp from Spellbinders.

We're also using this Tim Holtz "from the vault" Fall Wreath die set, so I've created a couple of samples using many of the bits & pieces from the set.  I double cut the wreath in two different browns, and stacked them on top of each other, then created a little spray of all the bits, in fall colours.  Everything was glued onto an arch cut with Spellbinders Essential Arches dies.

Each of these has been spattered with gold paint, and then a wax seal that had a little gold paint added to to it - was adhered onto the wreath.  One of them got a fall sentiment, and I've left the other plain, but will likely add one depending on the occassion I use the card for.

There are five different stations at today's events, all creating a different project, with different tools and techniques.  Sign up for the Papercrafter's Workshop emails, and you won't miss the next one!


Monday, October 7, 2024

More Autumn Sealed Sprigs

 I have another similar card using the Autumn Sealed Sprigs die from Spellbinders, along with the leaf from the Sealed Squiggles die set, and the brand new Acorn Trio Wax Seal.

This time I mounted my sprigs onto a rounded faux stitched rectangle diecut panel that was adhered with 3D foam adhesive.  Instead of thread wrapped around the background, I used the Sealed Twine Etched Die for a faux twine look.  Everything was spattered with gold metallic paint.
I did a mix of pale gold, orange and metallic red wax, and added in a few bits of gold leaf to create my seal.  You can find all your Spellbinders needs at the Papercrafter's Workshop!


Sunday, October 6, 2024

October Watercolour Weekend

  I am up on the Art Impressions blog today!


Scroll down to the end of my post to enter my Giveaway!
 
October crafting - it's a balance between fall & Christmas projects for me, so these will be the last of my fall Ai paintings for a while!  My first card features the tub from the recently released 5923 - Farmhouse Container Set, filled with different flowers and foliage.


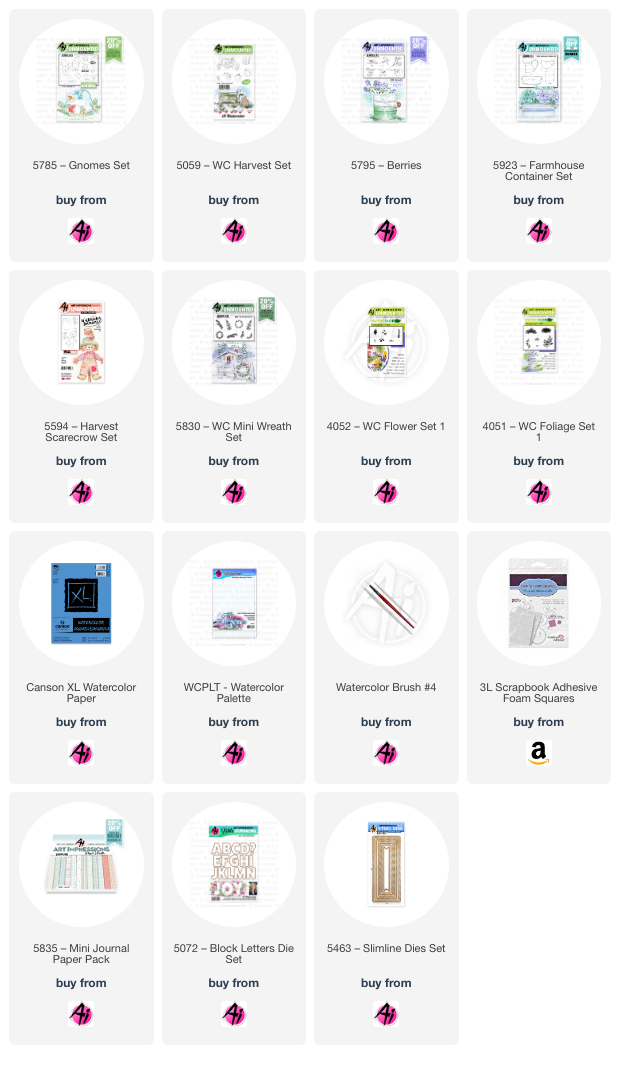
I stamped the tub in N55 on my Canson XL Watercolour Paper, then masked the top edge of it and added the two sunflowers from 5594 - Harvest Scarecrow Set in #993/177/969.  The ferns from 5830 - WC Mini Wreath Set were added in #126, and the foxglove from 4052 - WC Flower Set 1 was stamped repeatedly in #565, angled in different directions.  Everything was touched with a damp brush, and layers of colour were painted on the flowers.  The small grass from 4051 - WC Foliage Set 1 was added in #158, and painted as a wash below the tub.  #496 was added as the sky.


The background paper is from 5835 Mini PP.


My second card is a slimline (8 1/2" x 3 1/2"), and I have cased this card by Marie Nicole, as I loved how she used a gnome for the A, and I knew how great this would look with the 5785 - Gnomes Set.  I die cut the letters from the 5072 - Block Letters Die Set in kraft paper to spell out Grateful, omitting the A.  I blended some Walnut Stain Distress Oxide ink onto the bottom of each letter to create a soft gradient effect.


All of my images are stamped in N55 on Canson XL Watercolour paper.  I used a mix of #565/249 to create the teal colour that I painted on his hat and pants, using several layers to create the darker tones.  N55 and N75 were painted on his boots and mits, and light tones of N55 were painted on the edge of his beard.  A little #850 coloured up his nose.  Some #947 is painted on his tunic, as I wanted it to match some of the shades on the pumpkins.


The two pumpkins from 5059 - WC Harvest Set are always my favourite pumpkins to use on projects!  They were painted in tones of #993/933/947/969 and #249/565 respectively, with #126/158 added to their stems.  I wanted a few leaves scattered around my project, so I used the two clusters from 5795 - Berries Set, colouring them with dabs of #993/126/905/933158.  After fussy cutting everything out, they were mounted to my project with some thin 3D foam tape, to add a little dimension.

I used the 5463 - Slimline Dies Set to cut out my background paper, which I matted with some teal cardstock, and then adhered it to my kraft cardstock base.

Giveaway time!

I have two of the recently released flower sets (5917 & 5918) to give to someone who leaves a comment on the Watercolour Weekend blog post on the Art Impressions blog. **Please note** - the giveaway is open to Canadian residents only! - I'm afraid that's where I'm mailing from, and to keep mailing costs down, avoid duty etc... we're going to give our Canadian fans a chance this time.

Just leave a comment (click here for a link to the Ai blog!) before midnight ET, Sunday, October 13th - and I will update thepost with the winner's name on Thanksgiving Monday, October 14th.


Saturday, October 5, 2024

Autumn Sealed Sprigs

 I put together a few fall cards this week to show off some of my newest wax seals.  This is the Autumn Sealed Sprigs die set from Spellbinders, with a swirl from the Sealed Squiggles die set, cut from Spellbinders Treasured Gold Cardstock.

After die cutting and gluing all of my cardstock sprigs, I spattered them with gold paint, wrapped some metallic thread around the panel, and added my wax seal.  The seal is the new Forest Mushrooms
oval , made from Antique Gold wax, and coloured with a gold Decocolor paint marker.

I love the pop of blue in with the fall colours!  You can find all of your Spellbinders needs at The Papercrafter's Workshop.

LinkWithin

Related Posts with Thumbnails