Sunday, January 31, 2021

New from The Greetery!

 New to me, that is!  I've ordered a few products from The Greetery over the last little while, and finally had a chance to play with them this month.  My niece and I are both Greetery fans, so this is what I made her for her birthday:

Let's start with that amazing background... these are called "Shiplap" dies, a set of six planks with nail holes and a faint embossing of woodgrain.  I started by inking a strip of pale grey cardstock with blue and darker grey inks, then painted a streaky stroke of white over top.  The six dies allow you to quickly cut out enough planks to cover a card base as I've done here.
The Pitcher & Bittersweet stamps are multi-step stamps that I used with my Misti to have a bit of an assembly line to stamp and cut multiple images.  I used Distress Oxide Inks applied with foam inking brushes.  Lots of steps involved to put this together, but I am so happy with the results!  And... by doing an assembly line, I have enough pieces to assemble 8 different cards.  I did a warmer toned version, so stay tuned for that one.  Happy Birthday, Allie!


Saturday, January 30, 2021

Hexagons!

 I've seen a lot of cards on social media using hexagon shapes, and it inspired me to pull out some OLD papers that I've had kicking around...  So I went to town die cutting hexagons, and then pulled them all together to make a fun little Hello card:

This card will make my niece smile, as these were the papers that I used to make her a paper bouquet for her wedding rehearsal.  I've always loved this mix of papers together (October Afternoon & Jillibean Soup, mostly) - to the extent that I hung onto the scraps for years!  
I cut 3 different sizes of hexagons, so there'll be a few more designs to come.


Thursday, January 21, 2021

Back to Basics

  I'm going back to basics this week with a classic container of flowers for Art Impressions Watercolour Weekend.  These are great cards to keep on hand - leave off the sentiment, and add it in when you need to send a thank you, birthday or thinking of you card:

I began by inking up the pitcher from 5123 - WC Decorative Jar Set in Tombow Dual Brush Marker #N45 Cool Grey 10, and pulled out the colour with my damp paintbrush, concentrating it on the undersides of the rounded image.  For my bouquet, I started with the greenery, using #158 Dark Olive and the two trailing foliage stamps in 5126 - WC Foliage Set 4.  My flowers are all from Flower Set - 4052, and I used the Daisy Bunch in #743 Hot Pink, the Salvia in #565 Deep Blue and the Mini Foxglove in #676 Royal Purple.  To fill in where there were holes or white areas, I used the tiny green from 5009 - WC Mini Flower Set in #126 Light Olive, which added a little brightness.
After lightly touching my stamped images with a damp brush, I picked up a few of the colours to add shading to the pitcher - mainly #565 for shadows, and a touch of #676 for a bit of a pink reflection.  I die cut the image and layered it over an ink blended panel of the same tones.  The sentiment is from the Hydrangea Exclusive set available from Scrapbook.com.  Lastly, I picked up some black ink from my palette, and lightly spattered it across my card.


Monday, January 18, 2021

Say it With Stamps

 I love the Say it With Stamps line from Photoplay!  They are word die sets that come with a matching stamp set of the same word image, along with coordinating phrases.  I played with them this fall for the Demo Days at the Papercrafter's Workshop, and had a few extras that I made up into 11 more cards for next year:

Each of the word dies comes with a matching 'mat' to frame each word beautifully.  The Joy & Peace are in one set, and the Merry & Christmas are in another.
Each stamp set has the same word image, along with dozens of phrases to accompany the words.  I also have the set of tiny strip dies that come in different lengths to die cut out any phrase you create.
I used the Jingle All the Way papers from Simple Stories, and added a few berries, pine boughs and pinecones, with a few twine bows.  If you look closely you'll see the spatters of white paint that I added to each of my cards.
The Photoplay and Simple Stories products can be found at the Papercrafter's Workshop!


Friday, January 8, 2021

Welcoming baby Alex!

 I was lucky enough to get a new great-nephew at the end of November!  I like to do a little knitting for new babies, and found this pattern called "Elevenses Cardigan" on Ravelry.  I thought it was adorable - to knit a little-old-man style of cardigan complete with elbow patches for a newborn:

I learned a lot - how to do German short rows, and picking up stitches to add the front ribbing, which I haven't done a lot of.  I changed it up a little, too!  The pattern had pockets in the front, which I didn't like, so I added a seed stitch border instead.
Even though it looked tiny to me, I think it's going to be big on him for a bit.
And of course, Alex needed a little welcome-to-the-world card, so I pulled out my Copics, and coloured up an older Art Impressions image:
There's nothing like knitting for a new baby in the family!


Thursday, January 7, 2021

Birdcage for Watercolour Weekend

 I was so happy to finally pull out the new 5367 - WC Birdcage Set to create a card to kick off the Art Impressions Watercolor Weekends for 2021!

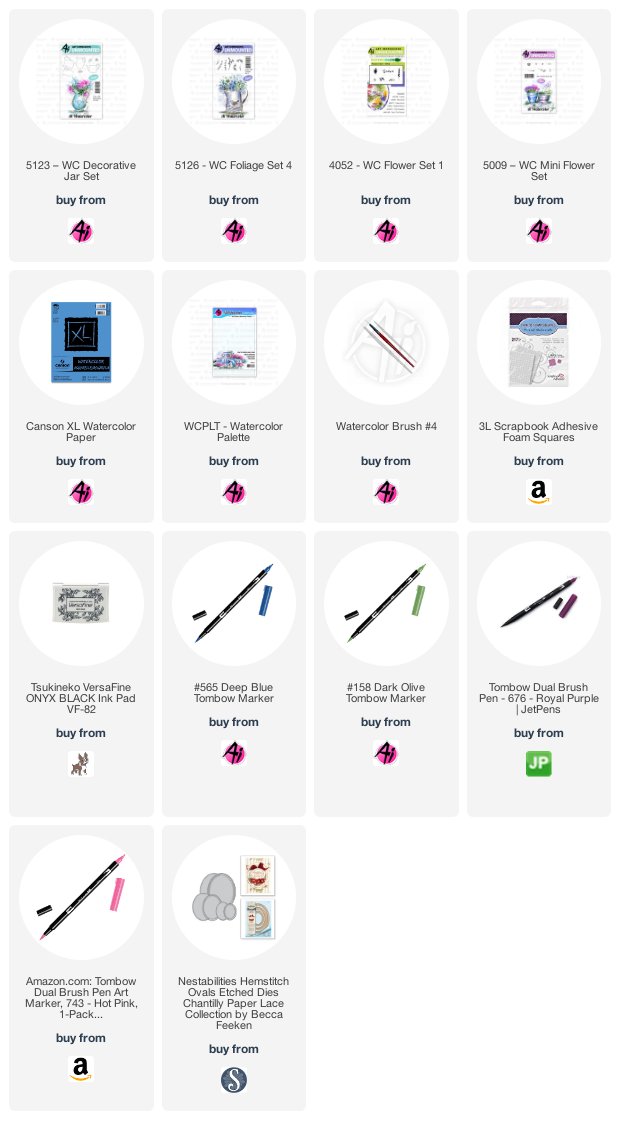
This set consists of dies only - no stamps, so I began by die cutting one of the birdcages in Masking Paper, peeled off the backing, and adhered it to my Canson XL Watercolor Paper.  Then I selected my colour palette of Tombow Dual Brush Markers, and pulled out several sets for flowers & foliage.  Using the tiny circle of v-shaped blossoms from 4868 - WC Flower Set 2, I coloured it up in #856 Chinese Red, #933 Orange and #993 Chrome Orange - stamping several times to create clusters of colourful blooms.  To add foliage, I chose the two trailing ivys in 4867 - WC Foliage Set 2 New, and stamped them in #249 Hunter Green several times, to have ivy trailing out of the birdcage in both directions.  There were still some white areas in the middle of my cage, and I wanted some darker flowers, so I used the tiny dotted flower image from 5074 - Bible Flower Set coloured in #565 Deep Blue in two spots, and then took the small green from the same set and stamped it in the brighter #126 Light Olive - which added some contrasting foliage.

I touched all the stamped images with my damp paintbrush, then picked up #533 Peacock Blue from my palette, and carefully painted the background sky in around all of the birdcage edges (*this is important! If you don't paint right up to the edges of the mask, the 'negative' image of the birdcage will not remain when you remove the mask).  With my painting done, I removed the mask, and using my thin #1 paintbrush, I picked up #565 from my palette, and painted a fine line along the edges of the cage to indicate a shadow.  It also cleans up any ragged edges that remain from your painting.  I decided that a couple of birds would finish things off nicely, so I stamped two of them from 4872 - WC Birds Set in #N55 Cool Grey 7, and used N55, 565 and 533 to add colour.  I went in with my Twintone  42 Navy fine point marker to darken the eyes, beak and legs.

I cut the image out with the 5063 - A2 Rectangle Double Stitched Dies, leaving enough space below to add the sentiment from the Hydrangea Exclusive set available through Scrapbook.com.  After matting it with red, I adhered it to my patterned base using 3D Foam Adhesive.


Friday, January 1, 2021

My Top Ten of 2020!

 I love putting this post together, as I take a look back at every card that I made this year :o)  And they all just happened to be my creations for Art Impressions?!  Some years are harder than others to pick favourites, but I had some pretty clear personal favourites this time:


Thank you for all your lovely comments and support this year!  Wishing you a Happy, Safe & Crafty New Year!

LinkWithin

Related Posts with Thumbnails