Monday, October 16, 2023

Basic Birthday cards

 I have a whole whack of family birthdays in the fall, so when I make a birthday card, I try to make multiples!  This Happy Birthday die from Lawn Fawn comes to the rescue every time.  It's a great way to make use of some of the patterned paper in my stash, too.

Basic Grey has been gone for many years now... but this is their Marjolaine collection.  I love that it can work for both masculine and feminine cards.  I tried to pick patterns that weren't too busy.  Hmm.  Or let's say, I picked patterns that went together!  I used the 5722 Birthday Journal set from Art Impressions for the cake and presents, that were coloured with Copic markers and fussy cut.
I love putting a shadow die behind this sentiment, to help it stand out a bit more.  The images were adhered with some 3D foam adhesive to make them stand out a bit more.
Four more cards for my stash!  Although they won't last long...


Sunday, October 15, 2023

Mini Halloween Twister

 I'm sharing one of the cute Halloween stamp and die sets that was released by Art Impressions a few weeks ago.  This is 5816 - Mini Halloween Twister Set.  This was so fun to make!  And I think the person I'm sending it to will love it.

I stamped all my images on white cardstock and coloured them with Copic markers.  I die cut them with the matching dies that add the little notches at the top and bottom.  These are front and back sets, so when you scroll down, you'll see the mirror image on the back side.
There is also a die included that cuts out the opening, and a little outline frame for it, so I cut those in black.  I'm using the new Halloween Paper Pack from Ai, and adhered the patterned paper to an A4 sized card base.  Once the frames were glued on, I inserted the little twisters into each of the openings.  I added a few die cuts from 5769 - Halloween FB Fence Set, and a sentiment from 5603 - Halloween Sentiments Set.

Happy Halloween!


Saturday, October 14, 2023

Engagement card

 I made this background panel a couple of months ago, and was saving it for a special occassion, so when my daughter asked for an engagement card, I pulled it out.

I started by creating an ink blending panel using Squeezed Lemonade and Picked Raspberry Distress Oxide inks, then die cut it with the Floral Lace die from Pinkfresh Studio.  You can see how gorgeous this die is in the next photo!

I wasn't actually intending to use the negative pieces from the die, but when I pulled my panel out, about 90% of the pieces stayed intact.  So I added dots of glue to all of them, and pressed them onto a piece of white cardstock.  Figuring out the placement of the remaining bits was tedious, but kind of like putting a puzzle together.  I was really happy with the result... but will probably never do it again!!

I also have that lovely, lacy backround piece to use on another card.  I pulled out some Spellbinders bits that I cut in a matte gold cardstock, and added Congrats from Pinkfresh Studio's Perfect Sentiments.  A few jewels adds a little more sparkle.

Tuesday, October 10, 2023

Painted Daisies

I pulled together a card that I had created but not assembled this summer, to send off to a friend who can use a hug.  This is the Painted Daisies stamp, stencil and die, and the Perfect Sentiments.  Everything, including inks and jewels are Pinkfresh Studio.  Gingham paper is Lawn Fawn.

There's a little Wink of Stella on all of the flowers, for some extra glimmer, and the flowers and sentiment were adhered with 3D adhesive for added dimension.

Monday, October 9, 2023

World Cardmaking Day

Happy World Cardmaking Day!  It was actually two days ago, and I had most of my card assembled - but finally got it completed and photographed today.

I have a nice mix of products from several companies: Background die is Dotted Tile from Altenew, the frame is Slim Ornate Banner from Pinkfresh Studio, and the leaves are Fall Wreath from Pigment Craft Company.  The Perfect Sentiments stamp and die are also by Pinkfresh.

I've seen such amazing, pretty colour combos on cards for fall leaves this year, that I had fun mixing a bunch of Distress Oxide inks in Seedless Preserves, Picked Raspberry, Dried Marigold, Wild Honey and Pelled Paint.

Sunday, October 1, 2023

Snowglobe Shaker

I am sharing a fun shaker card today as my second post for the Art Impressions Watercolour Weekend, using the newly released - Snow Globe Set, but in a slightly different way!

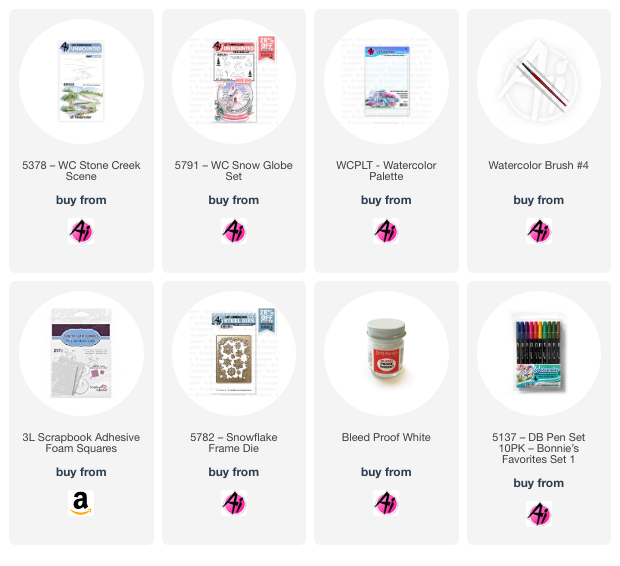
I like to use Ranger Watercolour Cardstock when I'm painting snow, as it's a lovely bright white colour, so I cut it into a 4" x 3" piece, and stamped out my scene.  Using Tombows #969/565 for all my images, I started with the deer from the set, and then covered him with a mask.  I stamped the 5378 - WC Stone Creek Scene, leaving a space for the church, and eliminating the row of rocks that are farther back (I thought they would compete with the deer image).  This was the perfect background for my scene!  Masking the church, I coloured the smaller pine tree in the set in #249, and stamped it on either side, and then repeated them behind one of the hillsides, to look like the trees were farther away.  I also used the small leafless tree to put a few around the church as well.

Now I began to pull out the colour with a damp brush, being strategic of which direction I pulled it, making sure it was where the shadows would fall, or to simply highlight a hillside.  I went over these areas with a mixture of #565/605 - as I wanted my snow to have a more bluish hue, and I painted in areas where there would be shadows.

For the deer, I used #947 & 969, keeping it lighter on top, and adding more layers of colour to the shadowy underside.  I added a little #N55 to his hooves and antlers, and also painted this onto the door and spire of the church.  To give the rocks a little colour, I dabbed on touches of N55, 947 and 565, as I like them to have a mottled, multi-coloured look.

I softened the pine trees by going over them with a damp brush, and once dry - added touches of Dr. P.H. Martin's white paint to put some snow on the branches, and did the same to the other trees.  I used tones of #533/565 for both the stream and the sky, keeping the edges a little bit darker.  I adhered my scene onto my card base, matted with some glitter paper.  

To create the shaker, I cut the new Snowflake frame in white cardstock, as well as some white fun foam.  I glued the fun foam over my scene, then added glitter and sequins in the middle.  I added a rectangle of clear acetate over this, then glued on my cardstock frame - and my shaker was complete!  Turn on the sound, and watch my 5 second video showing the shaker:

Thanks for joining me today!  Don't forget to look for the Watercolour Design Team with two projects every Sunday on the Ai blog and other Social Media sites.  See you next month!


Boo Y'all!

 I have a fun Halloween card on the Art Impressions blog today, using a mix of old & new products:

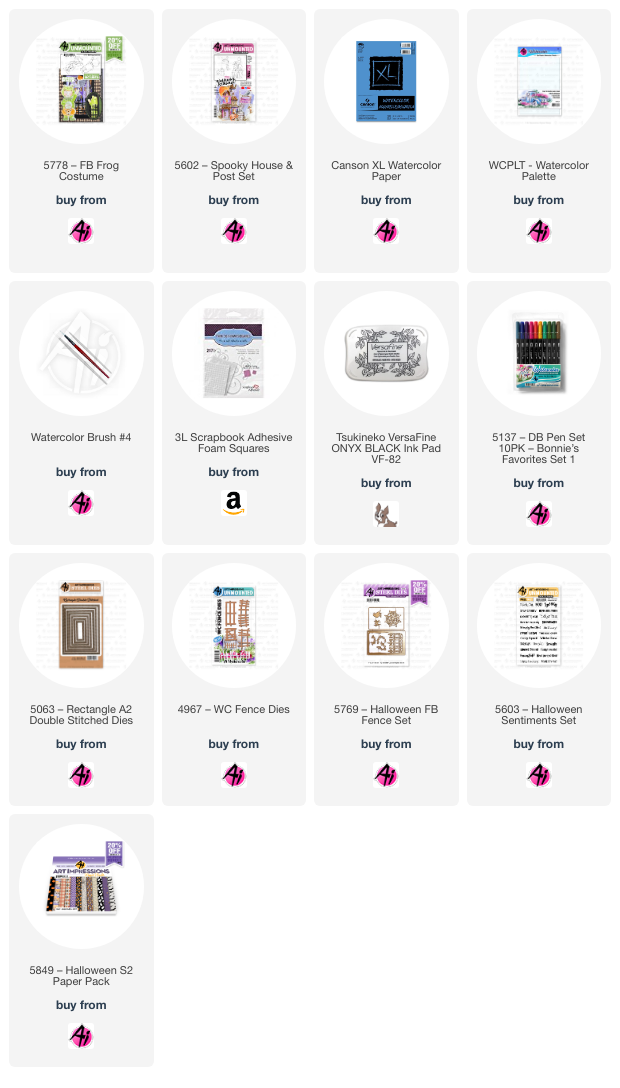
I stamped the house from 5602 - Spooky House & Post Set and 5778 - FB Frog Costume onto Canson XL Watercolour Paper using Tombow #969/565.  I used one of the Ai Nested Circle dies to draw in the moon behind the house, and then started painting!  For the house, I've used #676 & 606, with 346 for the shutters, and N55 for the grey bits, adding several layers where it needed to be darker.  Using the marker directly on the paper, I added the glowing window panes with #991.  I also used /3991 for the moon, washing it out towards the center, and adding an extra layer of colour around the rim to make it darker.

The grass and frog costume were painted in #126, with #158 added to make some areas darker, and #346 was used for his shoes.  #850 became his skintone, with rosy cheeks added with Copic marker.  The frog comes with coordinating dies, so I was able to quickly cut him out.  *Since he is a Front & Back stamp, I had painted up the back image as well, and intended to have the grassy bank on a hinge that would open up to reveal the sentiment, but I ended up just using the front.  The pumpkin was started with #933, and layers of 905 and 969 were added to the underside to create deeper tones.  I used a Black Twintone marker to darken the pumpkin face, and all the details on the frog costume as well.  A wash of #526 was painted in as the sky, with darker layers of colour farther away from the moon.

To assemble my card, I used the purple starry sky paper from the new 5849 - Halloween S2 Paper Pack as the base.  I die cut my scene with a 5063 Rectangle A2 Double Stitched Die, then I created another grassy bank that I die cut and adhered to the base with 3D Foam Adhesive to have it stand out.  I cut out the 3 bats from the new 5769 - Halloween FB Fence Set and two pieces from the 4967 - WC Fence Dies in black cardstock.  The fence was glued onto the grassy bank, and the bats were adhered to the sky, some with 3D foam.  My Trick-or-Treater was glued onto the foreground, with some foam adhesive under his head.  The sentiment is from 5603 - Halloween Sentiments Set, stamped in Versafine Onyx Black ink.


LinkWithin

Related Posts with Thumbnails