
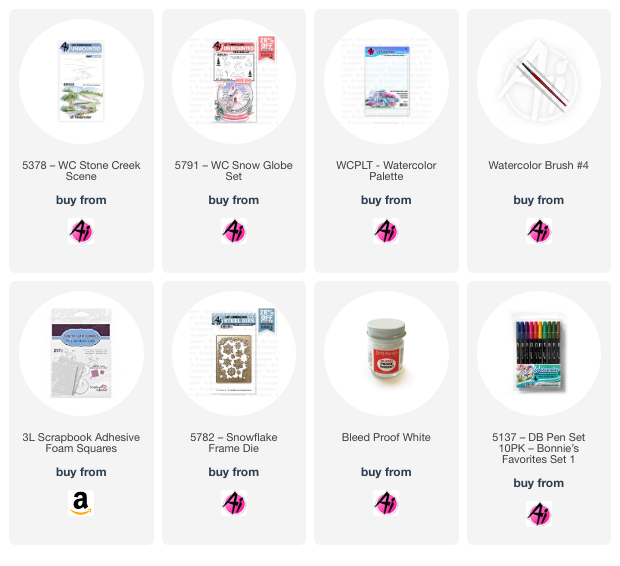
I am sharing a fun shaker card today as my second post for the Art Impressions Watercolour Weekend, using the newly released - Snow Globe Set, but in a slightly different way!

I like to use Ranger Watercolour Cardstock when I'm painting snow, as it's a lovely bright white colour, so I cut it into a 4" x 3" piece, and stamped out my scene. Using Tombows #969/565 for all my images, I started with the deer from the set, and then covered him with a mask. I stamped the 5378 - WC Stone Creek Scene, leaving a space for the church, and eliminating the row of rocks that are farther back (I thought they would compete with the deer image). This was the perfect background for my scene! Masking the church, I coloured the smaller pine tree in the set in #249, and stamped it on either side, and then repeated them behind one of the hillsides, to look like the trees were farther away. I also used the small leafless tree to put a few around the church as well.
Now I began to pull out the colour with a damp brush, being strategic of which direction I pulled it, making sure it was where the shadows would fall, or to simply highlight a hillside. I went over these areas with a mixture of #565/605 - as I wanted my snow to have a more bluish hue, and I painted in areas where there would be shadows.

For the deer, I used #947 & 969, keeping it lighter on top, and adding more layers of colour to the shadowy underside. I added a little #N55 to his hooves and antlers, and also painted this onto the door and spire of the church. To give the rocks a little colour, I dabbed on touches of N55, 947 and 565, as I like them to have a mottled, multi-coloured look.
I softened the pine trees by going over them with a damp brush, and once dry - added touches of Dr. P.H. Martin's white paint to put some snow on the branches, and did the same to the other trees. I used tones of #533/565 for both the stream and the sky, keeping the edges a little bit darker. I adhered my scene onto my card base, matted with some glitter paper.

To create the shaker, I cut the new Snowflake frame in white cardstock, as well as some white fun foam. I glued the fun foam over my scene, then added glitter and sequins in the middle. I added a rectangle of clear acetate over this, then glued on my cardstock frame - and my shaker was complete! Turn on the sound, and watch my 5 second video showing the shaker:
Thanks for joining me today! Don't forget to look for the Watercolour Design Team with two projects every Sunday on the Ai blog and other Social Media sites. See you next month!


No comments:
Post a Comment