Showing posts with label Cupcakes. Show all posts
Monday, February 2, 2015
Keep Calm and Eat More Cupcakes
I'm playing along with Mojo Monday today... with a cute little card using Verve's Cupcakes stamp set:
Patterned paper is October Afternoon, Cakewalk; Cardstock is Colonial White & Kraft, CTMH; Stamp set is Cupcakes, Verve; Inks are Blush, Chocolate & Champagne, CTMH; Rich Cocoa ink Memento; Pastel Sequin Mix, Verve.
Labels:
Cupcake card,
Cupcakes,
Mojo Monday,
October Afternoon,
Verve
Wednesday, January 21, 2015
The Challenge #23
I have a cupcake card for you today, using Verve's sweet Cupcakes set... and I used the current sketch at The Challenge as my design:
Patterned papers are Cakewalk, October Afternoon; Kraft paper is CTMH; Stamp set is Cupcakes, Verve; Sequins, Verve; Inks are Chocolate & Blush, CTMH.
Labels:
Cupcakes,
October Afternoon,
The Challenge,
Verve
Saturday, November 1, 2014
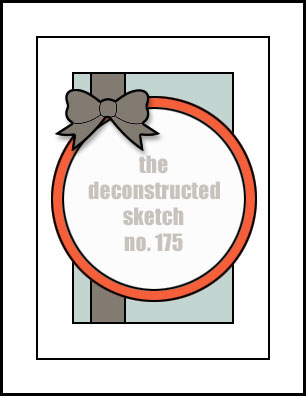
Deconstructed Sketch #175
My wonderful brother-in-law has a great appreciation for my handmade cards... so he has requested that I send him a small 'stash' so he has cards to give to my sister on her birthday, Mother's Day, Valentine's etc. So today I whipped up a couple of cards to add to his supply. I've used the current Deconstructed Sketch, and a few of the newer Verve stamp sets:
Patterned papers are October Afternoon; Stamp sets are Cupcakes & Coffee, Verve; Coffee die, Verve; Inks are Chocolate, Blush & Champagne, Close To My Heart;
Labels:
Coffee card,
Cupcake card,
Cupcakes,
Deconstructed Sketch,
Verve
Monday, October 27, 2014
Cupcake Shaker card
Everyone should have a sparkly child. Mine just happens to be turning 17 today. Ever since she was little, she would always be attracted to anything glittery, sparkly or glitzy. I'm pretty much the complete opposite, so when I'm cardmaking, she's always trying to get me to sparkle things up a little. She is also an amazing cupcake baker, which is why I purchased this stamp set immediately when Verve brought it out in September. I knew a shaker card was the way to go, since I could fill it with tons of glittery sequins. Here's what I came up with:
I used my pink Wink of Stella pen on the cherry, so it's sparkly, too.
Have a great day :o)
Patterned papers are Molly, Bella Blvd; Cardstock is Outdoor Denim, Bubblegum & White Daisy - CTMH; Ink is Outdoor Denim, Bubblegum, Whisper & Baby Pink - CTMH; Stamp set is Cupcakes, Verve; Sequins, Verve.
Labels:
Bella Blvd,
Cupcake card,
Cupcakes,
Shaker Card,
Square card,
Verve
Wednesday, June 11, 2014
Paige's Cupcake Bouquet
Remember when your children's school projects were making a cardboard castle, or a paper mache volcano? Well when they're in a high school marketing class... they make a Cupcake Bouquet. They had to create a product, make a website, packaging, logo, advertisements and a whole marketing plan. If you've followed my blog for a while, you'll know that Paige has had a fairly successful cupcake business since she was 13, so it only goes to follow that she'd try something in the same line. Here's what she assembled at 7am this morning:
Pretty awesome, huh? I won't even tell you the fun we had transporting this to school in the rain! I'll show you a few pictures of how we put it together, which are fairly self explanatory. If you want to make one yourself, you'll find several tutorials on Youtube - and it actually went together pretty easily.
We took 3" squares of green tissue paper and poked it in between the cupcakes to hide the styrofoam ball:
Stay tuned to see more of what Paige was up to this year, her floral pillow for her fashion class was amazing. Have a great day :o)
Pretty awesome, huh? I won't even tell you the fun we had transporting this to school in the rain! I'll show you a few pictures of how we put it together, which are fairly self explanatory. If you want to make one yourself, you'll find several tutorials on Youtube - and it actually went together pretty easily.
We took 3" squares of green tissue paper and poked it in between the cupcakes to hide the styrofoam ball:
Stay tuned to see more of what Paige was up to this year, her floral pillow for her fashion class was amazing. Have a great day :o)
Tuesday, January 21, 2014
Artiste Valentines
I am posting on the Art Impressions blog today...
Time is inching closer to Valentine's Day... so I've put together a few goodies to help inspire you for the big day! I'm using the Boy Cupid Set (Sku#4219), and I've made a couple of cupcake picks and a matching card:
This little fella is so sweet, so I wanted to make one of the picks with just a heart that he could aim his arrow towards:
I used my Cricut to cut out the red doily shapes from cardstock, as well as the matching cupcake liners, and hearts.
I tied some Baker's twine onto the picks, and glued small red hearts onto the ends.
I cut fairly close around the image, and pop dotted him over some silver glitter paper. Here is the matching card that is 5" square:
And finally the inside:
Happy stamping everyone!
Labels:
Art Impressions,
Artiste,
Boy Cupid Set,
Cupcakes,
Valentine
Friday, June 7, 2013
Exciting News!
I am so happy to announce that I am one of the new design team members for Art Impressions Rubber Stamps! You've seen me using their fun Girlfriends images regularly over the past year, as they are such fun and fabulous images to colour, and the sayings are just hilarious. I'm going to be posting on the Art Impressions blog (and here!) on Tuesdays, so be sure to come and check us out, and they host a great challenge, bi-weekly on Thursdays - with some pretty awesome prizes. You can see AI's full product range here, or you just might find them at your local stamp store, like I did. I'm going to repost the first project that I ever made with an Art Impressions stamp, and to this day it is one of my all-time favourite creations!
If you can't read the sentiment... it says: "Happy 29th Birthday from your 110 lb friend."
Friday, October 12, 2012
Freshly Made Sketches #56
I tipped this week's Freshly Made Sketch over on it's side for my card this week. I've wanted to use this little moustache die cut as a cupcake pick for a while, and I knew that I had the perfect papers to make a matching card:
Patterned papers are This & That, Echo Park; Cardstock is Kraft, Colonial White & Black, CTMH; Stamp set is A Little Everything, CTMH; Ink is Black, CTMH; Cupcake wrapper & pick, Cricut Artiste cartridge.
Labels:
Artiste,
Cupcakes,
Echo Park,
Freshly Made Sketches,
Guy Cards
Friday, September 7, 2012
One Crazy Stamper
I have another project to share today as the September Guest Designer on the One Crazy Stamper store blog! I REALLY love this project, it's probably one of my favourite things ever to make in the cardmaking world :o) This sentiment really cracks me up... I actually bought it first, and then went back to the OCS store to get the image set to go with it. And of course, with such a fun card, I just had to make a little cupcake pick & wrapper to go with it...
One Crazy Stamper has an amazing selection of paper, stamps and accessories... not to mention a full range of Copic products, so you may want to check out the store here!
Products available from OCS: Patterned papers are Cakewalk, October Afternoon; Stamps are Out to Lunch and Happy 29th from Art Impressions (Girlfriends line); Tuxedo Black ink by Memento; Copic Markers.
Other products: Colonial White cardstock, Red Button & Black hemp all CTMH. Pinwheel and cupcake wrapper are cut with the Cricut Artiste cartridge, CTMH.
Labels:
Artiste,
Cupcakes,
October Afternoon,
One Crazy Stamper
Tuesday, August 28, 2012
Twenty Dozen Cupcakes
Luckily they were mini ones! Knowing that my daughter has a little cupcake business, when my niece got engaged, she asked if she would make the cupcakes for her wedding! So when we flew out to BC this past July, Paige packed all her icing bags & tips and a few random ingredients like meringue powder & clear vanilla. She'd been researching recipes and making test batches for weeks in advance, and with a few days to go, and in an unfamiliar kitchen, she set out to make 240 chocolate and vanilla cupcakes.
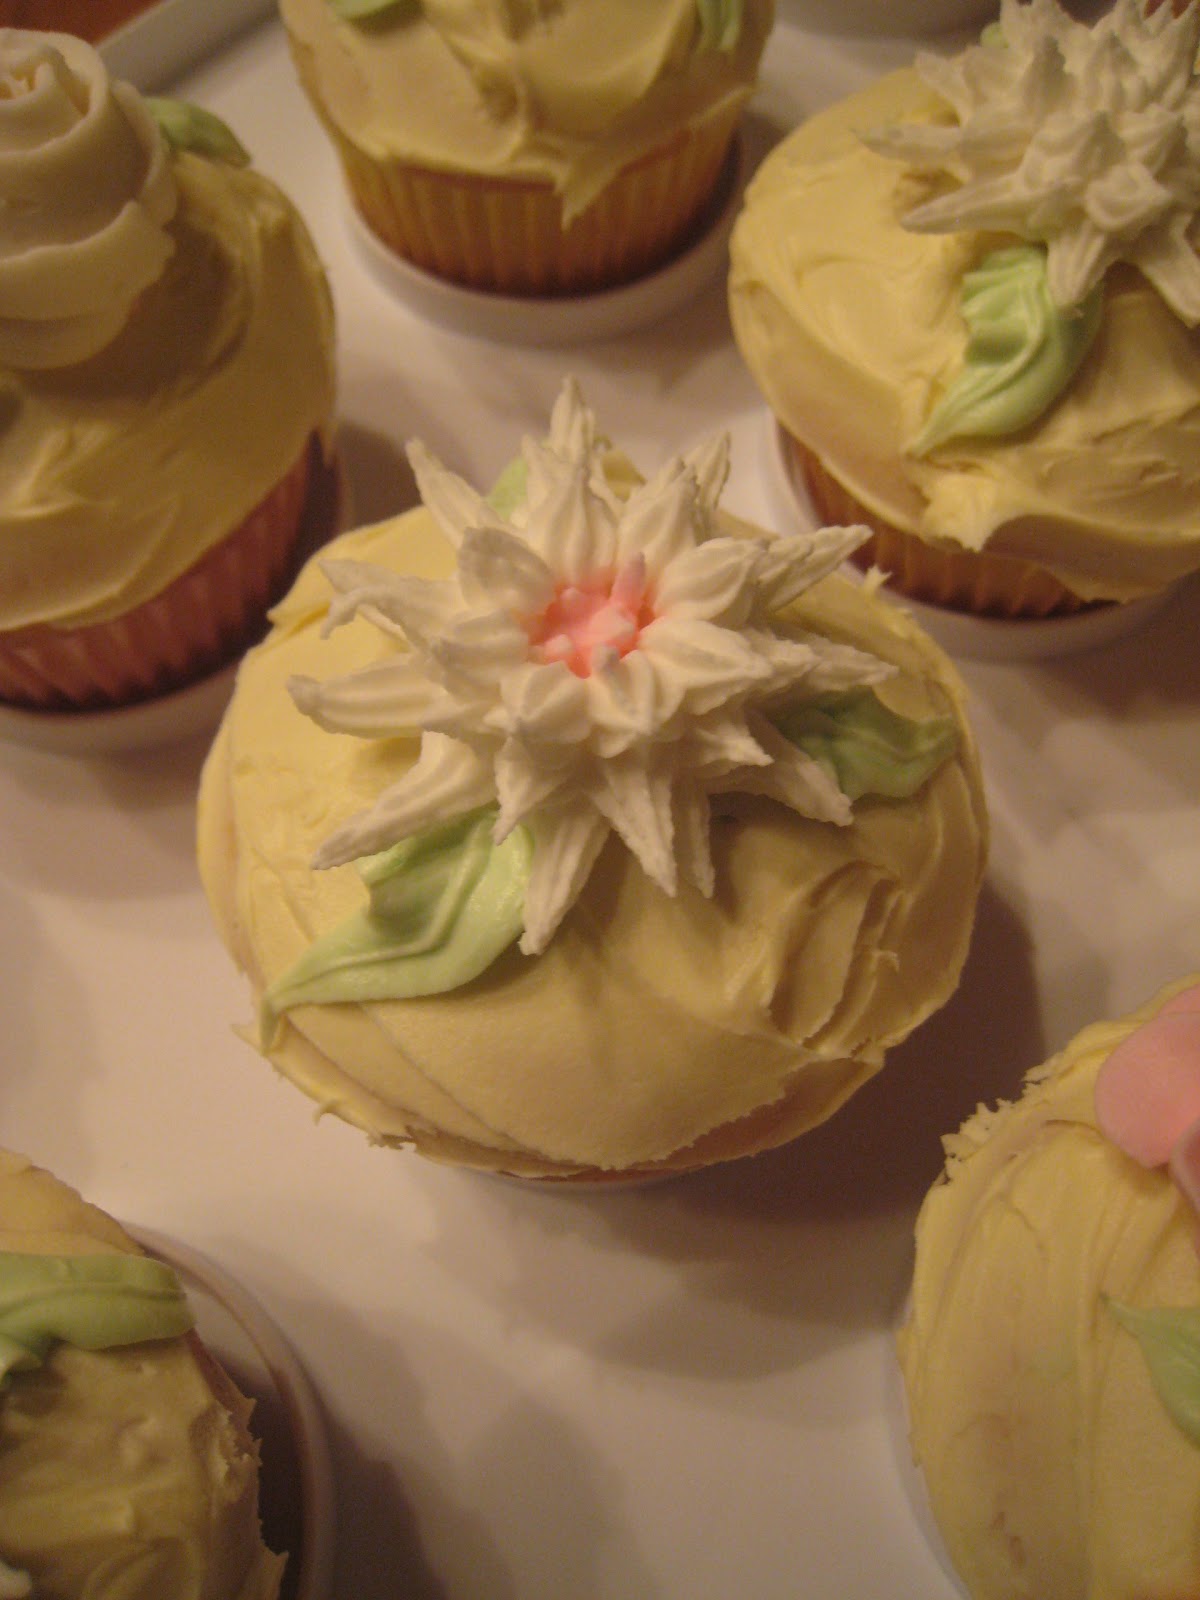
And finally, icing them all with a swirl, and adding the drop flower to the top. Here's a picture of the tower at the wedding (this is only about 1/2 of what she baked), along with the proud baker. If she can do this at 14, just wait and see what she'll do a few years from now! (very proud Mom speaking!)
Thursday, April 5, 2012
Happy Easter!
We don't make a lot of Easter cards around our house... but we do make Easter cupcakes! Paige had a large order for an office party this week, so she did 1/2 coconut nests and 1/2 with a swirl of icing and a flower:
Wednesday, March 28, 2012
The Cupcake Diva's latest
My daughter's cupcake business has been booming this month... and I haven't shared in a while. Be sure to scroll down, her crowning glory is the last photo! She started off by making 200 royal icing flowers in 4 different colours, then did both vanilla & chocolate versions:
And finally, she made one special cupcake for her girlfriend's birthday... if you're on Pinterest at all, you've seen this idea floating around, so she just had to give it a try (it was a huge hit!):
Friday, October 7, 2011
My Cupcake Diva does Thanksgiving
My daughter Paige (aka Cupcake Diva) was hired to make 3 dozen Thanksgiving cupcakes this week! So here are her efforts. Happy Thanksgiving to all my fellow Canadians this weekend :o)
Friday, April 22, 2011
Mint Chocolate Cupcakes
My daughter had another special order request for cupcakes a couple of weeks ago, and they were so amazing that I had to share :o) In the past we've mostly just used a cake mix and decorated them, but lately we've been using Martha Stewart's cupcake recipes, and they are to die for. Paige did these entirely by herself, making the mint chocolate cupcakes, then homemade buttercream frosting tinted an aqua blue, and finally she painted the back side of mint leaves with a layer of chocolate, put them in the fridge to harden, and when you pull off the mint leaf... voila! Chocolate leaves. Heaven.
Wednesday, February 2, 2011
My Cupcake Diva
Subscribe to:
Posts (Atom)