I'm sharing my favourite new Spellbinders press plate today! This is the 'Thought You Knew', which I purchased from The Papercrafter's Workshop.
Tuesday, February 10, 2026
Thought You Knew!
Wednesday, January 21, 2026
B is for Betterpress
I am playing along with the Alphabet Soup challenge on the Papercrafter's Inner Circle Facebook group. Each month there will be 2 or 3 letters that you can feature in a project. For January, I am doing B is for Blue, Best Wishes and Betterpress!
Sunday, March 16, 2025
Citrus Bloom Wreath
I've had these bits and pieces of the Citrus Bloom set by Pinkfresh Studio, stenciled and die cut - in my stash ready to go for a while. I was debating on putting them into a wreath shape, and settled on a crescent moon style of wreath instead.
I pulled out my favourite shade of dark blue cardstock, and decided on a square card with a cut out circle center. The white background was a bit stark, so I pulled out my Slumber ink that I'd used in the stenciling, and inked the center area of my card base.
I arranged the pieces around the edge of the opening, and glued them down with my Bearly Arts glue, then attached it to my card base with 3D foam adhesive. I'm using the Serenade Sentiments die set from Spellbinders, and cut the words twice, layering them for a little dimension. They were adhered into the center of the circle. I splattered a little gold paint to finish it off.
Monday, February 17, 2025
Rainbow Cupcake Kisses
My third card with the December Betterpress Society press plate, 'Cupcake Kisses', is a rainbow one!
I chose four colours of Distress Oxide inks, and blended them right on the plates, then pressed onto a Bisque Cotton Card panel.
I cropped my background to be 4 3/8" square, stitched it down to a black mat, and adhered the cupcake and sentiment with 3D foam adhesive. The finished card is 5" square.
I also took some photos with it on a plain teal base before I assembled it, but I'm going with the busier rainbow striped background.
You can get a Betterpress Society subscription through the Papercrafter's Workshop!
Sunday, January 5, 2025
Fairy Houses and a Snowman
I am on the Art Impressions blog today, for the Watercolour Weekend post!
I'm kicking off the 2025 Watercolour Weekends with a wintry valentine card - or just a generic winter birthday card if you like. Here in Canada, it's still snowy way past Valentine's Day, so I decided to use 5060 - WC Snowman Set for my scene:
I stamped him in #N55 grey, as I didn't want a brownish cast at all, but since his twig arms are separate, I stamped them using #969, then pulled out the colour with a damp brush. I used a pencil to sketch in the heart dangling from his arm, and added a bow & string. I picked up some #847 that was on my palette to added layers of colour to the heart, keeping the center area lightest - and did the same on the small heart that I drew on his hatband. Layers of #N55 and #N25 were painted on his hat and coal buttons to suggest that they are shiny and black. #407 and #126 were painted onto his scarf and hatband for a bright pop of colour. I used my #933 marker directly on his nose, just colouring the underside, and softened it with a damp brush. To finish, I added a wash of #565 as the sky, and used it to add shadows to the snow and his body. I like to echo a few of the colours used, so there are faint areas of #847 painted onto the snowman's side nearest the heart.
I used the 5064 - Circle Double Stitched Dies to cut him, out and matted him on a larger dark grey circle. 5734 - Friend Sentiments Set provided the sentiment, and was cut out with the small tag from 5132 Tag Stitched Dies. A tiny heart from 5721 - Nested Heart Dies was added to the corner. The background paper is from 5853 - Christmas Magic PP, and the finished card size is 5 1/4" square.
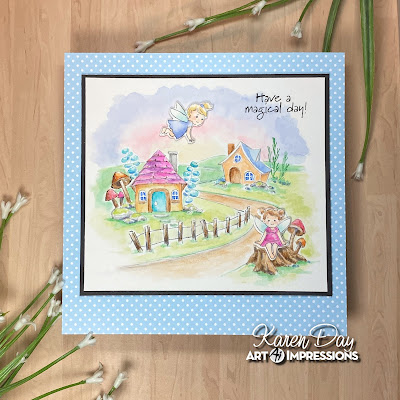
My second card was a little more involved! Whimsical doesn't come naturally to me - I'm more of a realist when I paint, so I typed "Magical Fairy Houses" into Google images to get some inspiration. I wanted a warm colourful scene - and I think I achieved it!
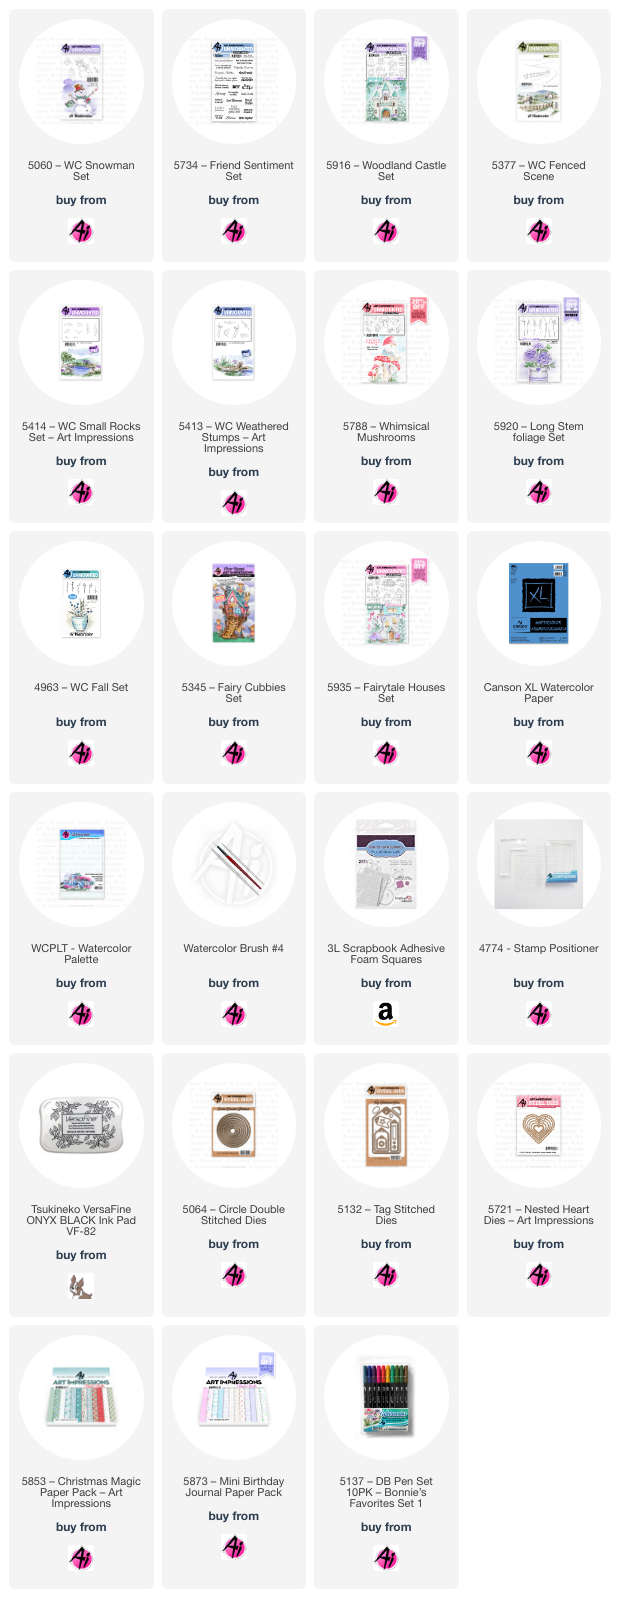
I used two houses from the 5916 - Woodland Castle set, positioning them both on my block using the carrier sheet for 5377 - WC Fenced Scene to determine placement, and stamped them with #N55, then created masks of both houses. With the masks in place, I stamped the Scene overtop, colouring the hills in #158, and the fence in #969. I added two rocks from 5414 - WC Small Rocks Set around the houses in #N55. The stump from 5413 - WC Weathered Stumps was added in #969 in the foreground, then toadstools from 5788 - Whimsical Mushrooms were added near the house, and behind the stump.
Before adding any colour to my scene, I created my sunrise sky by adding a fair bit of water as a base, then dropped in #991/885/565 while it was still wet, so that the colours blended together seemlessly. With my mask still in place, I added the two eucalyptus sprigs from 5920 - Long Stem Foliage Set in #407 behind the larger house, and painted in the leaves using 407. A sprig from 4963 - WC Fall Set was added behind the smaller house with #245. I'm just going to list all of the marker colours used in the scene - not each location, so if you need any more info, just leave me a note in the comments.
Yellows: 993/991 Orange: 933 Blues: 565/403 Greens: 126/245 Browns: 947/969 Pink: 725 Purple: 676 Grey: N55.
I used two of the fairies from the 5345 - Fairy Cubbies Set, and stamped them with Memento Tuxedo Black ink on my Canson XL Watercolour paper. I used Copic markers to do their skin and hair, due to the fine nature of the areas I needed to colour in. They were cut out with their matching dies, and adhered to the scene with thin 3D foam adhesive. Oh - and a little Wink of Stella was added to their wings for some glimmer! The sentiment is from 5935 - Fairytale Houses Set, stamped in Versafine Onyx Black.
The scene was a little too large for an A2 card, so I matted in on black, and then used 3D foam adhesive to attach it to a 5 1/4" piece of paper from the 5873 - Mini Birthday PP. *I realized after photos were edited, that I forgot to add in the doorknobs! So just imagine they're dark grey... Happy painting!
Monday, July 29, 2024
Poinsettia Wreath
I went a little die cut crazy with this one! Yes, it's a lot of cutting, but I really love this look, so find that it's totally worth the effort. I've pulled out the Spellbinders Poinsettia Spray die again, and this time instead of using the entire sprig, I just used the two poinsettias, gluing them together, along with the holly leaves.
Tuesday, May 21, 2024
Flower Power
I've made up a couple of cards for the May 2024 challenge on the Pinkfresh Studio blog. The May theme is "Flower Power", so I've used the Floral Square Frame press plate for some bright square cards:
The turquoise card is 5" square, coloured up the same, and also adhered with foam adhesive. Both sentiments are Betterpressed.
Sunday, February 18, 2024
Throwback Tulips
Each month, Art Impressions features a throwback set - something from years ago that they re-release for just a few days. This is 5868 - Daffodil & Tulip Set from January (there's a new one out this Tuesday... and it's rumoured to be more flowers!). I loved painting this - and went for total spring vibes. Same goes for the paper and ribbon choices when I was assembling my card.
Tuesday, January 30, 2024
Birthday Wreath
This is a remake of a card I made last year. At the time, I die cut enough of the rainbow boughs for two cards, so am finally assembling the second one!
I'm on a mission to finish up partial projects that are kicking around my craft room, so I'm happy to have this one done and off my desk!
Sunday, December 17, 2023
Merry Christmas!
This new-to-me sentiment from Pigment Craft Co. is one I adore! I made up a few square cards using some Fancy Pants papers that I've had for a while, and added some Pigment holly sprigs to one, and used my Spellbinder's Holiday Blooms diecuts on the other.
Thursday, April 13, 2023
Little Artist
I have a mix of old and new for you this week's Watercolour Weekend post on the Art Impressions blog.
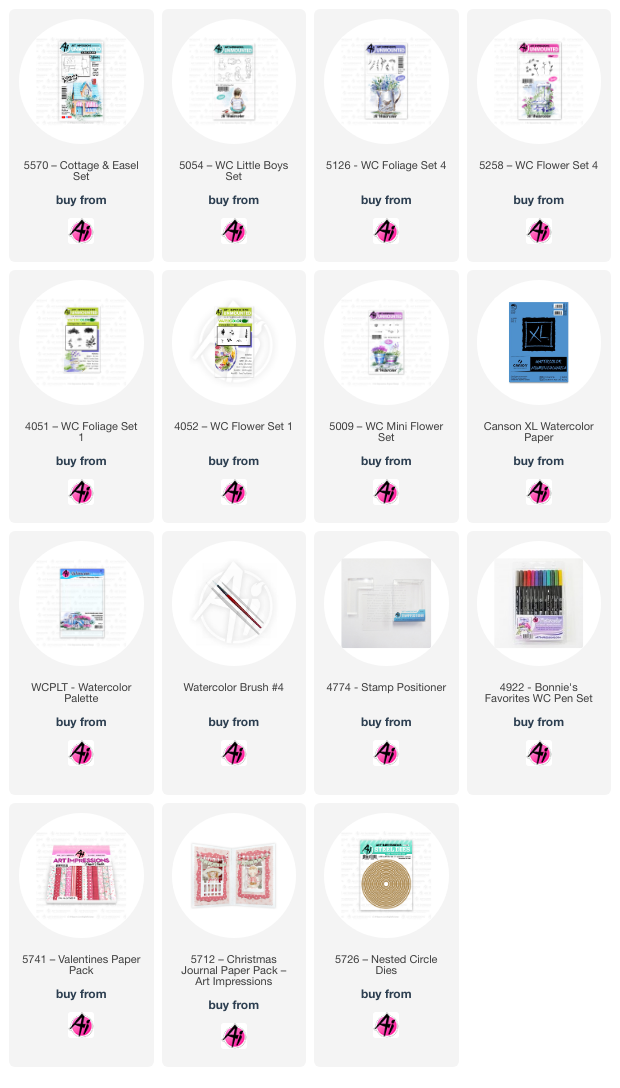
Using Tombow #969/565 for all my main images, I started by stamping the easel from 5570 - Cottage and Easel Set, then added one of the 5054 - WC Little Boys Set images that was the correct scale. After pulling out the colour with a damp brush, I built my bouquet from the bottom up. The vines are from 5126 - WC Foliage Set 4 in #177, the roses from 5258 - WC Flower Set 4 in #856, the Daisy Bunch and Salvia from Flower Set - 4052 in #993/565 and to fill in around the flowers, the small greenery sprig from 5009 - WC Mini Flower Set is stamped in #126. Shades of #992/977 were used on the pot and easel and little boy's hair, adding darker layers where the shadows would be. Layers of #856 were painted on his hat and sneakers, again keeping it lighter on top where the sun would hit, and darker shades in the crevices. With #565 I painted in his faded jeans, making the shade darker where the folds happen. #850 was used as a skin tone, and #493 was painted on his t-shirt and as a wash for the sky. The small grass from Foliage Set - 4051 was stamped in #126 and the colour was pulled out with a damp brush.
I drew in the paintbrush, and used #993 to paint the sun on the canvas, and a little patch of grass in #177. #565 was painted in as shadows for the entire image, and anywhere that needed a little shading. The background papers are from 5712 - Christmas Journal Paper Pack and 5741 Valentines Paper Pack, and the new 5726 Nested Circle Dies were used to add a mat to my image. The finished card is 5" square. Stop by the Ai blog this Saturday to see what Tricia and Diane have to share!
Friday, March 3, 2023
Easter Basket
Easter will be here before we know it, so I have pulled out several of the newly released sets to create a little scene for this Saturday's Watercolour Weekend post on the Art Impressions blog.
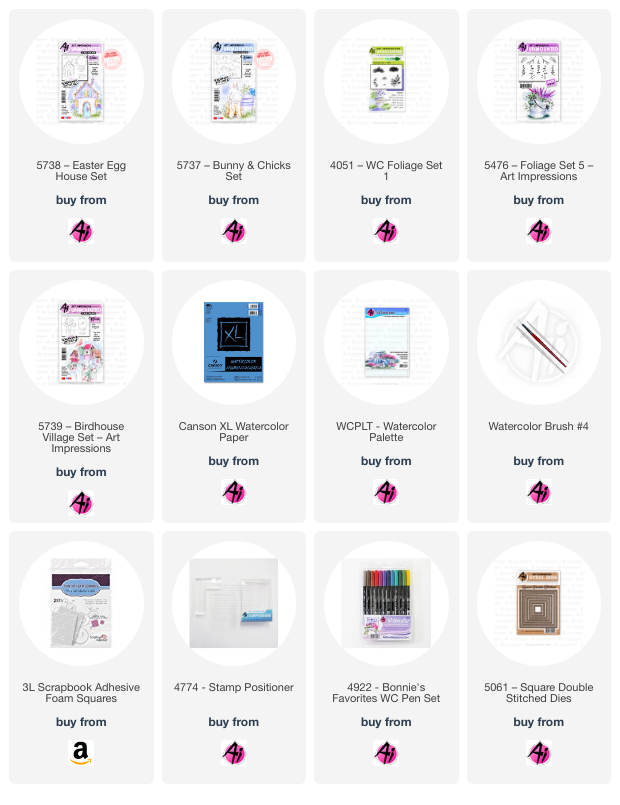
All of my main elements are coloured in Tombow #969/565, and stamped onto Canson XL Watercolour Paper. I began with the single chick from 5737 - Bunnies and Chicks, masked her up, and stamped the basket from 5738 Easter Basket just behind. Again masking the basket, I added the egg images inside and around the basket, and finally I used just the bird from 5739 - Birdhouse Village Set, to sit on top. My stamp positioner was invaluable to get everything placed just right!
After pulling out the colour with a damp brush, I picked a fun, bright palette of colours and painted the eggs in: #173/725/990/933/493/565, starting with a light wash, and layering colour to create darker tones towards the lower part of each egg. For the chick, I began with #990, then added #933 and #947 to create warmer, darker tones as shadows. #493/565 were painted on the bird, and #725 was used for the bow. With #173 and the small grass from Foliage Set - 4051, I added grass around the eggs, and then chose two sprigs of greenery from 5476 - WC Foliage Set 5 which filled in behind my scene, coloured in both #312/346. A wash of #533 was painted in as the sky. My scene was cut out with 5061 - Square Double Stitched Dies, and adhered to my square card base with 3D foam adhesive.
Be sure to check out the Ai blog on Saturday to see what Tricia and Diane will be sharing!
.jpg)
%20(1).jpg)
.jpg)
.jpg)

.jpg)
.jpg)

.jpg)
.jpg)

.jpg)
.jpg)
.jpg)

.jpg)
.jpg)