Showing posts with label Art Impressions Watercolors. Show all posts

Tuesday, June 10, 2025

Lakehouse Foundation

Art Impressions has recently released a bunch of products that are great for masculine cards, so to make my Dad a Father's Day card, I pulled out 6065 - Lakehouse Foundation.

I stamped it using Shadow Gray Archival ink from Ranger onto my Canson XL watercolour paper, then painted it using my Tombows.  I sewed the finished painting onto some warm brown cardstock with my sewing machine, then adhered it to my cardbase that was created with two patterns from the 6072 - Father's Day paperpack.

On the inside of my card, I used the 5927 - Father's Day Die Set cut from the same warm brown.


Sunday, April 7, 2024

April Watercolour Weekend

I am up on the Art Impressions blog today with two projects for the Watercolour Weekend post!

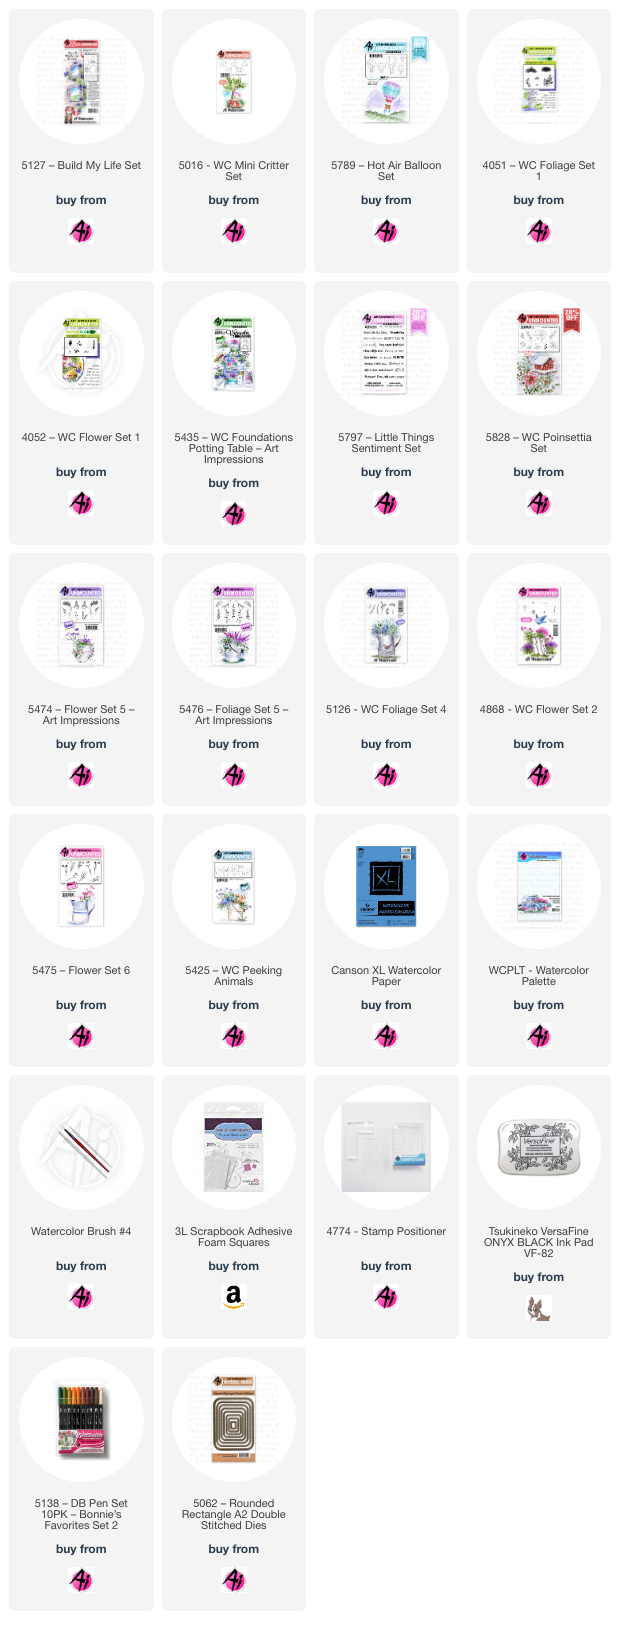
My first card features the wonderful 5435 - WC Foundations Potting Bench.  What I love about the Foundations stamps, are that they take all the guesswork & planning away - you get a substantial scene planned out for you, no figuring out if something is the right size, or how many pots you can fit!  You still get to customize it with whatever colours and flowers you want to use - but you can get right down to business, and start painting.

I picked out my colour palette first, choosing yellows(991/993)/blue-greens(312/407)/purple(565)/brown(969/947)/grey(N55/N57).  I wanted a softer outline, so I stamped my image using N55 using my Misti - which is really helpful for such a large image, incase you miss a spot.  I began painting my pots first to plan out my colours, giving them all a base coat.  I decided to add my critter from 5425 - WC Peeking Animals to one of the pots, so I used my stamp positioner to place him perfectly.  

I used 7 different stamp sets to create my pots!!  I won't go over each flower, but did want to mention how I did the pansies in the box on the middle shelf.  I used the daisy bunch from Flower Set - 4052, colouring the top of each flower in 993, and the bottom in 565 - I'm quite happy with how they turned out!  The other stamp sets I used are 5126 - WC Foliage Set 4; 5475 - WC Flower Set 6; 4868 - WC Flower Set 2; 5476 - WC Foliage Set 5; 5474 - WC Flower Set 5; 5828 - WC Poinsettia Set.  I stitched my scene to a brown mat with my sewing machine, and used some 3D foam adhesive to adhere it to my base.

This month, I wanted to give some love to one of the Ai Bible Journaling sets - so I pulled out 5127 - Build My Life Set, and created a little scene.  

I stamped the window, pots and puppy (5016 - WC Mini Critter Set) after colouring them with 969/565 (masking the pots as needed).  With masks in place, I also masked the window, and then inked up the brick texture stamp that comes in the set, with N57 - not colouring it completely, being a bit sporadic, as I wanted an aged look to the stones.  I used the leafy branch from 5126 - WC Foliage Set 4 in 249, and stamped it repeatedly to create my vine.  For a little different leafy detail, I used both vines from the set, and stamped them in 249/126.  I purposefully left a few open areas, so that I could stamp the daisy bunch from 4052 - Flower Set in 993 to add flowers to the vine.  

After using a damp brush on the foliage, I continued with my brush to pull out the colour from the lines of the bricks and the window - then filled the bricks in with N57 and 977 to add some warmth to the bricks.  977 was also used on the pots, and N57 on the puppy.  I used both grasses from 4051 - Foliage set, in 249/126 around the pots, and pulled out the colour to ground the scene.  To create a little view out of the window, I used 5789 - Hot Air Balloon Set, to stamp two hot air balloons in the sky, and painted in the hills (249/126) and sky (493).  I used 933/493/993 to paint in the balloons.  I went around the scene with 565 - adding it as shadows on the window and bricks, and on the undersides of the pots.  The sentiment is from 5797 - Little Things Sentiment Set, and the image was die cut with 5062 - Rounded A2 Rectangle Double Stitched Dies.
Thursday, May 18, 2023

Wooden Cabin

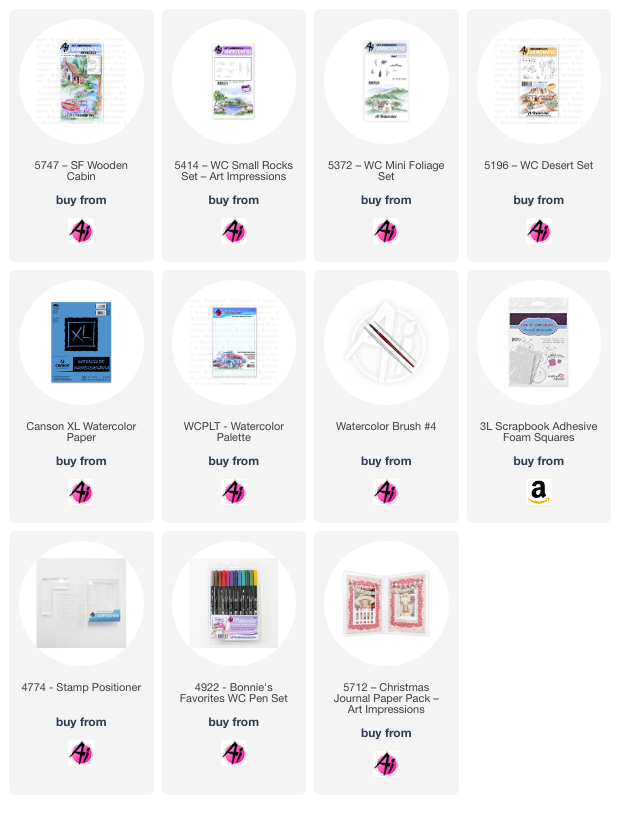
I am really enjoying painting the new Scenic Foundations stamps from Art Impressions!  They are quick and easy to paint, as the layout and perspective are figured out for you.  You don't need to see which size of house works, or how to balance your scene - you can just pick your colours and get down to business.  Here is my card with 5747 - SF Wooden Cabin:

I inked up the entire stamp with Tombow #969/565 and stamped onto my Canson XL Watercolour Paper.  After pulling out the colour with a damp brush, I painted my cabin in a mixture that I created myself!  I wanted it to be a worn/faded reddish colour, but don't own a marker that works - so I mixed #856 and 969 on my palette, to create the look that I wanted.  I painted a darker version on the front of the house that is shadowed, and lighter on the side.  I decided on a yellow boat and front door, knowing that the rest of my scene would be mainly green & brown, so painted layers of #993 on both of them.

I started with #126, which is a lighter, yellow/green, painting the grassy areas in the foreground, then added #177 as the grass farther away.  I coloured up the two trees from 5372 - WC Mini Foliage Set in #177, and masked off the hillside so they would appear farther away before I stamped them.  The foliage stamp from the set was used to create the leaves on the tall tree.  #992 was painted on the roof, porch and down the path, as it's a faded brown colour, and #969 was used to darken up the tree, stump, and wharf.  I wanted more rocks down the path, so coloured part of one of the image from 5414 - WC Small Rocks Set.  Shades of #N65 and 992 were painted on the rocks and the chimney in a mottled fashion, adding shading with #565 and layers of all the colours.

The water was painted with #493, and 565 toward the edges, and #565 was used for the sky, and to add shadows to the windows, boat and under the wharf.  Using the twigs from 5196 - WC Desert Set, I stamped a couple of shrubs behind the rocks and stump using #969, and added leaves directly with my marker.  The long grass was also drawn in.  I used my brown Twintone marker to add the lines back into the bark of the tree.

Be sure to check out the Ai blog on Saturday for the Watercolour Weekend post to see what Diane and Tricia have created.

Thursday, March 16, 2023

Birdhouse Village

I'm sharing several of the newly released stamp sets from Art Impressions to create a little spring scene that will be on the Ai blog this Saturday for the Watercolour Weekend post. 

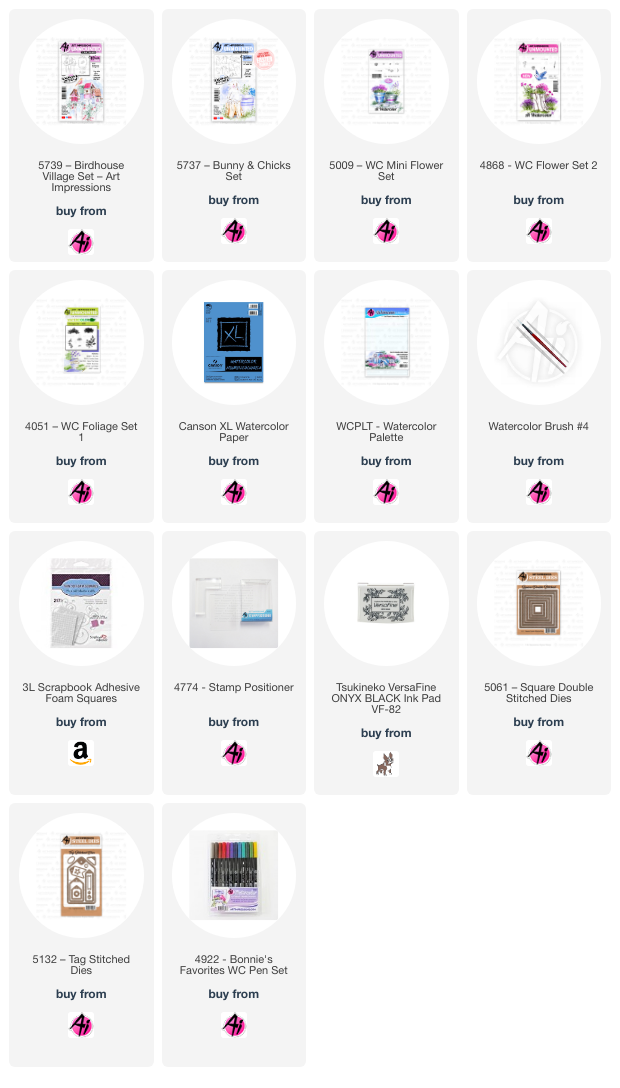
Using Tombow Dual Brush markers #565/969, I stamped the 5739 - Birdhouse Village Set on my Canson XL Watercolour Paper, then added my bunny from 5737 Bunny & Chicks Set, a little lower so that he's looking up at the bird.  I made sure to leave plenty of room for flowers, and started with the little circle of heart flowers from 4868 - WC Flower Set 2 using #993 and #725 to create the floral bunches, then used #933/158 to stamp the long stemmed flowers from the same set.  Using the small sprig from 5009 - WC Mini Flower Set and #158, I tucked in foliage around and behind the flowers.  After touching everything with a damp brush, I used my markers directly on the paper to add some darker shades to the flowers, and then added the small grass stamp from 4051 - WC Foliage Set in #173.

The birdhouses were painted in #565/933/173/407/725, in layers to build up the colours.  The wood bases were painted in #969, and it was used along with #992 to paint the bunny, keeping the top of his head, ears and haunches lighter, and deeper tones were used on the parts that are further from the sun.  The bird had a touch of #993 and 565 as his feathers, and finally a wash of #407 was painted as the sky.  All areas that needed shadows were painted with #565.  The scene was diecut with 5061 - Square Double Stitched dies, and the sentiment from 5734 Friends Sentiment Set was stamped in Versamark ink and diecut with 5132 Tag Stitched Dies.

Be sure to check out the Ai blog this Saturday to see what Tricia and Diane have to share.


Thursday, January 5, 2023

Critter Pots

We'll be kicking off the 2023 Watercolour Weekends on the Art Impressions blog this Saturday!
I've painted a bright and fun scene today using 5519 - WC Mini Critter Pots.

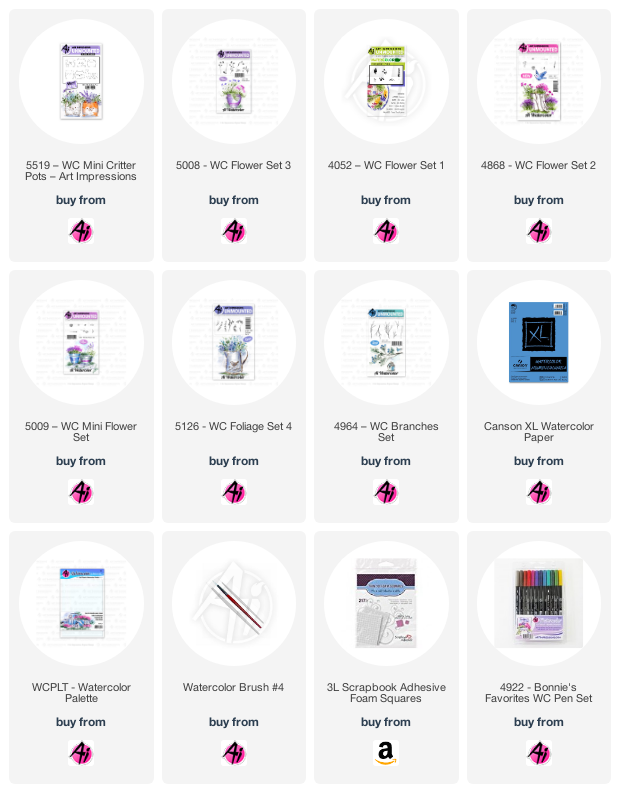
I placed the snail, owl & puppy onto one clear block, which allowed me to place them exactly where I wanted them, and I could ensure they were straight as this is a clear set.  I inked them all up in #565/969, and stamped onto my Canson XL Watercolour Paper.  With a pencil, I sketched in the plant stands.  I used #569 to paint the owl, #346 for the snail, and #N55 for the puppy.  With these colours: #565/757/993/346/126 I created the flowers and foliage using these stamp sets: 5008/4052/4868/5009/5126/4964.  After softening the images with a damp brush, I used #N52 to paint in the background, and went in with #565 to add shadows under and on the images.  I used my black Twintone marker to add the dots around the flowers, and to darken the eyes of each critter.  I die cut the image and adhered it to my base with some 3D foam adhesive.
Be sure to check out the Ai blog on Saturday to see what Tricia, and our new Design Team member, Diane have to share!  Now... before I finish up - I'd like to share my second card that I made for the Watercolour Weekend post.  I intended to post both versions to show how you can do just half of the images to make a second card.  I ended up finding the oval image WAY too busy, and prefer the slightly less crazy rectangular image.  But in the end, I've decided to post both of them here on my blog, as they both turned out to be really pretty - is the oval one busy?  Absolutely!  But I like it anyway :-)


Thursday, March 17, 2022

Ai Lighthouse

Hello Ai Watercolour fans!

I've once again enjoyed painting with the 5466 - Lighthouse Set:

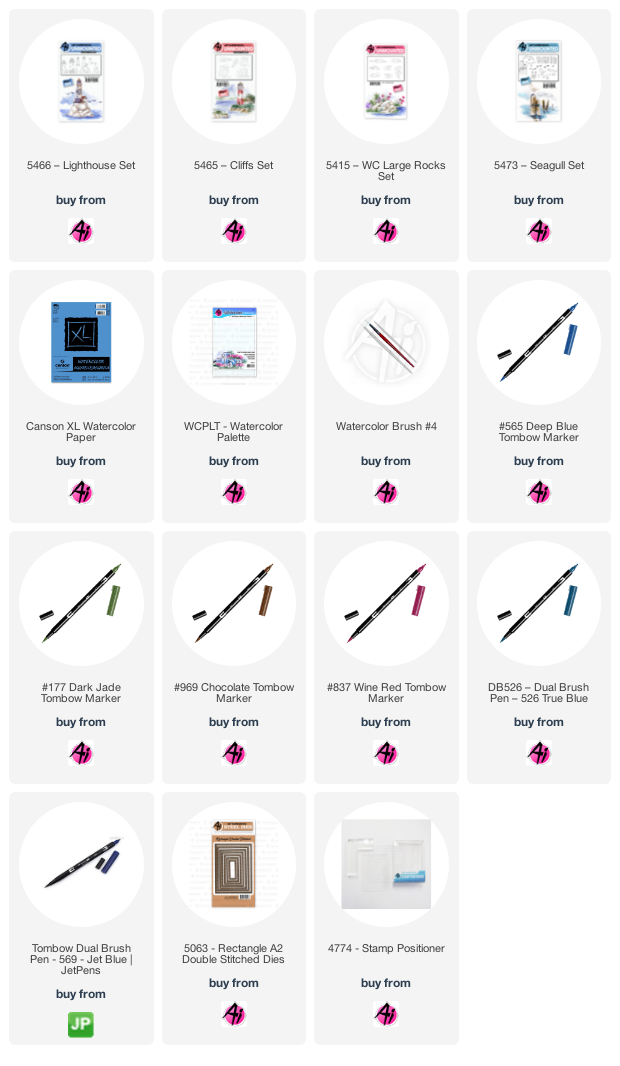
I chose one of the larger images in this set, and paired it with a large cliff from 5465 - Cliffs Set.  I began by colouring the cliff in #565/#969 and stamping it on my Canson XL Watercolor Paper.  I used my stamp positioner to place the lighthouse where I wanted it, using the same colours.  Because the cliff was not quite large enough for how I wanted my scene to look, I used one of the rock images from 5415 - WC Large Rocks set, colouring half of it, and stamping it in the lower right corner - it perfectly extended my cliff, and I drew in the top edge with a pencil.  I pulled out all of the colour from the stamped lines with a damp brush, then layered in shades of #N55/#969/#565 to create the browns, greys and shadows of the cliff.  I painted shades of #526 mixed with #565 to create the water and sky, adding a few grey cloudy areas.  #569 was painted in stripes on the lighthouse, and #837 added in the bright red roofs and accents.  I painted #N55 to the lower edges of the stones around the base of the lighthouse, keeping the tops white to suggest the round shape of the stones.  #177 was dabbed on to create a treed backdrop, and as a wash for the grass.  The seagulls from 5473 - Seagull Set were stamped in #N55.  I die cut my scene using the 5063 - A2 Double Stitched Rectangle Dies.

Be sure to check out the Art Impressions blog on Saturday to see what Dot & Tricia have created.  Happy painting!

Thursday, July 15, 2021

Masculine Art Impressions Card

 I've put together a masculine card for this weekend's Watercolor Weekend post on the Art Impressions blog:

I cut my decorative oval die out of Canson XL Watercolor Paper, and stamped the dock from 5057 - WC Boat Set in Tombow #565/969, and with a pencil, sketched in where my shoreline would be.  Using my stamp positioner, I placed the rocks from 5415 - WC Rocks Set colored in #N45, and the ducks from 5424 - WC Pond Set in #565/969 which set up my scene.  Before stamping anything else, I painted my lake in a wash of #555, and painted the sky with #565.  I painted #990 along the shoreline and a wash of #177 to be the grassy bank.  Using my positioner, I placed the lily pads, both rushes and greenery stamps from the Pond Set onto my scene.  Using #969/992 and 977, I painted in the boards of the dock, keeping them streaky and darker in the crevices to look like old wood.  I Googled "Mallard Ducks" to make sure I painted the ducks accurately, and then used #565 to add shadows around them, under the dock and down the edges of the shore to look like water ripples. I used a damp paintbrush on the lily pads and greenery, as well as the rocks, to pull out the color.  

So many great uses for these sets for masculine cards!  Be sure to check out the blog on Saturday to see what Dot & Tricia have to share.


Thursday, December 3, 2020

Watercolour Snowman

 Hello Ai fans!

I'm using the sweet Art Impressions image from 5060 - WC Snowman Set for my holiday card today:

I started by colouring the entire body image with my #565 Deep Blue Tombow Dual Brush marker, and then carefully coloured over just the hat, scarf and bits of coal with #969 Chocolate, before stamping onto my Canson XL Watercolour paper.  I coloured and stamped the twig arms in both colours, adding them to either side of my little man.  With my damp #4 paintbrush, I pulled the colour out from all the stamped lines, concentrating the blue where the shadows would be.  I added #158 Dark Olive and #856 Chinese Red to my palette, and painted them onto the scarf and hatband, leaving a few white areas as hightlights.  I did the same with #N25 Lamp Black, painting it onto the shadowy areas of the hat, fading it down to nothing.  I used the N25 marker directly on the paper to add a few more defined shadows to the hat and all of the lumps of coal.  My damp #1 paintbrush was used to pull the colour from the twigs, and a little more #969 was painted in where needed.  I used the small greenery image from 5009 - WC Mini Flower Set coloured with #158 to stamp some greenery on the hat, and used the tiny dotted flowers in #856 to add the berries, then touched both with a damp brush.  A watery #565 was painted around him as the sky, and used to add a few extra shadows where necessary.
My card base was made with some Simple Stories paper that I zigzag stitched with my sewing machine using some pale lime green thread.  The snowman was die cut with the 5064 Circle Double Stitched Dies, and the sentiment from 5935 - Sparkle & Cheer Set was die cut with the 5063 - Rectangle A2 Double Stitched Dies.  Both were mounted with 3D foam dots and a few green sprigs were tucked underneath.


Thursday, November 19, 2020

Santa's Rocking Chair

 I am using a few of the newly released Art Impressions Watercolour and Bible Journaling sets today to create my little Santa's rocking chair scene.

I am painting on Bristol Smooth cardstock, as I have some fine details, and felt this would work best with my #1 paintbrush.  I started by diecutting the rocking chair from my masking paper, and then without sticking it down, I used it as a guide for where to draw the hat.  I sketched the hat in lightly with a pencil, then masked it.  I coloured up the 5360 - WC Rocking Chair Set stamp with my Tombow Dual Brush Marker #N65 Cool Grey 5 and stamped it onto my paper, then covered it with the die cut mask.  I inked up one of the pots from 4869 - WC Small Container Set in #N65, and stamped it over the mask, so that it appears slightly behind the chair.  To add the greenery, I picked the small pine-like green from 4867 - WC Foliage Set 2 New, and stamped it repeatedly with #249 Hunter Green to create my little tree (sometimes only colouring small portions of it).  Drawing directly onto the paper, I used my #969 Chocolate marker to add in the suggestion of the tree trunk.  The star is in one of the newly released Bible Journaling sets: 5390 - Mini Accents 2 - it was the perfect size!  I coloured it in #993 Chrome Orange

To the chair I added #476 Cyan, painting it quite loosely, leaving lots of white areas to suggest weathered wood.  The Santa hat and pot were painted with a mixture of colours, starting with #837 Wine Red, with a few layers of a blue/red mixture to create shadows and texture.  I sketched in the floorboards with my #992 Sand marker, and painted a few streaks with it, and #969 to look like woodgrain.  I also drew in the #992 on the edges of the star to create some shadows.  After touching the greenery with a damp brush, I added in some #565 Deep Blue to create some shadows on the tree, the chair and shadows on the floor.  A watery version of #177 Dark Jade was painted in as the wall colour.

My scene was cut out with the 5132 - Tag Stitched Dies, and I cut out coordinating rings using the tiny die that comes in the set.  I added the sentiment from 4514 - Snowman Shaker (retired!) and mounted it with 3D foam adhesive over a patterned tag.  I added a few enamel dots and tied on some organdy ribbon with Baker's Twine.  I love that none of my stamps were holiday themed, but together they made up a sweet Christmas scene!


Thursday, November 5, 2020

Ornate Window

  I've painted a Parisian window today for Art Impressions Watercolour Weekend, using the newly released 5364 - WC Ornate Window Set:

I inked up the large window image in my Tombow Dual Brush Marker #N57 Warm Grey 5, and stamped it onto my Canson XL Watercolour Paper.  Next I created my flower box from the bottom up, starting with the long ivy image from 5007 - WC Foliage Set 3, inked up in #346 Sea Green, stamped three times in varying lengths.  I used the two angled vines in 5126 - WC Foliage Set 4 coloured in #177 Dark Jade to create a spray of foliage, leaving room for my roses.  With #856 Chinese Red, I coloured up the trio of roses from 5258 - WC Flower Set 4, sometimes only colouring one or two, and tucked them amongst the top of my greenery.  Then to add some height and a pop of yellow, I used the tall floral stem in 4868 - WC Flower Set 2 coloured in #991 Light Ochre, again in various heights.  To fill in any white areas, I used the tip of the vine images in #126 Light Olive to brighten things up, and add a nice contrast to the darker greens I used.  I dabbed at my floral display sparingly with a damp brush, to liven up the colours a little, but I mostly wanted to retain the shape of my stamped images, so I left them largely alone.

After masking my window frame, I used the brick image from 5019 - WC Wall Texture Set, coloured in #N57, only loosely colouring the image so that the edges of the brick faded away, and had an irregular shape.  I picked up the colour from my palette, and painted in between the bricks to suggest a darker grout to my brick wall.  I softened all of the lines of the window frame, and painted in the decorative top with my #346 to echo the blue/green colour of the vines.  I painted more grey into the frame where the shadows are, adding some #565 Deep Blue around the edges of the window, and painted it onto the panes of glass, being careful to leave some white areas for highlights.  I went back in with the fine point of my N57 marker to redraw any lines that were fading.

To assemble my card, I cut my scene with the 5063 - Rectangle A2 Stitched Dies, matted it with black, and adhered it to my patterned card base with 3D foam adhesive.  The sentiment is from the Scrapbook.com Exclusive Daisy Set, stamped in Versafine Onyx Black.  And as a final touch, I added some white Nuvo Drops.


LinkWithin

Related Posts with Thumbnails