Friday, April 3, 2020

Exclusive Cherry Set for Watercolor Weekend

I am using the lovely Art Impressions Exclusive Cherry Set available from Scrapbook.com today!
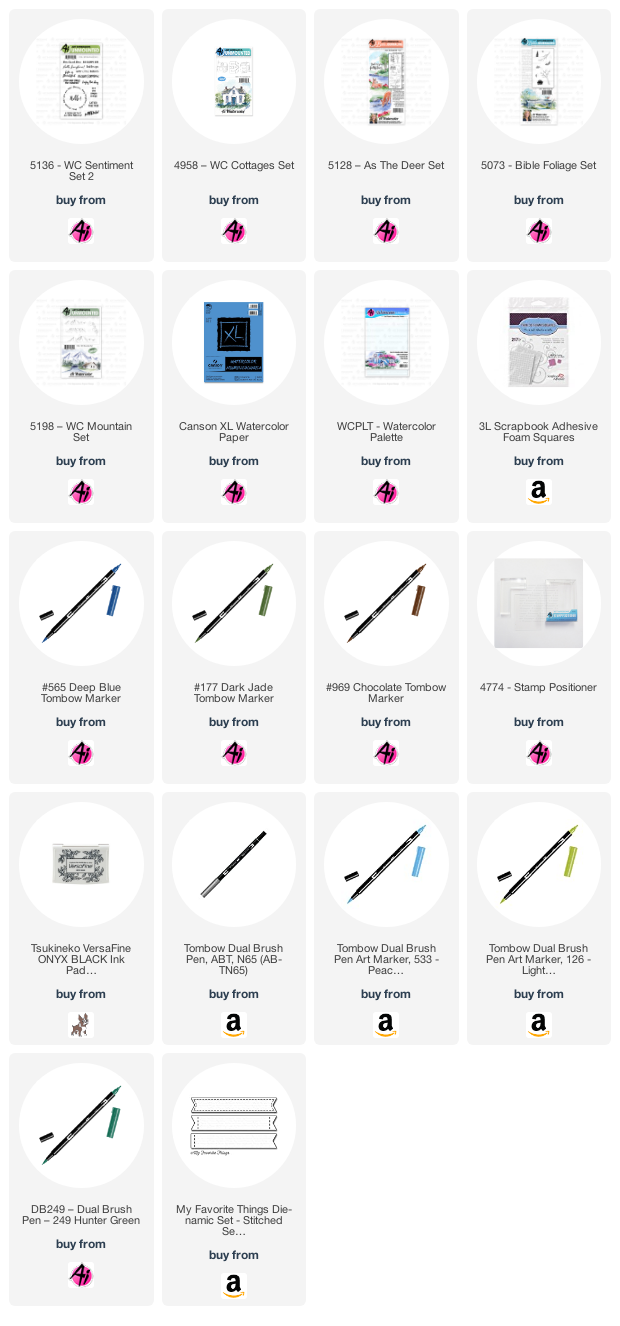
I began by stamping my image onto some smooth watercolour paper (the paint doesn't move around quite as much, but gave me a bit more control of where my colour went).  Using my Tombow Dual Brush Marker in #837 Wine Red, I painted the cherries in layers, starting with a fairly pale wash, leaving plenty of white areas to give them a shiny appearance.  After several layers of #837, I wanted the shadows to be darker still, so I went over the darkest areas with #899 Redwood - which is a dark brown colour.  I painted the branch and cherry stems with #992 Sand, then added touches of #991 Light Ochre for a little warmth.  
I kept in mind that the undersides of leaves are always paler, so I painted those areas with a wash of #126 Light Olive.  The rest of the leaves were painted with #177 Dark Jade, and I added several layers of the colour, keeping it concentrated along the veins.  I used a wash of #565 Deep Blue to paint in my sky (it's much stronger than it shows in the photo!), and then I used #565 to add shadows to the branch, leaves and cherries.  The sentiment is from the Daisy Exclusive Set, stamped in Onyx Black Versafine ink.  I die cut my scene, then matted in on green cardstock and adhered it onto my patterned paper background.


Thursday, April 2, 2020

Ai Bible Journaling Release - Week 2

Hello Ai fans!  The Art Impressions Watercolor Design Team are helping to launch the remaining Ai Bible Journaling stamp sets.  Today's project changed as I painted.  I am using the 5272 Blossom Border Set, and had intended to paint it down one side of my rectangle, and then do a large sentiment quote beside it - but somehow, I thought a cottage would work, and ended up painting an entire scene!
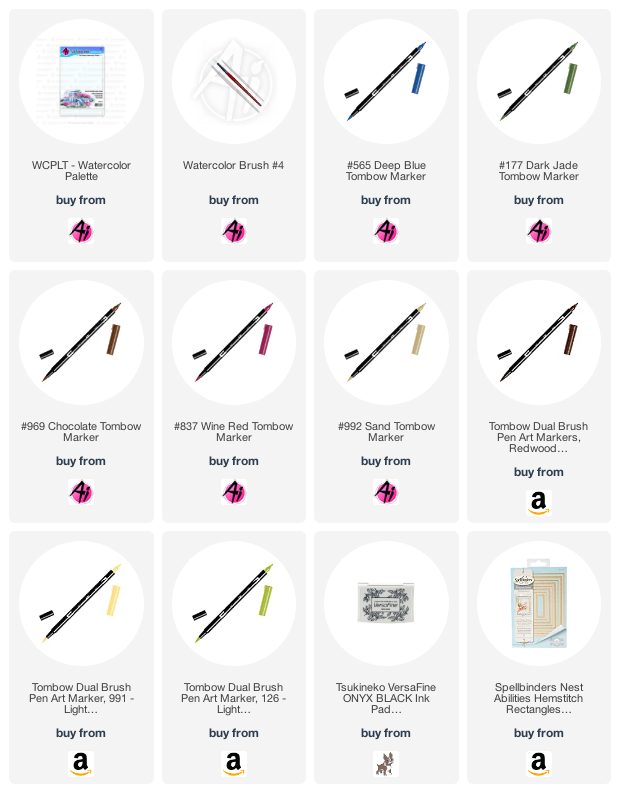
 I cut the largest 5063 Double Stitched Rectangle die from Canson XL Watercolor paper, and then set up my Blossom Border in my Misti.  This made it easy for me to colour each section of my image - so I started with my Tombow Dual Brush Marker in #533 Peacock on all of the buds and flowers.  After stamping I could easily see areas I'd missed, or wanted darker, and stamped them a second time.  Next I used #249 Hunter Green to colour the leaves in the same method.  Using my damp #1 paintbrush (the smallest brush was the best choice for such small areas), I pulled out the colour from all the sections.  I scribbled some #126 Light Olive onto my palette, and added it to the leaves to brighten them up a little, and darkened the flowers with a little #565 Deep Blue.  I pulled out the colours to paint a soft halo around the floral border - and this is when my scene idea started to stick in my mind!
 I coloured the cottage from 4958 - WC Cottages Set in #565, stamped it onto my Stamp Positioner, and then reinked it with #969 Chocolate - stamping it with the help of my positioner.  After softening the lines and pulling out the colour, I used #565 on the large mountains from 5198 - WC Mountain Set, again with my positioner.  Using colours on my palette mixed together, I painted in the suggestion of far-off hills, and used #177 Dark Jade to paint the lawn around the cottage.  I used the small rocks from 5128 - As The Deer Set with #N65 Cool Grey 5 to define the edge of the stream, and used the small grass from 5073 - Bible Foliage Set and #177 adding grass to my scene.  Picking up #565 off of my palette, I painted the door, added shadows to the cottage, and the suggestion of the stream.  A little #969 was used on the roof, and to create a dirt path.
I mounted it to my kraft card base after matting with a soft blue, and added the sentiment from 5136 - WC Sentiment Set 2.

Tuesday, March 31, 2020

Hedgehugs

Another quick card to send off to one of my daughter's friends this week:
All supplies are Lawn Fawn... with a little Doodlebug Baker's Twine.

Monday, March 30, 2020

Cards for the Front Lines

I am a proud aunt to a nephew who is a new doctor, and he loves giving out my doctor & nurse cards as thank you's, birthday cards for coworkers etc.  And I am happy to make them.  If you're home like me, with time on your hands - consider making a card to send to someone who's out there helping to keep us all safe & healthy.
 All of the images are from Art Impressions - the Proud Nurse Set, and the Get Well Set that you can find at Michaels or here on the Ai website.
 Papers are all older Close To My Heart ones that I have in my stash.
 Everything was coloured with Copic Markers on Cryogen cardstock,
 I managed to make 2 of each! 


Saturday, March 28, 2020

Watercolour Wednesday & a challenge

I am combining two challenges from the Papercrafter's Workshop from this week - to use a circle, and to use a bunny on your project.  I am also casing Kendra's amazing bunny wreath from the Watercolour Wednesday video on the Art Impressions blog:
 Kendra's was a little different - a smaller circle and fewer colours.  I put my own spin on it by creating more of a scene in the middle, and since my masking fluid was clogged up, I just went with a wreath of plain greenery.
I stitched my scene to some green cardstock with my sewing machine, and added a few white sequins.


Friday, March 27, 2020

How you bean?

I adore this Lawn Fawn stamp set... and just got a holiday filler add on set(Christmas cookies instead of jelly beans).  I made this for one of my daughter's friends who just got into law school:
This is one of the original Perfectly Plaid papers from Lawn Fawn, I'm almost finished the paper pad!  You can get your supplies for crafting from the Papercrafter's Workshop who will ship to you, or prep a curbside pickup:


Thursday, March 26, 2020

New Art Impressions Bible Journaling Stamps!

We are launching new Art Impressions Bible Journaling stamps today!  I had fun making three projects, showing the new 5270 Columns Set:
I started by die cutting the largest of the new Bookmark Dies out of Canson XL Watercolor Paper.  Using Tombow Dual Brush Marker #N55 Cool Grey 7, I coloured the urn from the set, and stamped it in the lower left corner, and again on scrap paper.  I cut out the scrap image, and masked the urn.  Using my Stamp Positioner, I coloured only the bottom 1/4 of the large column image in #N55, and stamped it slightly higher and to the right of the urn.  Next I coloured only the top half of the column, and because these are clear stamps, I was able to match it up to the other half of my image, creating a much smaller column.  I stamped a second urn on top.  After more masking, I stamped the full column image behind the others, also in #N55.  With a damp #1 paintbrush, I pulled out the colour from the lines, keeping it where the shadows would fall.
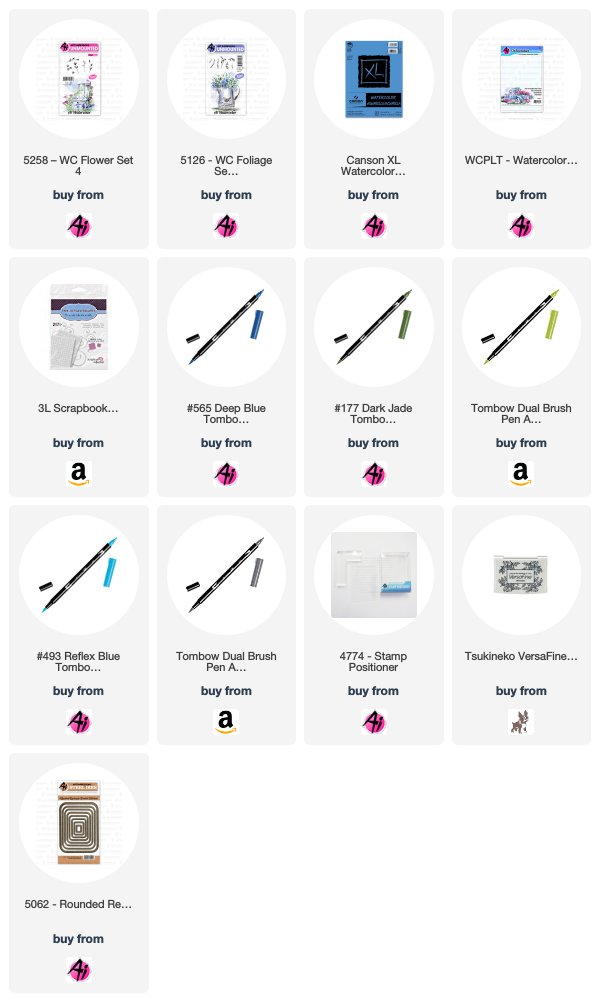
Using the two trailing greenery images from 5126 - WC Foliage Set 4, I stamped them with #177 Dark Jade, having them trail out from either side of the urns.  I used the rose image from 5258 - Flower Set 4 and stamped it several times in #493 Reflex Blue, and touched everything with my damp paintbrush to bring out the colours.  I added several of the feathery greenery image in #126 Light Olive to my pots.  I added a pale wash of #493 to the background.  The Bookmark Dies include several small images, so I diecut a feather and cross, and added them to my bookmark along with some Baker's Twine.
My second bookmark and card are painted in the same method, with the same supplies. *More details on my blog!

LinkWithin

Related Posts with Thumbnails