Not exactly a baby any more... she's 22 today! She is my number one card making fan, and is always willing to give me advice when I ask her about cardmaking dilemmas!! (Yes, there are cardmaking dilemmas.) So I always put just a little extra effort into her birthday cards:
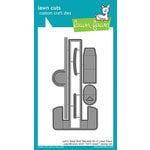
I got this adorable Lawn Fawn stamp set "Let's Toast" this summer, along with the Pop-up Add-On Die set which allows you to use the pull tab to make the pop tart or toast pop up out of the toaster. Genius! No one does it like Lawn Fawn. I started by colouring the images with my Copic markers, then die cut them out with the matching Let's Toast dies. Here is what it looks like before the tab is pulled up:
There are a few steps to creating and assembling the pop-up aspect, but they're not hard, and the card came together pretty quickly. I added a little Wink of Stella to the edges of the pop tarts and onto the little hearts. The inside sentiment is simply "Happy Birthday".
I love it! Pop tarts were an occasional treat around our house, so I think this will make Paige smile.
Sunday, October 27, 2019
Saturday, October 26, 2019
Smooches!
I don't often get the chance to make a birthday card for a two-year-old... so was thrilled to pull out my Chubby Chums set from Paper Smooches, and went to town stamping (and fussy cutting) cows:
I started by stamping and fussy cutting out the seven cows! I added a little colour with my Copics. Then I cut out a cloud stencil from scrap paper and ink blended some Broken China Distress Oxide ink lightly over it to create my cloudy sky. I used my Lawn Fawn Stitched Hillside dies to cut some green cardstock for the grass.
I glued down all of my herd, popping up a couple with 3D foam squares. I'm thinking that my little great nephew will know how to make a "moo" sound!
I started by stamping and fussy cutting out the seven cows! I added a little colour with my Copics. Then I cut out a cloud stencil from scrap paper and ink blended some Broken China Distress Oxide ink lightly over it to create my cloudy sky. I used my Lawn Fawn Stitched Hillside dies to cut some green cardstock for the grass.
I glued down all of my herd, popping up a couple with 3D foam squares. I'm thinking that my little great nephew will know how to make a "moo" sound!
Labels:
Chubby Chums,
Copic Markers,
Cow card,
Karen Day,
Paper Smooches
Thursday, October 17, 2019
Watercolor Weekend Scroll
I really love the Scroll Set that is part of the newest Bible Journaling release from Art Impressions. I pulled it out, intending to make some Christmas tags with it... but I spotted this sentiment from the Gates of Righteousness Set that fit perfectly in the medium sized scroll... which led me to using the gate image, and was supposed to be a fall scene, but has ended up looking a little more springy. So there we are.
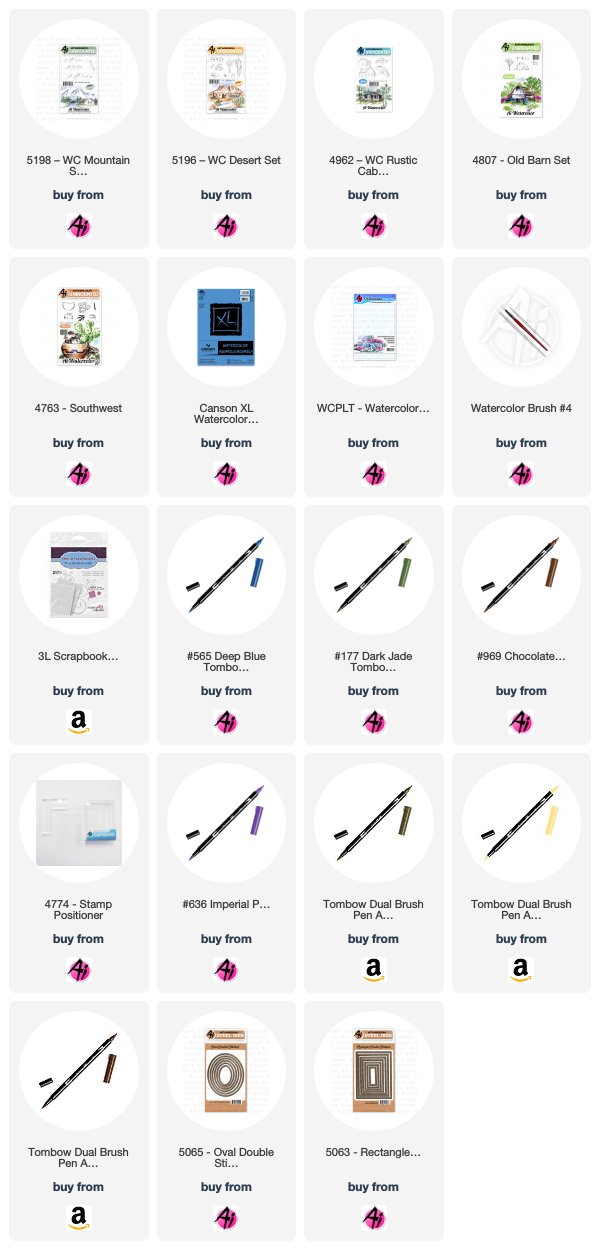
I began by cutting out my Canson XL watercolor paper with two sizes of the 5062 - Double Stitched Rounded Rectangle dies. I coloured the gate image from 5067 - Gates of Righteousness Set first in Tombow #565 Deep Blue, then #969 Chocolate overtop. I stamped it off on scrap paper, and then onto my panel. Since I knew that my card design would have the overlapping sentiment panel, the gate is positioned a little to the right of center. I added the clay pot image on the left side, slightly below the gate so that it would appear in front of it. With my damp #4 paintbrush, I softened the lines and pulled out the colour into the shadowed areas, as I wanted the gate to be white. I did the same stamping method with the medium scroll image from the 5202 Scroll Set on the smaller rectangle. I used a pencil to faintly sketch in the overlapping hillsides, having them meet right in the middle of the gate, as I wanted a sunrise to be centered there, and sketched in the narrow path also.
Using the vine image from 5073 - Bible Foliage Set, and #158 Dark Olive, I stamped the vine so that it wrapped up and around the gate, and spilled over the top, sometimes colouring only part of the image if I wanted a smaller sprig of greenery. I filled in a few areas with the small leaf image from 5074 - Bible Flower Set, and used this to add foliage to the clay pot. The spiky trio of blooms from the same set was coloured with #946 Gold Ochre and stamped in the pot and around the vine to created the floral clusters. I used the Mini Foxglove stamp from Flower Set 4052 coloured in #565 to stamp the longer stems in the clay pot. I picked up #947 Burnt Sienna from my palette, and painted it onto the pot, adding several layers to the edges to deepen the colour. Using the shrubbery image from the Bible Foliage set, I coloured it in #249 Hunter Green, and stamped it on either side of the gate - wanting to create a bit of a hedge. I touched all of the flowers and foliage with my damp brush, then picked up #158 from my palette and painted in the hillsides and grassy foreground. I used it with the small grass image from the Bible Foliage set to add tufts of grass in and around the cobblestones. The path was painted with #992 Sand. I used #565 to add shadows between the slats of the gate, and as texture on the stones. With my scene pretty much complete, I used my fine point Twintone marker in 42 Navy to add definition and shadows to the stones, bushes and gate. I also used the finer point of my #946 to add darker yellow shades to the flowers. I used the #946 to paint the sun and it's glow, and added #565 to the sky.
My scroll was looking a little grey and gloomy next to my image, so I added in touches of the #946 Gold Ochre, which really brightened the scroll, and I added a little of the 565 and 158 around it to mimic the grass & sky - I quite like the effect.
Both images were given an 1/8" soft grey matt, and glued onto a subtly patterned background paper. The sentiment is adhered with pop dots, and positioned about 3/8" above the top edge of the 5 1/2" square card. Be sure to check out the Ai blog on Saturday to see what Dot & Tricia are sharing for the Watercolor Weekend post.
Saturday, October 12, 2019
Golfer Birthday card
I needed a birthday card for my brother-in-law who is enjoying hitting the links during his retirement, so I pulled out Par-Tee Golfers Set from Art Impressions and my Lawn Fawn Perfectly Plaid Fall papers were still on my craft desk, so here's what I came up with:
I stitched around the image with my sewing machine, die cut the sentiment, and mounted them both with pop dots.
Happy stamping!
I stitched around the image with my sewing machine, die cut the sentiment, and mounted them both with pop dots.
Happy stamping!
Sunday, October 6, 2019
Birthday Love!
I took a wee break from holiday cards to use a sketch from Sandy Allnock - using this fun tennis gal from Art Impressions. I used the colours from these bright fall Lawn Fawn plaids as my inspiration:
I used my sewing machine to stitch around my white panels, and the image & sentiment are both adhered with pop dots for a little added dimension. It was great pulling out my Copics for a change!
Here is Sandy's sketch that I used:
I used my sewing machine to stitch around my white panels, and the image & sentiment are both adhered with pop dots for a little added dimension. It was great pulling out my Copics for a change!
Here is Sandy's sketch that I used:
Saturday, October 5, 2019
Advanced Class
A few days ago I shared my beginner's watercolour class using the Art Impressions line of stamps, so here is the advanced class that I'll be teaching at the Papercrafter's Workshop in Stouffville on Oct 15th & 20th:
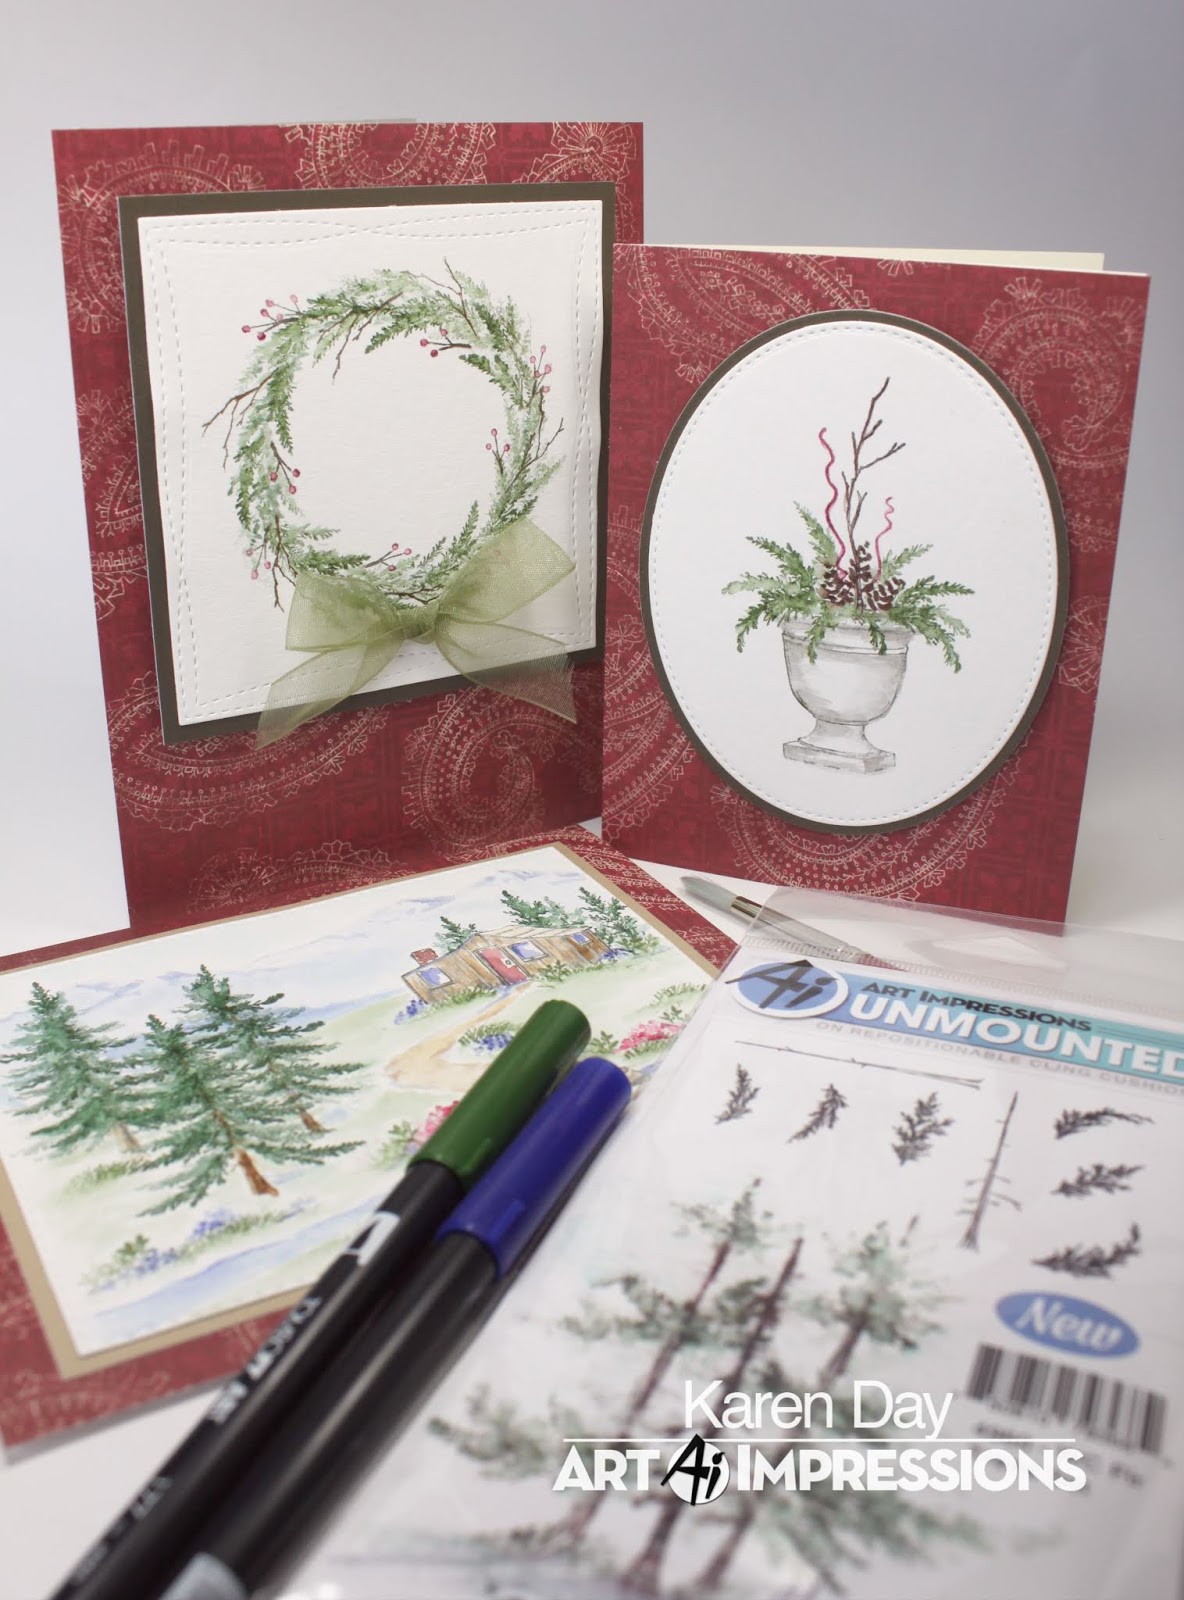
The class is centered around the WC Fir Tree set (which you get in the class), and we will be using it to create two holiday cards featuring a wreath and a festive urn:
The class is being held on the evening of Oct. 15th, or on Sunday afternoon - Oct. 20th, so that you can take the beginner class in the morning, and then the advanced class that afternoon if you like! You can get all the details here on the Papercrafter's Workshop website (look around and shop while you're there!). Hope you can join us.
The class is centered around the WC Fir Tree set (which you get in the class), and we will be using it to create two holiday cards featuring a wreath and a festive urn:
The stamp set comes with two tree trunks and six differently shaped branches... and while it's supposed to be for trees, it makes excellent greenery just like you would decorate with for the holidays!
And as a bonus project, we will be using the stamps as they were intended, to create a scene with several fir trees in it. We'll also be talking about scene building with your stamps, drawing in backgrounds and a lot of discussion about shading & shadows!The class is being held on the evening of Oct. 15th, or on Sunday afternoon - Oct. 20th, so that you can take the beginner class in the morning, and then the advanced class that afternoon if you like! You can get all the details here on the Papercrafter's Workshop website (look around and shop while you're there!). Hope you can join us.
Thursday, October 3, 2019
A Southwestern Watercolor Weekend
I am using two of the newest sets in the Art Impressions Watercolor line this week to create a couple of Southwestern scenes:
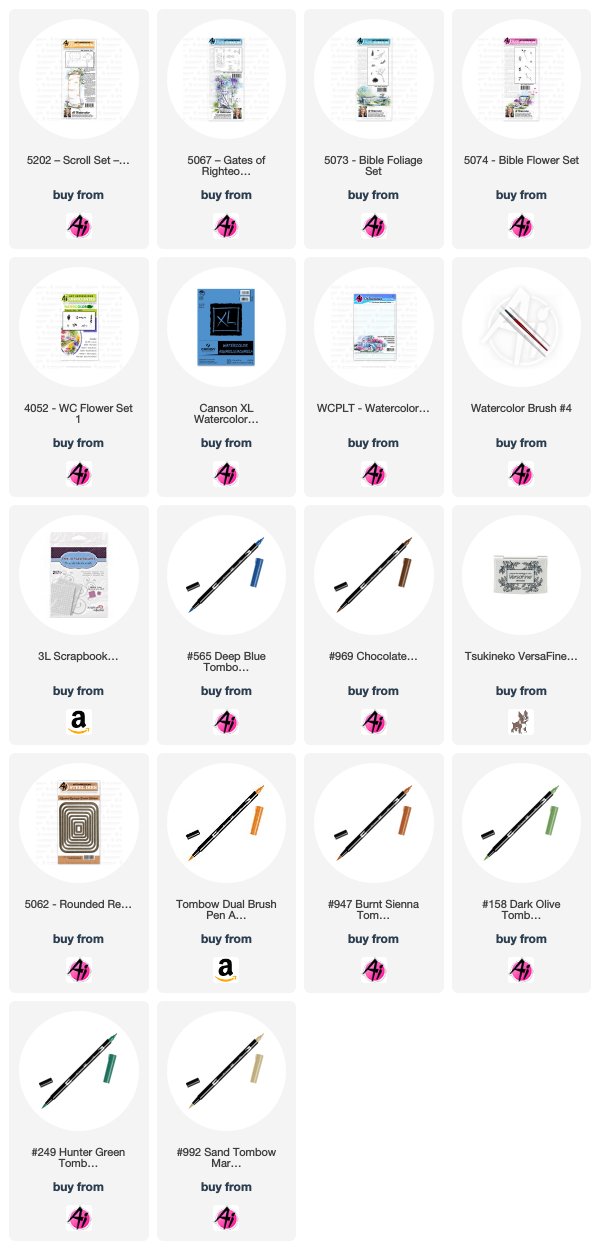
I am just going to go through the steps to create my oval image today, and I began by cutting out the 5065 Double Stitched Oval Die from my Canson XL Watercolor paper. I chose the large flat-topped mountain image from 5198 WC Mountain Set, coloured it with my #969 Chocolate Tombow Dual Brush marker, and stamped it slightly right of center, in the top third of my oval. Since I wanted this to look like more of a ranch scene, I chose one of the buildings from 4962 WC Rustic Cabins Set. I coloured it in #565 Deep Blue, stamped it off, and coloured #969 over top of it before stamping onto my paper. With #177 Dark Jade, I coloured and stamped two of the cacti from 5196 WC Desert Set in the foreground, masking each one as I went along. Then I chose the fence from 4807 Old Barn Mini Set, and used my stamp positioner to place it where I wanted, stamping it in #969 over the masked cacti. I added the small rock image from the Desert Set in and around the cabin, fence and cacti, as well as the larger rock image from 4763 Southwest set, all in #969.
With all of my images in place, I used my damp #4 paintbrush to pull out the colour in the mountains, keeping the crevices darkest, and spreading the brown down the mountain. I did the same to the fence and rocks, spreading the brown pigment onto the ground, and creating shadows. For the cabin, I used #N57 Warm Grey 5 to add a weathered wood look to the walls, using my #1 paintbrush to also paint the suggestion of individual boards. I picked up #899 Redwood from my palette, and added a red/brown shade to the door and chimney. I pulled the green out of the cacti with my brush, keeping the top edges of them light or white as a highlighted area.
Now I scribbled some #565 Deep Blue onto my palette, using it to paint in the sky, add shadows to the mountain, cabin, fence and rocks, keeping in mind that the sun was setting on the right side of my image. I used the fine point of my #565 marker to add shadow lines directly to both cacti, and on a few other areas of my scene. I also used the fine point of #991 Light Ochre to draw small yellow lines on the top edges of the cacti, to add a sunny glow to the highlighted areas. Lastly, I picked up #636 Imperial Purple from my palette, adding touches of colour to the sky, mountains and shadows, which really helped the scenes from becoming too 'brown'. I matted my images on some warm brown cardstock, and adhered them to my patterned paper with pop dots.
There will be another Watercolor Weekend post on the Art Impressions blog on Saturday, so be sure to check it out to see what Tricia and Dot have created this week!
Subscribe to:
Posts (Atom)