Hello Ai Watercolour fans!
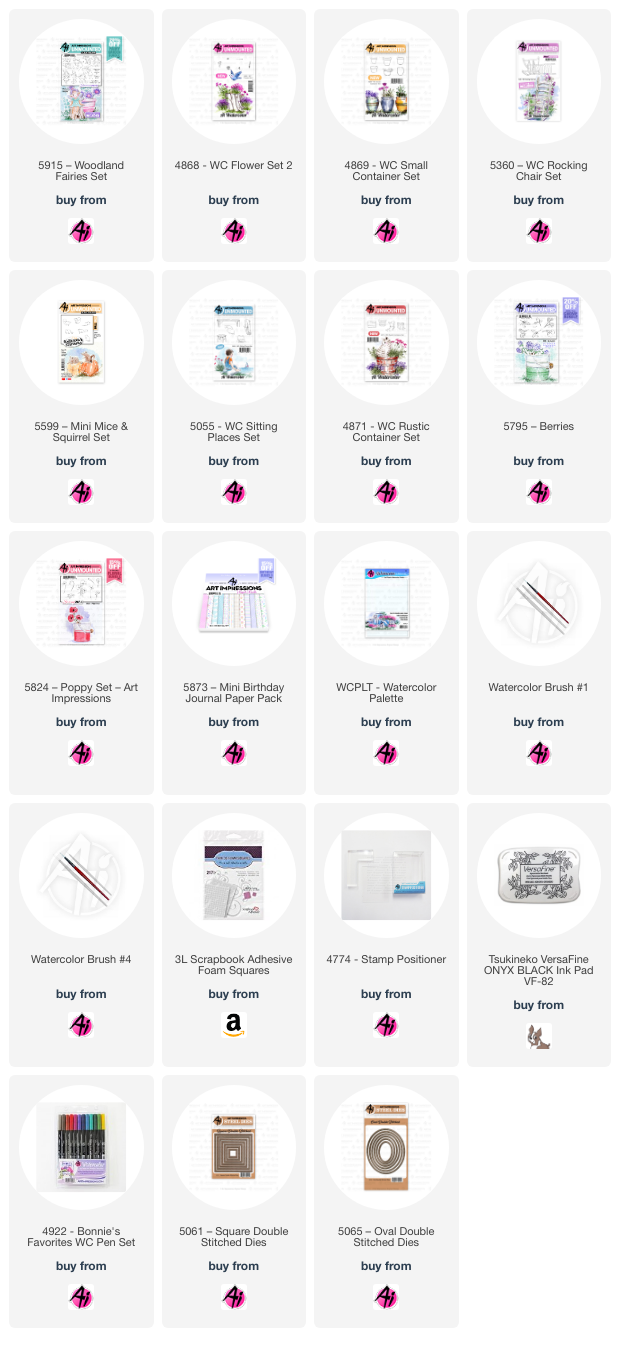
I have two cards today, both featuring the recently released 5915 - Woodland Fairies Set.
.jpg)
I really love this sweet little sitting fairy, so I stamped her onto my Bristol Smooth Cardstock using Tombow #N57, then covered her with a mask and stamped the stump from 4871 - WC Rustic Container Set in #979/565, to have her perched upon it. I added several of the rocks from 5055 - WC Sitting Places Set on either side of the stump, again using #N57, and added one of the squirrels from 5599 - Mini Mice & Squirrel Set in front of them. Using my stamp positioner, I added the berries from 5795 - Berries Set in #603/565/177 tucked on either side, as well as the poppies and leaves from 5824 - Poppy Set in #743/177/126. I touched them with a damp brush, and painted in the corresponding colours to darken them up. The squirrel was painted with a mix of #947/969 and shaded with #565. To add depth to the rocks, I added shaded areas using #N57/565/969. The grass was hand drawn in, and the two shades of green were used as a wash to suggest a grassy floor.
.jpg)
For the fairy, her skin tone is #850, her hair is shades of #993/969, and her dress is done with layers of #743. #493 was painted into her wings, and as the sky. On the tree stump are layers of #969/947/992, keeping the darkest areas in the crevices, and the lighter areas are where the sun would hit. As a final touch - look closely, and you'll see that I painted some sparkles around her using the Bleed-proof white paint to suggest a little magic! I die cut the image with 5065 - Oval Double Stitched Dies, and mounted it onto some dotted paper from 5873 - Mini Birthday PP. The sentiment is from the Woodland Fairies Set.
.jpg)
My second card is featuring two sleepy fairies!
.jpg)
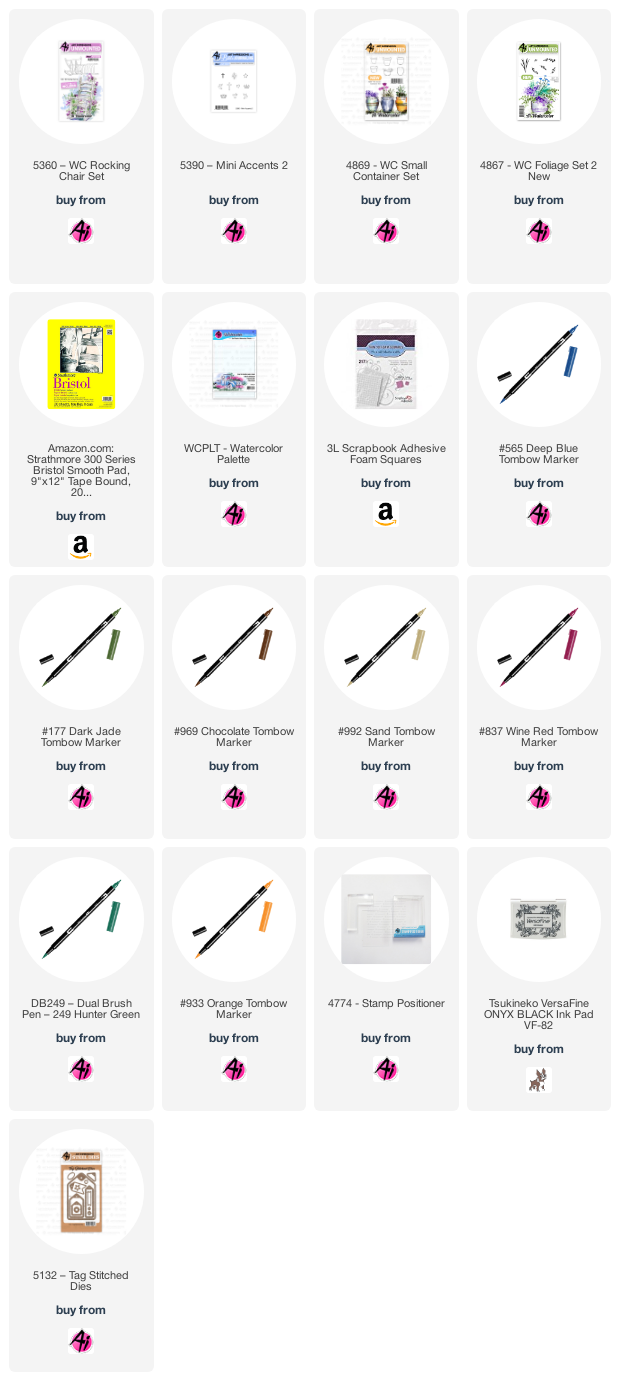
I began by stamping the sitting fairy onto my Bristol Smooth Cardstock using #N57, and then stamped her on scrap paper which I cut out to create a mask. With the mask in place, I used my stamp positioner to add the chair from 5360 - WC Rocking Chair Set in #N57, then added the fairy on the floor beside it. I wanted to add a little extra colour to my scene, so stamped a pot from 4869 - WC Small Container Set using #N57, and painted it in with tones of #947. Using the tall flowers and circle flowers from 4868 - WC Flower Set 2, I added them to the pot in #743/603/565/177 and the small green was done with #126.
.jpg)
The fairies' skin tones were painted with #850, hair is #879 and #993/947. Their outfits are #743/603/565. A pale shade of #493 was added to their wings, and a darker shade was used to paint in the chair. #565 was added to the chair to create all the shadowy areas, and as the background. A wash of #N57 was sporadically painted on the floor around and under the images. The image was cut out using 5061 - Square Double Stitched Dies, and mounted on some dotted paper from 5873 - Mini Birthday PP. I added a few irridescent blue gems for some sparkle.
.jpg)
Happy painting everyone!
.jpg)