Tuesday, June 25, 2024

Final Oopsie Daisy

Here is the project that I showed a test run for a few days ago...  I have a nephew getting married soon, and he and his new wife are very supportive of my cardmaking hobby - so I've made them a set of 10 thank you cards, just because.

I worked the kinks out with my practise card, making sure that the layout worked, and then I adjusted my colour combo.  I used about 10 different Distress Oxide inks, on all my different pieces, and did the flower centers with Copic markers.

Stamp sets are all from The Greetery: Oopsie Daisy, Petite Eucalyptus and Seed Catalogue Background.  The Fit to be Tied die is from them also.  The sentiment is an old CTMH set.


I distressed the edges of the card front so that they're a little curled and frayed, which I thought suited the look.  I debated on adding a little blind, but didn't end up going there.


Monday, June 24, 2024

Floral Spray 3.0

Last one for now, I promise!  Again, I decided to make one more card using all of the diecut pieces that I had on my craft desk.  Here is the third card I've made using Floral Spray and Rectangular Postage dies from Spellbinders:

I've added a Pinkfresh Studio Beautiful sentiment die, cut from metallic gold cardstock, and mounted the postage die cut onto the coordinating periwinkle blue cardstock.


Sunday, June 23, 2024

Floral Spray 2.0

 A coordinating card to the one I posted yesterday - scroll to the end to see them both together.  I love this colour combo so much, and had a bunch of leftover diecuts, so I kept going:

I'm again using the Floral Spray and Rectangular Postage Die sets from Spellbinders, along with one of their Betterpress sentiments.  Pretty sure this Postage die is my newest favourite basic die!


All of the Spellbinders products can be found at the Papercrafter's Workshop - check out their amazing online store!


Saturday, June 22, 2024

Floral Spray

 This pretty die set was a "To Karen, Love Karen" present last weekend, after purging/selling off a ton of stuff from my craft room.  I know, it means that I rushed out and bought more product...  But I'm so happy with it!  This is the Floral Spray die set from Spellbinders:

I used a layout from one of the Spellbinders designers, as I loved the look, and used the folk-art colour combination that I found on a card at Indigo - so I pulled out cardstock from my stash that was similar.

This was a lot of die cutting!  But I don't mind - the end result is totally worth it, and when I do this much cutting, I do multiples, so I have plenty of pieces to put several more cards together.

The postage die is also from Spellbinders, and the sentiment is an older Memory Box die that I cut in metallic gold cardstock - I haven't glued it down, as I will likely try to find something different, like "hello".

And here is the "crafter-math" left on my worktable after doing a project like this!!

Both of the Spellbinders dies can be found at the Papercrafter's Workshop:


Thursday, June 20, 2024

Golf Shop Matchbook

 Every once in a while, it's fun to create something tiny.  Art Impressions recently came out with four new Matchbook sets, so I've pulled out 5907 - Golf Shop MB and some older Doodlebug Under the Sea papers from my stash:

There are two basic die sets that you need: 5317 - MB Template Die, that creates the walls/windows of your scene, and 5318 - MB Envelope Die which creates the envelope that the Matchbook folds up into.

The envelope is so quick to create - you just run it through your die cutting machine, and that's it!  After folding the Matchbook up flat, it slips into the envelope, and you just insert the flap in the slot to keep it closed.  I love using coordinating patterned papers to make a bright and fun little package.
All of the Matchbook sets include pieces with flaps to glue onto the side walls, something for the back, and a little sentiment that stands up.  My favourite part of these are those adorable little windows (so well designed!)

Check out www.artimpressions.com to see ALL the different Matchbook sets they have to offer.


Saturday, June 15, 2024

Happy Father's Day

Happy Father's Day to all the Fathers out there!  I put this together for my husband tonight, using old and new products, and mixing all kinds of companies together:

I purchased the Buffalo plaid press plate and Postage dies today at the Papercrafter's Workshop - both are Spellbinders.  I pressed the plate onto regular red cardstock, and mounted it and the black postage diecut on a kraft cardstock base.

I cut out the Verve leafy dies in a bright green, the inked them with Distress ink.  The Toadstools (from The Greetery) were also cut in kraft cardstock, and inked with multiple Distress inks.  The sentiment is an old CTMH set, and both it and the pink mushroom were popped up with 3D foam adhesive.


Friday, June 14, 2024

Oopsie Daisy

This is the prototype for a larger project that I'm working on - similar but not quite the same.  I'm happy with the results, though!  Other than the sentiment, all products are from The Greetery:

The background is the Seed Catalogue Background, stamped in Speckled Egg Distress Oxide Ink.

The flowers are from Oopsie Daisy, Petite Eucalyptus and Fleur Impressions.  The bow is the Fit to be Tied Die.

Sentiment is from It's Your Day Sentiments press plate from Spellbinders.


Saturday, June 8, 2024

Ink Blended Heart

 I made a couple of ink blended backgrounds recently, intending to use them with my Betterpress images.  Here is the first one that I made by creating my own heart stencil, then using Worn Lipstick and Wild Honey Distress Oxide inks to create a pretty blend.

The floral image is the one that comes with the Betterpress machine, and I pressed it using Betterpress black ink, on a Spellbinders Porcelain Cotton Card panel.

The sentiment is also Betterpress - the It's Your Day Sentiment set.  A few black jewels from Pinkfresh Studio finished off my card.


Thursday, June 6, 2024

New Armfuls!

 Art Impressions has just released a sweet new line called Armfuls.  I have a quick and easy card that I made using 5904 - So Sweet Armful Set:

The set includes two main images - the elephant that I've used, and a similar bear.  Plus two mini images that they can hold in their arms - the heart that I've used, and a cupcake.  The stamps come with coordinating dies, that cut out both images, and also cut a slit just above the arms, so that I could insert the heart (or cupcake if I'd wanted!).

I've coloured my images with Copic markers, and then used the Ai 5835 - Mini Paper Pack, along with the 5063 - A2 Rectangle Double Stitched Dies to cut out the heart paper, and my sentiment (which is also included in the set!).  There are two different Armful sets available now on the Ai website.


Wednesday, June 5, 2024

Hoopla & Embroidered Blooms

Today I'm using pretty much the entire Embroidered Blooms set from The Greetery, along with the Hoopla Oval die that I got to use it with.  I was looking for a pretty colour combo, and somehow decided to use patterned paper, so I found a 6" paper pad that has been in my stash for years - Cool Summer by Carta Bella.  It made for a bunch of pretty die cuts, and a fun mix of flowers.

I cut the Hoopla die out of some tan cardstock, and used Vintage Photo and Weathered Wood Distress Oxide inks to darken and grunge it up a little, then I cut the bits out of gold and silver cardstock, and the center out of cream - to be the 'fabric' base. 

After cutting everything, I inked them up a little to add some shading, and then adhered everything down.  I used the It's Your Day Betterpress sentiment with it's matching die, and created a brown banner to layer it on so that it would stand out more from the busy background.  Some Wink of Stella was added to the flower centers, and a few gold pearls were tucked around the hoop.

Happy to have two of these in my stash!

Tuesday, June 4, 2024

Embroidered Blooms

I have been patiently waiting to pull out my Embroidered Blooms die set from The Greetery, while I finished up other projects.  The large peach flower was simply my test cut of the large die, and I ended up using it in a couple of cards.  All of the floral bits are from the die set, and the sentiment is It's Your Day Betterpress plate from Spellbinders.

The patterned paper is the older "Persimmon" by Basic Grey - the muted tones are not my norm, but I really love the look.

I die cut out the center frame, popped it up with 3D foam adhesive, and matted it with some dull gold cardstock.  A few gold pearls finished it off.

Sunday, June 2, 2024

Gnomes & a Seaside Scene

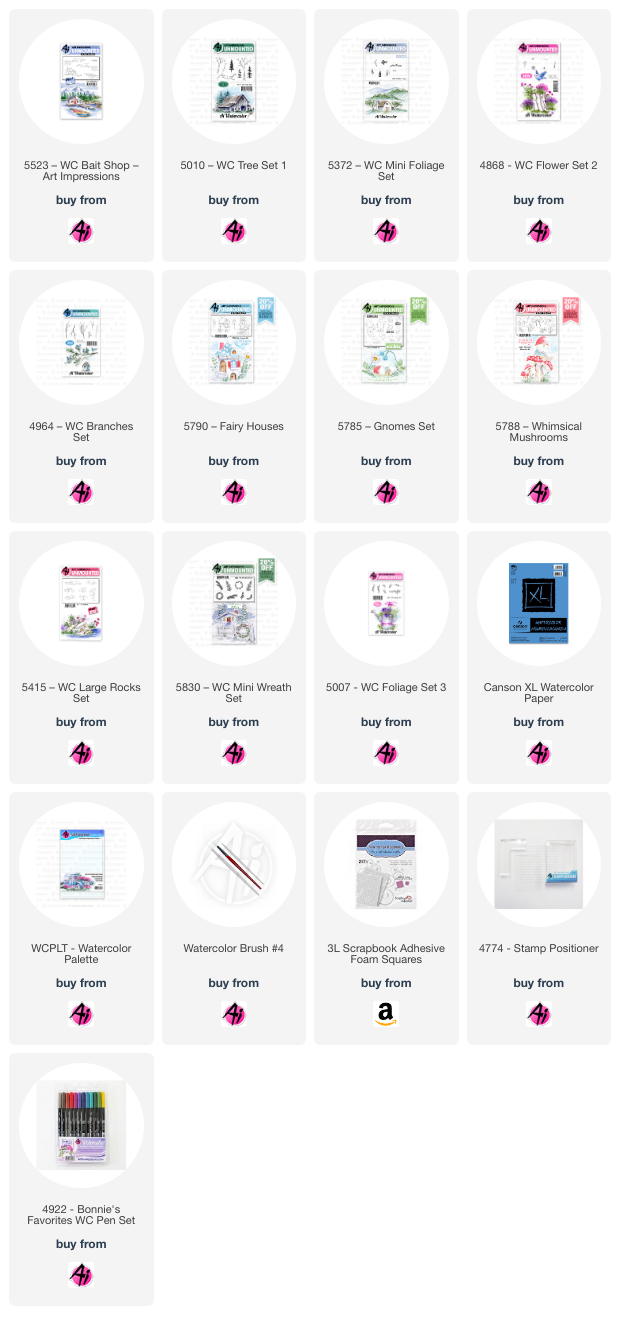
 Hello Ai Watercolour fans!


I'm kicking off our June Watercolour Weekends with a couple of outdoor scenes - my first one is using everyone's favourite gnomes:


I wanted their home to be the focus, so I began by stamping one of the houses from 5790 - Fairy Houses Set on my Canson XL Watercolour paper using Tombows #969/565 (I use this marker combo for all of my main images!).  After masking the house, two of the smaller mushrooms from 5788 - Whimsical Mushroom Set were stamped on either side, using my stamp positioner.  I added a gnome from 5785 - Gnomes Set on either side of the house, positioning them a little lower on my page so that they appeared to be out in front of the house.  The sitting gnome was also masked, and I used my positioner to add the rock cluster from 5415 - WC Rocks Set.


With the house mask still in place, I also masked the mushrooms, then used my positioner to add in the ferns from 5830 - WC Mini Wreath Set, colouring the tops of them with #126, and fading it into #346 on their lower half.  I filled in under the mushrooms with the grasses from 5007 - WC Foliage Set 3 in #177.  After pulling the colour from the lines with a damp brush, I began adding colour to the images.  The house was painted with #991/993, with a mix of #565/969 added to the roof, and on the hat and coat of the gnomes.  Brown shades of #969/992 were painted on the stump and as wood accents on the house, keeping the shades darker in the crevices, and also used on their boots.  I made the suggestion of a pathway by painting a pale trail of #992, and put some grey shadows to mark the edges - then painted in the grass with a wash of #126.  The mushrooms and red clothes were painted with #856, and finally #565 was painted in as the sky, and used as shadows in the windows, and around all of the images.  
I used a decorative die to frame my scene, then mounted it to my kraft cardstock base with 3D foam adhesive.


For my second card, I knew that I wanted to paint a circular scene, so I traced my die onto my paper as a guideline, and painted within it.  


All of my images are stamped in #969/565 - and I began with 5523 - WC Bait Shop, positioning it slightly to the left, then used my stamp positioner to add the cliffs on both the right and left sides of it.  The two sets of boats from the set were added to create a bit of a harbour scene.  I used trees from 5010 - WC Tree Set 1 and 5372 - WC Mini Foliage, stamping them in #177/249, varying their heights to create a forest background, then used #177 to add the grassy hillside.  The cliff edges were painted in shades of #992/969/947, making the crevices darker, and the upper edges lighter.  I used #N57 to paint in the roof of the Bait Shop, and the greying dock, as well as on some of the rocks.  The grey was also used to add a few darker clouds along the horizon.  


For the water, I used #565 to paint a darker line around the cliffs, under the dock and around the boats, then painted in the rest of the water with #493 - and used it in the sky as well.  I wanted a bright red door, so it was painted with #856.  The boats are done in #249/565/991/856.  Finally, I created a grassy foreground, stamping the flowers from 4868 - WC Flower Set 2 in #177/856, and drew in some grass directly with the 177 marker.  A couple of the 4964 - WC Branches Set were stamped in with #969.  Shadows were added to the windows, cliffs, boats and trees using #565.


I cut out my scene with the circle die, and matted it in blue, then adhered it to my card base with 3D foam adhesive.  I pulled out my sewing machine to add a little zigzag stitching to my patterned background.  This would make a great masculine card for Father's Day!

LinkWithin

Related Posts with Thumbnails