I've had the idea for the dress card floating around in my head for awhile, ever since I created my "Love" card a few months ago (scroll down to the end of my post, and you'll see my first effort in this style of stamping). I wanted to use the Ai floral & foliage stamps to create a sort of life-like embroidery look, and kept going to create a grouping of wedding themed items.
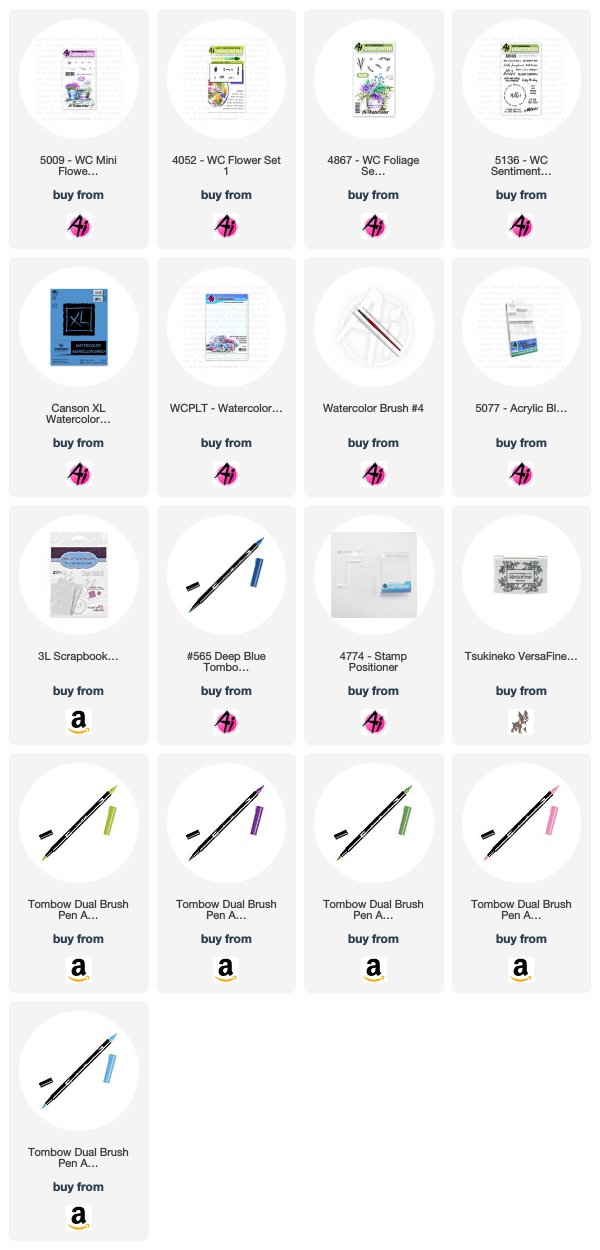
I sketched the outline of my dress in pencil, directly onto my watercolor paper, and indicated where I wanted the higher points around the hemline to be. Using the Daisy Bunch in Flower Set 4052 and my #703 Pink Rose marker I stamped it three times without reinking, multiple times around the hem, and again on the neckline. I repeated this with the tiny cluster from 5009 WC Mini Flower Set and #676 Royal Purple. For my last flower, I used the Mini Foxglove from Flower Set 4052 and #533 Peacock Blue, stamping it three times in a row to create the flower stalk.
With my #126 Light Olive marker, I coloured just the tip of both of the trailing ivy stamps in 4876 WC Foliage Set 2 New to fill in the greenery, making sure to change directions to keep it looking random. I used my damp #4 paintbrush to dab at each of the flowers & foliage to soften each image and enliven the colours. It became apparent where the holes were on my 'embroidery', so I used the small green from 4876 WC Foliage Set 2 and #158 Dark Olive to fill in those white spaces. I left these as is, not using my paintbrush, as it defined the shape of the foliage a bit more. I traced the pencil outline of the dress with #533, and used this colour with my brush to add some shading. I picked up #565 Deep Blue from my palette and painted a background wash around the dress. Finally, I went in with all of the markers directly onto the image to add in a few deeper colours. The sentiment is from WC Sentiment Set 2, stamped in Versafine Onyx Black. I used my sewing machine to stitch the panel to some coordinating cardstock and adhered it to my base with pop dots, then glued on some irridescent sequins.
The colours and stamps are all the same for my other two projects. For this card, I sketched in the cake and the table, just adding foliage to each layer. I sketched in a heart as my cake topper, and painted in a few ripples on the tablecloth. I stamped this sentiment separately, matting and stitching around it, and adhered it with pop dots going off the right edge.
As a fun little add on, I painted a bouquet and drew in a ribbon bow underneath it to use as a placecard:
Once you own a few of the basic flower & foliage sets (or really just one of each!) you have everything you need to create your own projects like these. Head on over to the Ai blog this Saturday to see what the rest of the Watercolor Guest Design Team have to share.
Here was my first cluster-stamped project:


3 comments:
Wow these are absolutely STUNNING! Such beautiful flowers around your amazing sketches - totally thought they were stamps at first. What a great idea. And the placecard is an awesome finishing touch, too. What a perfect wedding set you have created :)
WOW, WOW, WOW, shall I go on. These are just stunning!!
Wow! Stunning magical art! Love it all!
Post a Comment