
I am on the Art Impressions blog today for their Watercolour Weekend post!

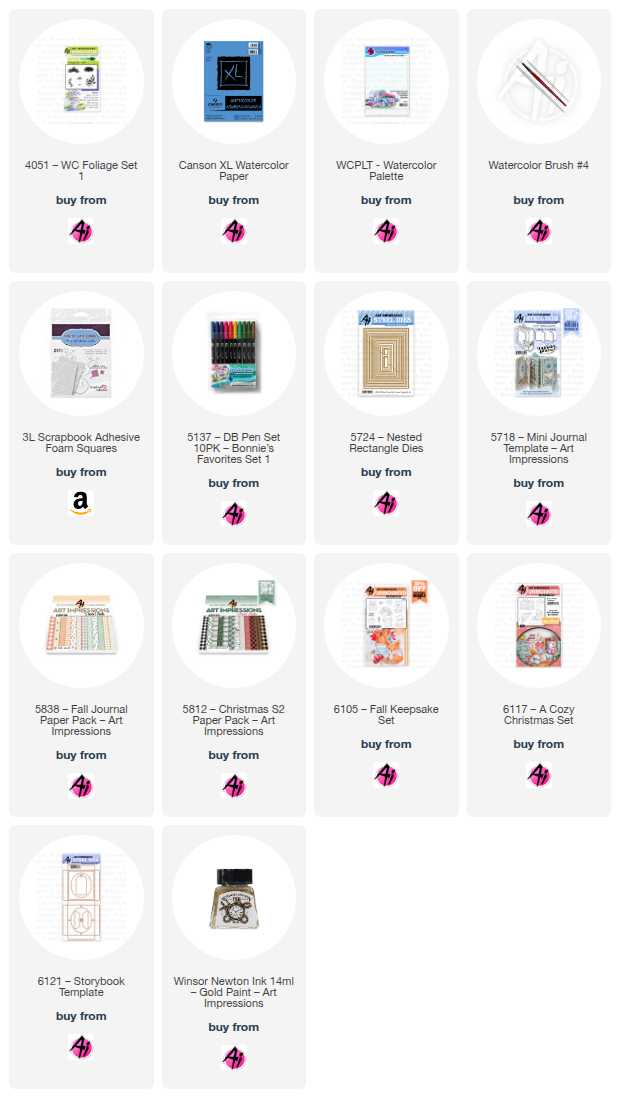
I have a couple of projects featuring some of the newly released sets today! First is a card using the 6105 - Fall Keepsake Set:


I wanted the leaves to be multicoloured, so did sections of #993/947/856/126/346/977, blending them together. I added #346/126/977 to the stems of the pumpkins, and the stem of the toadstool, and painted shades of #856 on the top of it, touching the dots with a little 346. I used the N55 to add shadows to the fox's white areas, and finally painted a wash of #126/346 for the grass, and stamped the small grass from 4051 - Foliage Set 1 in #126, and then I used the fine point of the 346 marker directly on the paper to add a few darker lines of grass. A wash of #493 was painted in as the sky. I used my Grey Twintone marker to colour in the eyes/features and redefine any areas that needed it.

My second project is featuring the new 6117 - A Cozy Christmas Set, that creates a sweet little ornament!

I have a lot of photos for you today! I tried to capture a few steps in the assembly process, but I highly recommend that you watch the Ai video by Kim to see how to assemble it.

In addition to the stamp set, you need to purchase the 6121 - Storybook Template die. The die cuts out the box (at the top) and you cut three of the inner frame piece. The images were stamped on Mixed Media paper with #N55, and painted in with #349/993/493/837/N55, and a few touches of gold ink. Images were cut out using the coordinating dies that are included with the stamps.

I cut a piece of patterned paper from the 5838 - Fall Paper Pack at 3 1/8" x 2 5/8" to act as the background, and glued it to the back of the box. I fussy cut the fireplace out, and glued it down so that it would appear behind all the other pieces. Each of the stamped images is drawn along the curve of the oval opening, so each piece was die cut and glued under one of the frames (there is a tab where you can add the glue, see the photo below from the backside).

Each of the frames got pieces of 3D foam adhesive attached to the corners and in a few other spots, and then each of them is layered on top of each other starting with the tree.


After the tree comes the Mama bunny, and finally the baby bunny on the top layer. *I used 2mm thick adhesive, but there is plenty of room to use a thicker adhesive if you prefer. I'm happy with how this looks, though. When you adhere the layers, you want to make sure that the openings are stacked directly over each other.

The Storybook die includes a tab piece which I cut out of some woodgrain paper from the 5812 - Christmas S2 Paper Pack. I wanted the woodgrain on the outside of the box, so I used the inner frame piece to cut it out, then attached it to the front of the box. I added pieces to cover the sides, top and bottom also. The tab is adhered to the top back of the box after it's assembled. Glue was added behind each of the tabs, the box was folded and attached to the other side, enclosing the scene.


No comments:
Post a Comment