

Stamp sets are Snow Flurries, Simple Memories & Just for the Holidays; Cardstock is Gypsy, Spring Iris & White Daisy; Inks are Gypsy, Cotton Candy, Lilac Mist & Spring Iris; Lilac Mist & Pink Carnation Organdy & Baby Pink Gingham ribbons; Snowflake buttons - all CTMH; Clear embossing powder; Stickles.

 I filled in the empty spaces with a small snowflake in gypsy, and a tiny one in cotton candy.
 Then using Versamark Ink, I stamped a fairly solid, large snowflake image all over the sheet of paper, and clear embossed them.
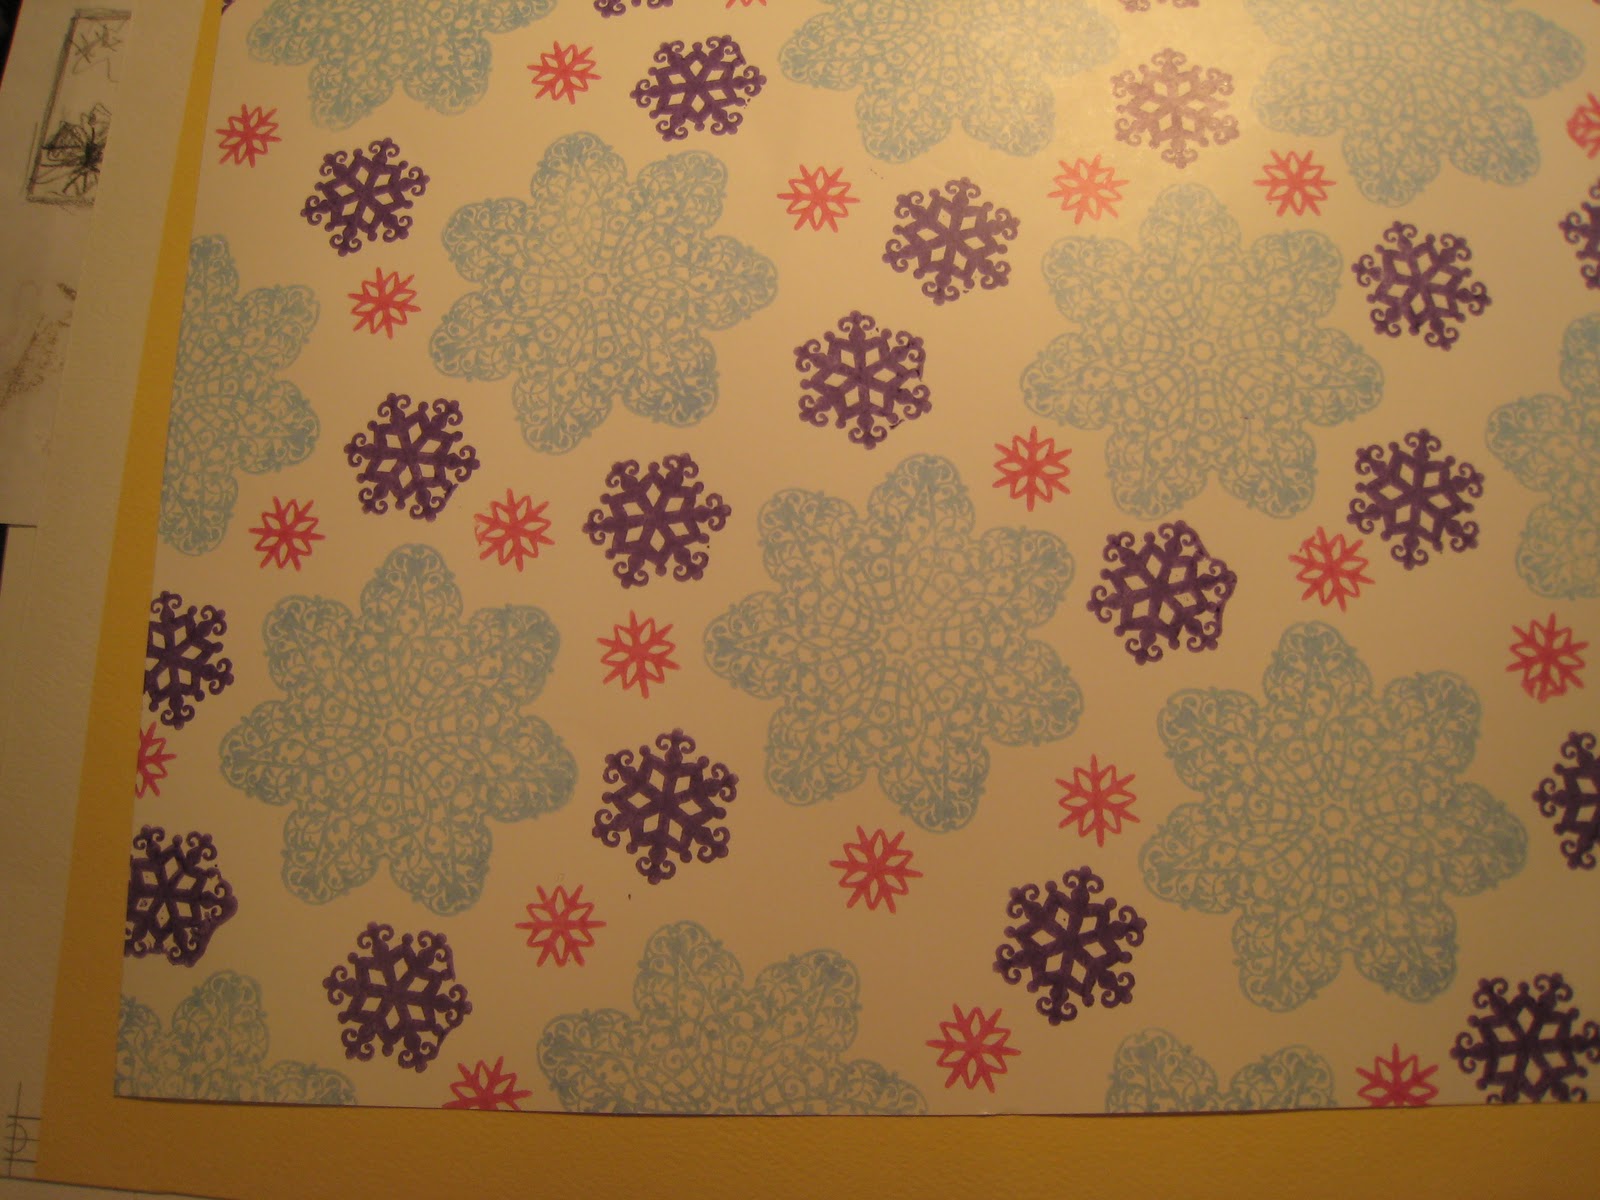
Now comes the fun part, where the white snowflakes appear. Using Spring Iris ink, I sponged over the entire background, which filled in all of the white spaces, but anywhere that I clear embossed a snowflake - remained white, and shows some of the original snowflake images on the base. In the picture at the right, you can see that I've sponged the right half of the sheet, showing how the snowflakes emerge.
 Here's the finished product. What did I learn? That I liked a sporadically sponged background better, because more of the background snowflakes showed through. I learned that clear embossing makes some colours go funky (pink especially!), and that it's hard to get a sharply stamped image on glossy paper.
Don't forget that you have until next Sunday to be entered into the random drawing for a prize pack from our two sponsors! So head on over to the H2H blog and see what the our guest designer Aaron Brown, and the rest of the design team have made to inspire you...

7 comments:
Woo Hoo! I just love techniques. I love your tags and a great idea to make them up throughout the year.
Karen, can sure tell you have a background in design...this custom pattern paper is FABULOUS! Random stamping is tough for me, I can never get the pattern to look even. Great idea to get a head start on your Christmas tags :)
Fantastic! I absolutely love your random stamping Karen! Everything turned out brrr-fectly. (OK, sorry. I know that was a lame pun, but I just had to say it. LOL!) *Ü*
Karen, your tags are fantastic! Love the colors...and a tutorial to boot. Thanks for sharing with us. :-)
Beautiful job stamping I love your color combo!
These are beautiful and I love that you included a walk-through. Very nice!
Love your tags!!! Great step by step tutorial, too. The colors you chose are great!
Post a Comment